This thread is a basic how-to, and information regarding how to go about fixing, and repairing rims that have chipped paint, gouged surface from curb-rash (I call it curbage), gravel pitting, etc.
Basically, short of bent, or structurally damaged rims, I will show you how to repair, and restore rims back to original condition.
Check-list before initiating project:
1) determine whether the damage to the rim is surface damage. If no bends, or structural damage that can ruin integrity of the rim, continue.
2) materials:
-- Lots of sand paper of various grits (100-400)
-- Metal file
-- JB-Weld
-- Disposable surface, and stir rods, or Popsicle sticks.
-- Lots of nitrile or, latex gloves.
-- Laquer thinner / Paint- thinner
-- Etching primer
-- Paint
3) remove wheel weights, tires.
Methodology:
Repairing rims, is rather simple, and if you glanced at the above materials, you should be able to guess what I am about to say...
We will begin 1st with a Pre-rinse, Metal-file the bead of the rim, Sand the rim, thoroughly clean the surface. Apply JB-weld. Let cure, Sand smooth, Prep rim for Painting.
The Process:
Begin by pre-washing the rims. A simple garden hose will do. No need to spend a lot of time, just clean it well enough, so you wouldn't mind picking it up, and moving it without ruining your clothes, and getting your hands black.
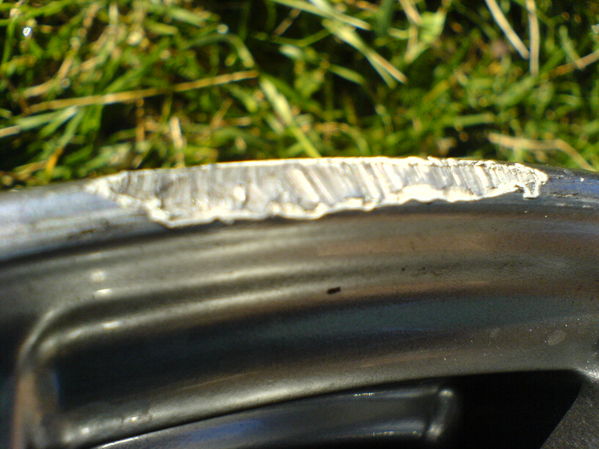
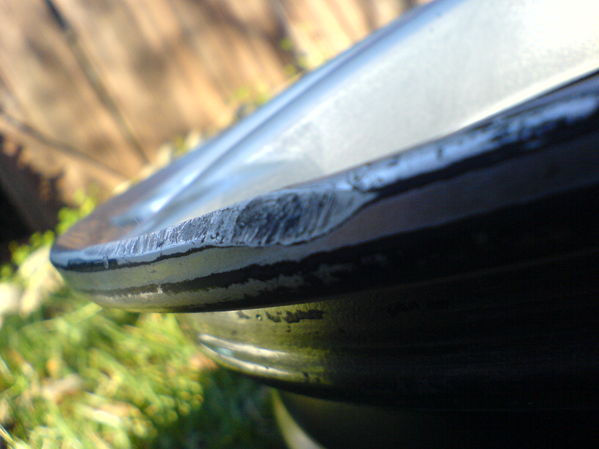
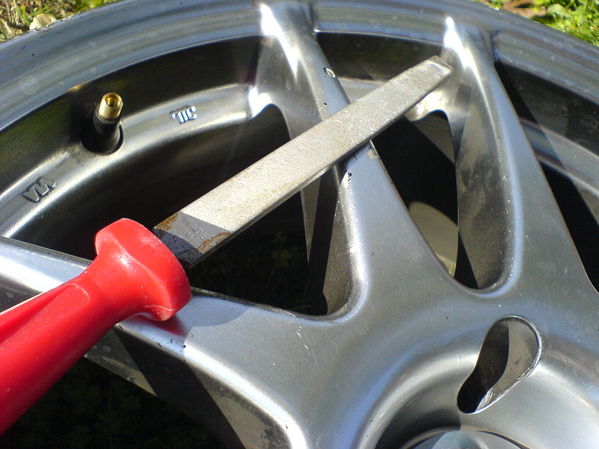
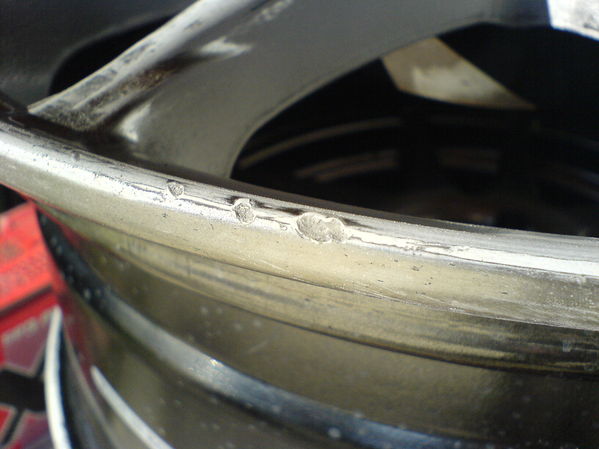
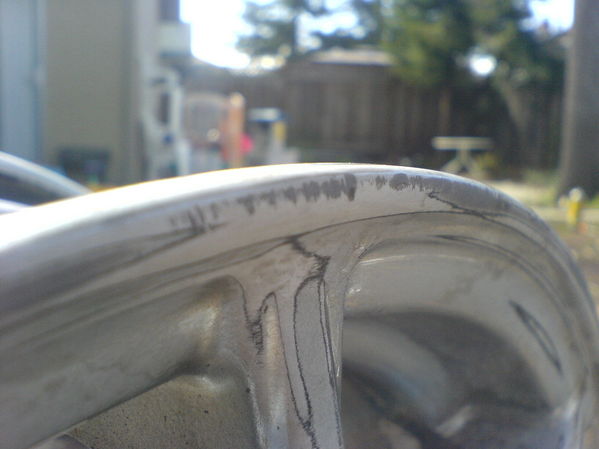
Basically, we will begin by using a metal file. go along the rim, in one direction, going up and down, until you remove protruding, sharp edges from the curb-rash.
now, you can go across the face of the gouge, or curbage damage... leaving with you surface that looks like this.
Now, put on your gloves, and wipe some JB-weld on there. I used an expired card I had laying around. Get a little glob of JB-weld on an edge, and swipe the card against the bead of the rim, where there is curbage.
Apply enough to fill in the damaged area, and a little more-some, so you can finger wipe it across. You should have bought a box of gloves, because yes, you will go through them like crazy.
While JB-weld is drying, you can sand the rim, sand over pitted surfaces, and note other areas on the surface of the rim where you could apply some JB-weld.
In 4-8 hours, you should be able to sand off the JB-weld. I didn't chance it, and I waited until the following morning.
Sand the rim smooth, and add more JB-weld if necessary.
Now prep the rim by wiping it clean with paint thinner or lacquer thinner...
Lot's of brake-dust on the inside of the rim? Spray Goof-Off aerosol. wipe clean with a towel you will throw away.
Apply 2 thin coats of Etching primer. Wait 5-10 minutes. Spray your paint. 3-4 coats usually does the trick.
Let rims cure for a few days, before mounting and balancing tires.
Hold off on cleaning your rims for as long as you can. NO chemicals, solvents, or cleaners should touch the rim for the first 30-45 days.
If you need to clean your rims, use only Water, and a clean microfiber towel.
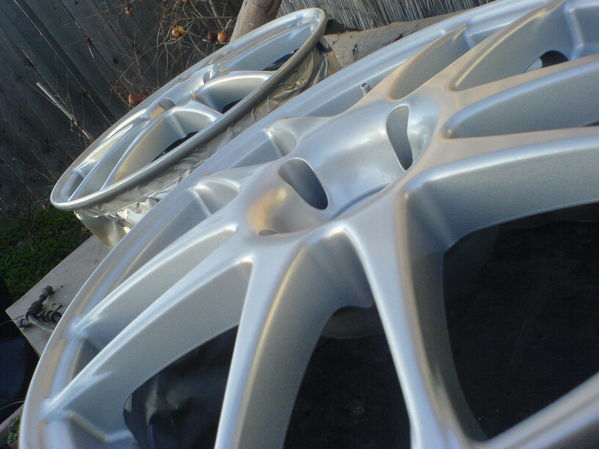
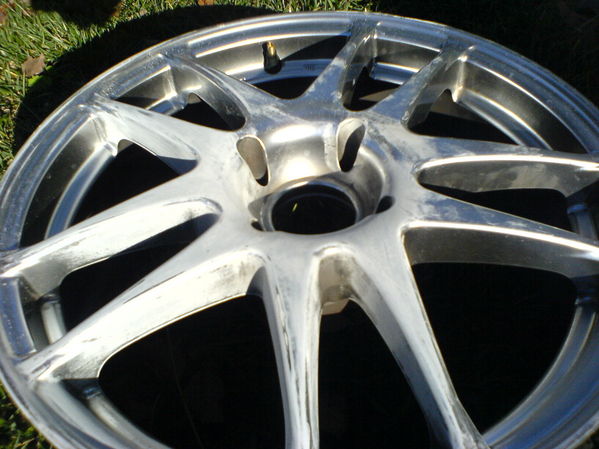
Now, I present Pics of my recently acquired ASA KA3s.
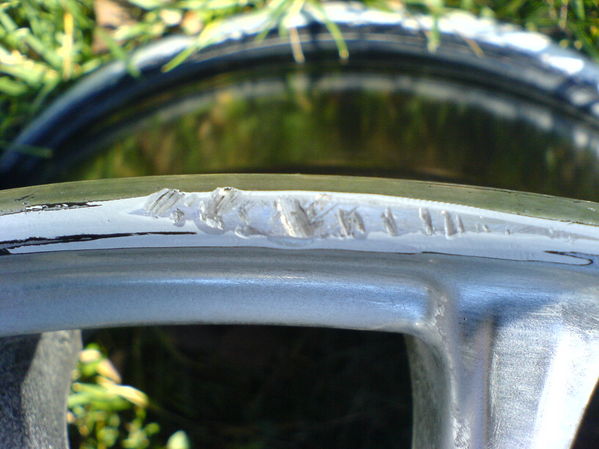
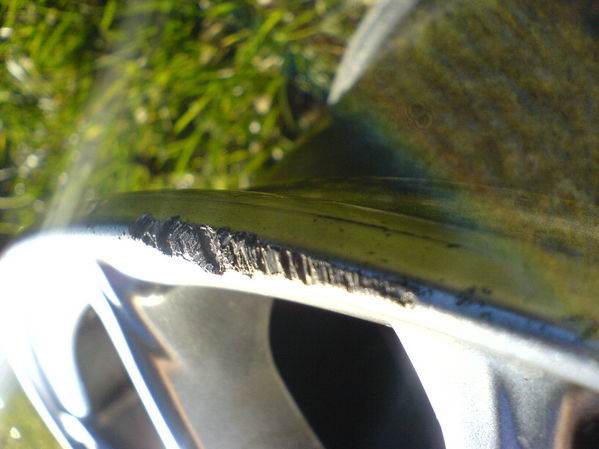
Before:


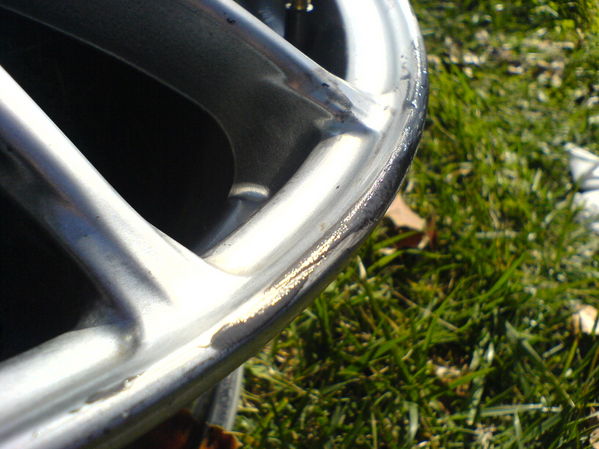
Just getting started:

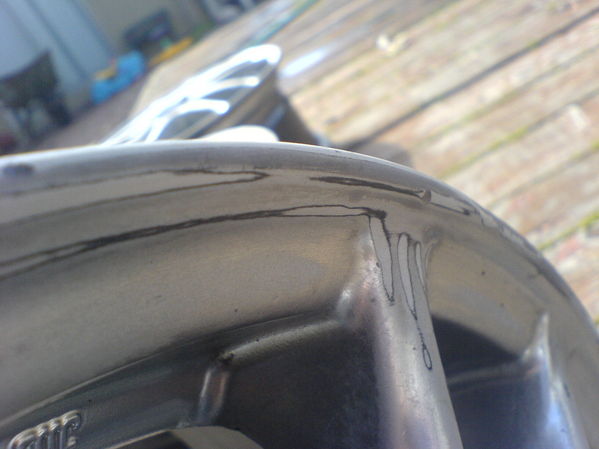
Applying JB-Weld:

Sanded JB-weld:
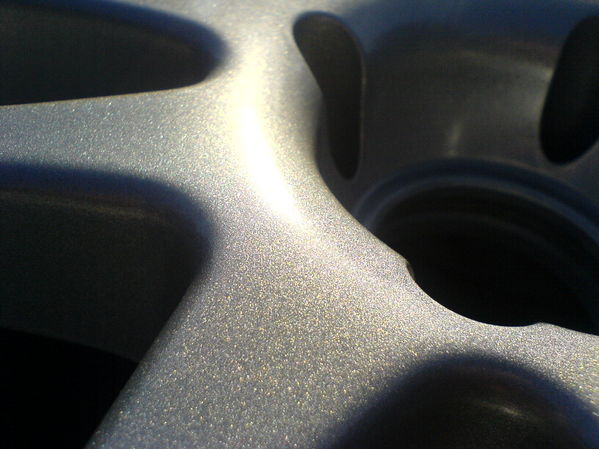
Applying Etching-Primer: (2 thin coats)
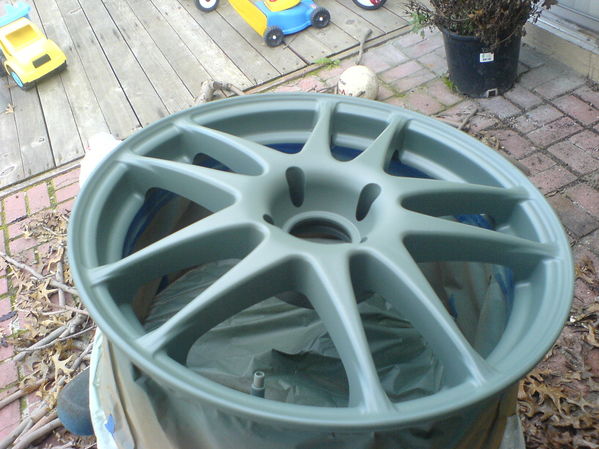
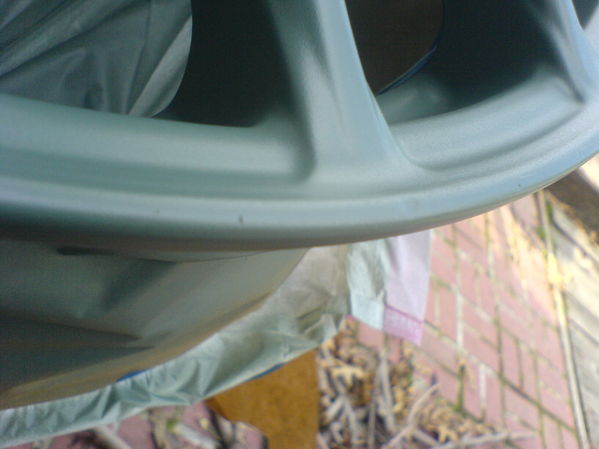
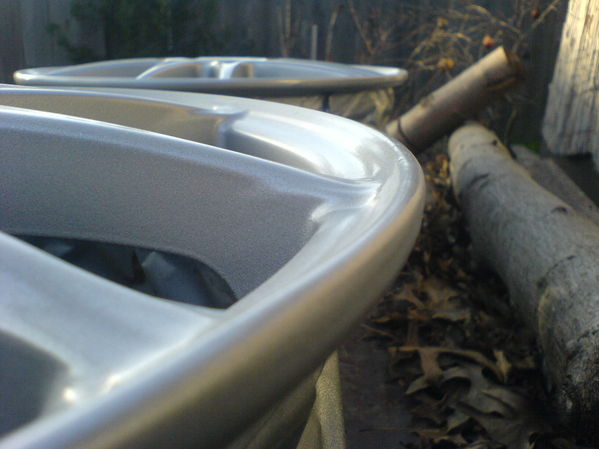
Painted, and Done-Dealio: (4 coats of Duplicolor Silver wheel paint)