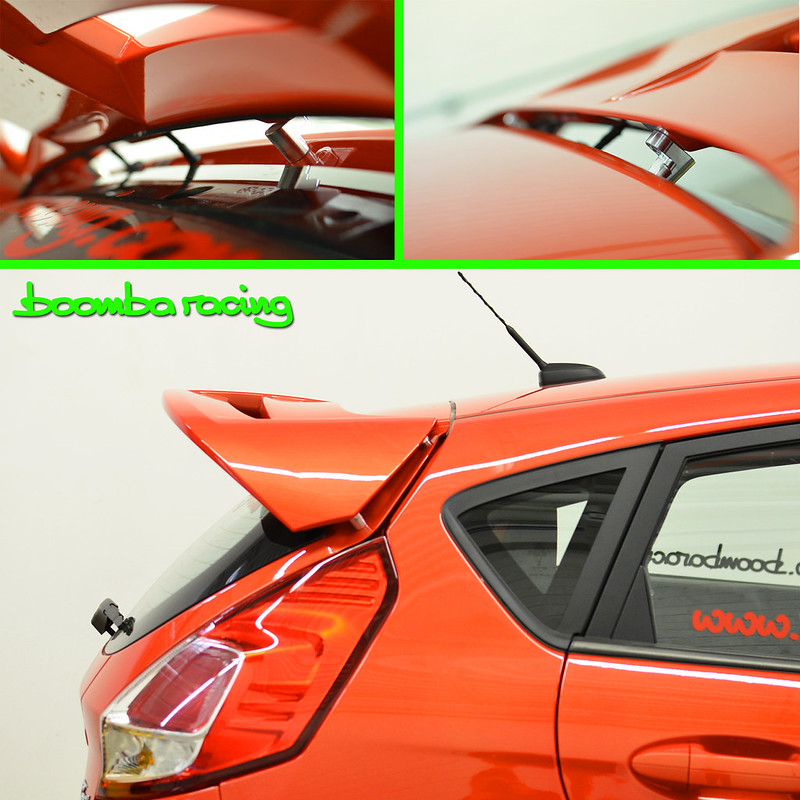
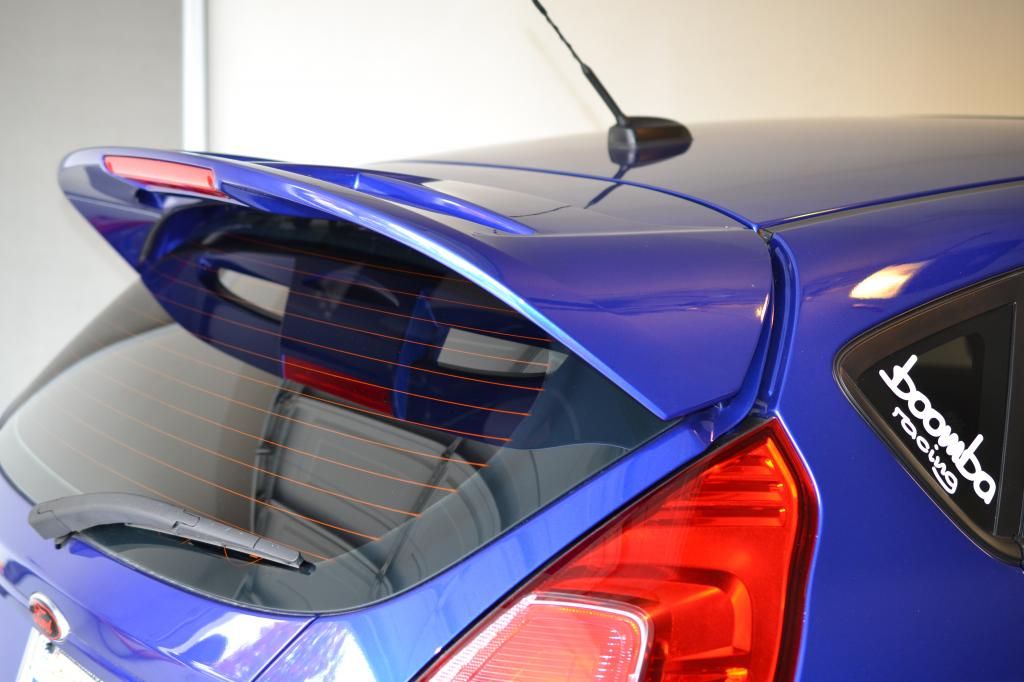
I'm sure everyone has seen the Boomba wing riser install where the two Boomba guys install the rear wing. O.K. so what do you do if you're the only one doing the install? What do you do if you don't trust the stickers that Boomba tells you to use to close out the holes left when you remove the alignment pins? This is what I did.
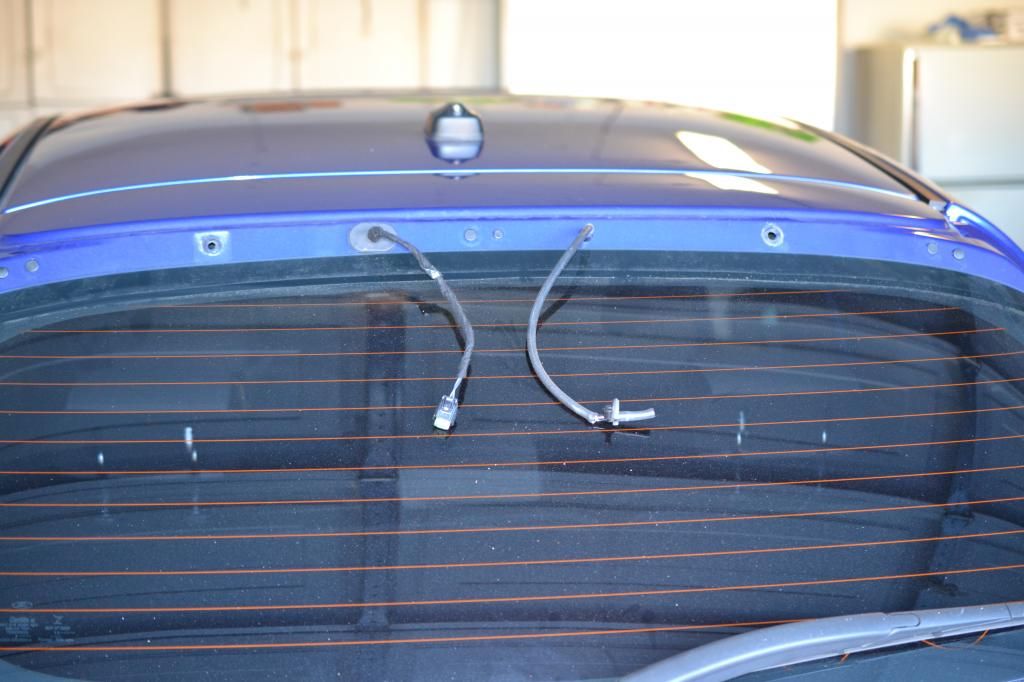
1. Follow the Boomba instructions to remove the wing. I used an 8mm quick release magnetic socket, on the two center bolts, because I just knew that I'd probably drop the two 8mm hex head screws.
2. In order to get the wing centered, I aligned the two center risers straight, then sighted the hole openings in the hatch. I tightened the risers down to the wing with the hex head bolts that originally attached the wing to the rear hatch.
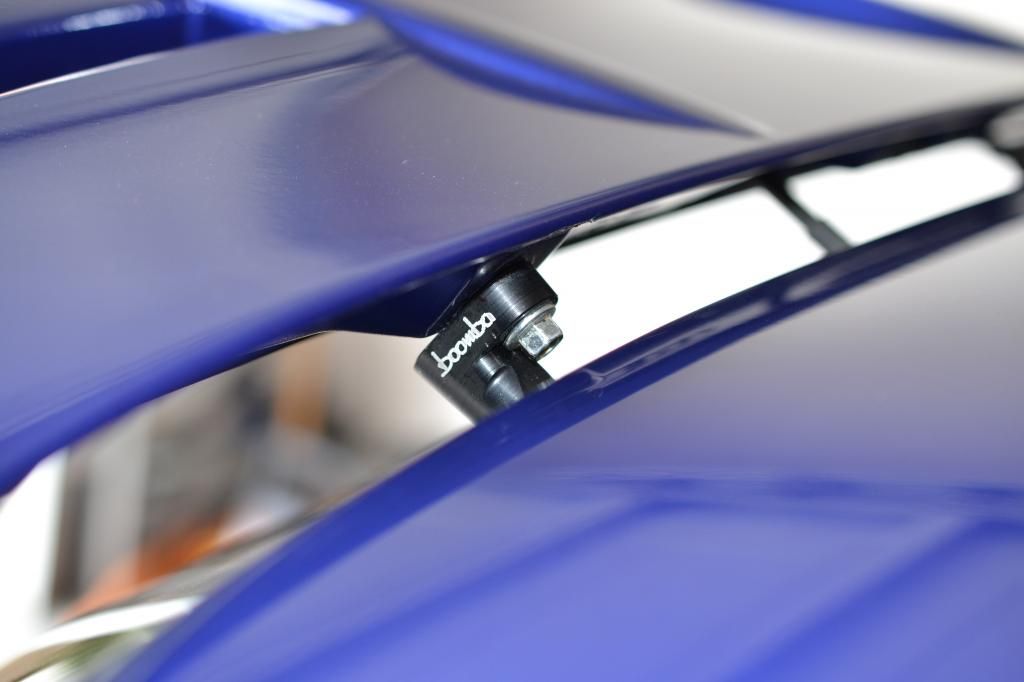
3. When I did my trial fit, I noticed that the center riser threads were not completely tapped. I got a M6 x 1 tap and tapped the two center risers, and re-installed them on the wing. I only tightened the four side risers hand tight. I installed the two supplied allen head M6 fasteners through the hatch and into the center risers. Then I adjusted the side risers, and used paper tape to make sure the alignment stayed correct. I placed a line of tape on the riser, up to the wing.
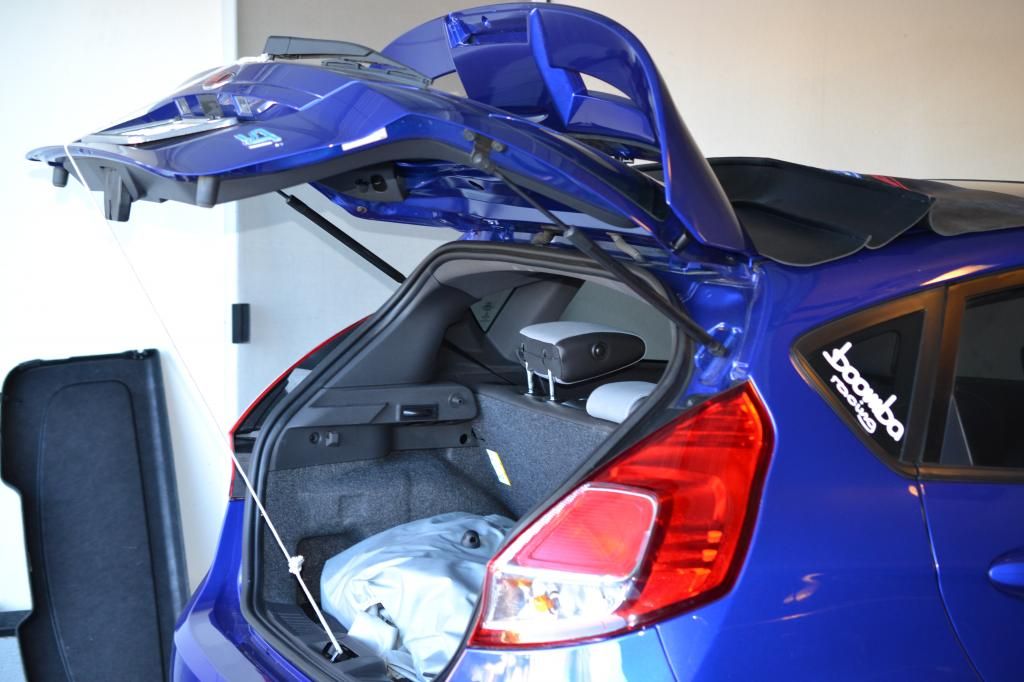
4. To do all of this adjusting, while keeping the wing from tipping over, I tied a rope to the rear washer blade, and then the other end on the door striker. This allowed me to balance the wing on the hatch.
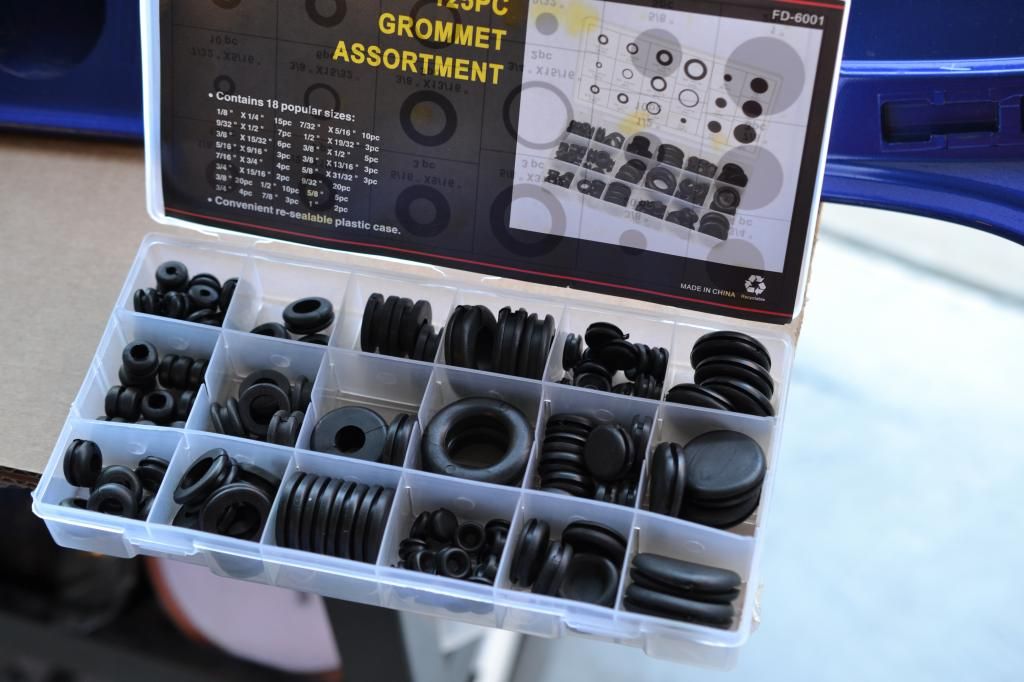
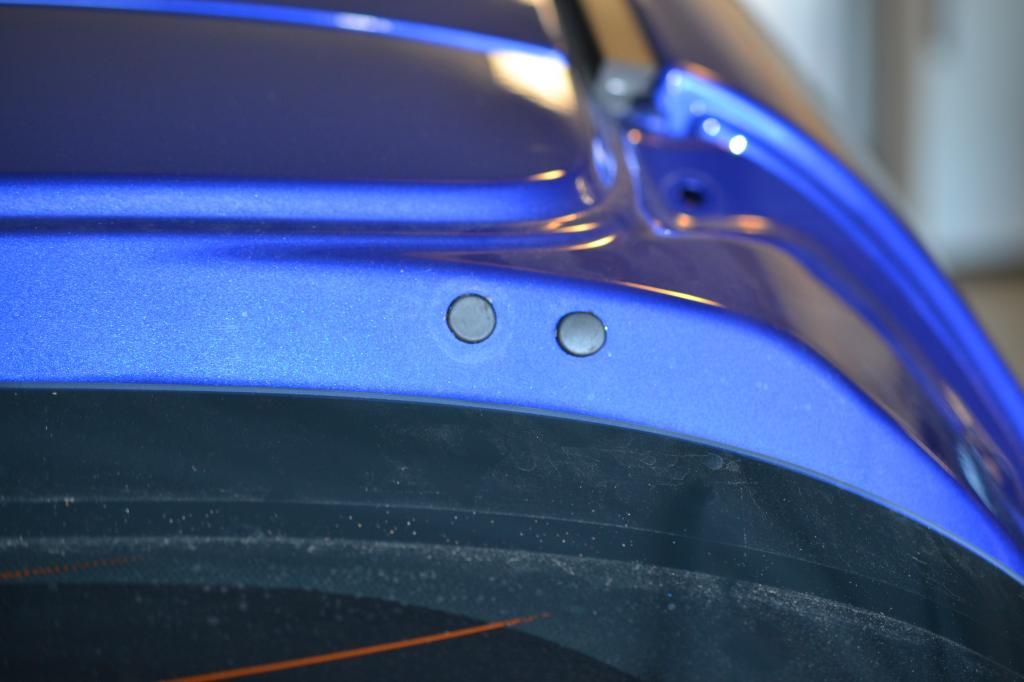
5. After making sure my 4 side riser screws were tight on the wing, and my alignment was good, I got my box of grommets and blank plugs. I used one 3/8 plug for the small hole on the hatch and 1/2 plugs for the remainder of the holes. These blank plugs make a good seal which will keep water out of the hatch. I really didn't trust the stickers, especially in the So Cal heat.
6. I installed the outermost side riser bolts then the center riser bolts. Then the innermost side riser bolts last. I tightened everything down.
7. I followed the rest of the instructions in the Boomba install video, and the wing looks great. I hope this mod helps keep my rear window cleaner.
1. Follow the Boomba instructions to remove the wing. I used an 8mm quick release magnetic socket, on the two center bolts, because I just knew that I'd probably drop the two 8mm hex head screws.
2. In order to get the wing centered, I aligned the two center risers straight, then sighted the hole openings in the hatch. I tightened the risers down to the wing with the hex head bolts that originally attached the wing to the rear hatch.

3. When I did my trial fit, I noticed that the center riser threads were not completely tapped. I got a M6 x 1 tap and tapped the two center risers, and re-installed them on the wing. I only tightened the four side risers hand tight. I installed the two supplied allen head M6 fasteners through the hatch and into the center risers. Then I adjusted the side risers, and used paper tape to make sure the alignment stayed correct. I placed a line of tape on the riser, up to the wing.
4. To do all of this adjusting, while keeping the wing from tipping over, I tied a rope to the rear washer blade, and then the other end on the door striker. This allowed me to balance the wing on the hatch.

5. After making sure my 4 side riser screws were tight on the wing, and my alignment was good, I got my box of grommets and blank plugs. I used one 3/8 plug for the small hole on the hatch and 1/2 plugs for the remainder of the holes. These blank plugs make a good seal which will keep water out of the hatch. I really didn't trust the stickers, especially in the So Cal heat.
6. I installed the outermost side riser bolts then the center riser bolts. Then the innermost side riser bolts last. I tightened everything down.


7. I followed the rest of the instructions in the Boomba install video, and the wing looks great. I hope this mod helps keep my rear window cleaner.

 corrected my OP.