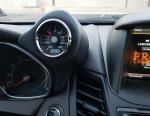
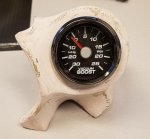
Thought I would post this to hopefully give some of you ideas and get a little feed back. I know most prefer using the AP for extra gauges, and some use a vent pod. While these are all good options, I don't like the idea of leaving a $500 piece of equipment in the car and for me the vent gauge view is hindered by the steering wheel. This is my first attempt working with fiberglass and body filler. While it isn't perfect it turned out pretty good. Still have to run the vacuum line, with any luck will have it all hooked up this weekend.
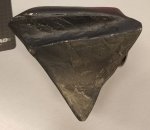
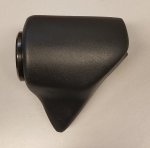
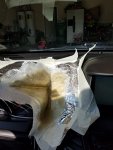
the foundation.
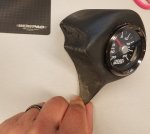
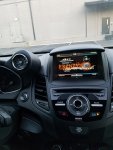
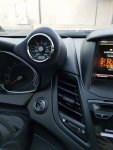
the test fit
the foundation.
the test fit
![[:(]](/images/smilies/frown.png "Frown [:(]") (The sticky fingered could always get Cobb, or someone to unlock/un-marry it from your car, one way or another.)
(The sticky fingered could always get Cobb, or someone to unlock/un-marry it from your car, one way or another.)![[wink]](/images/smilies/wink.gif "Wink [wink]")