
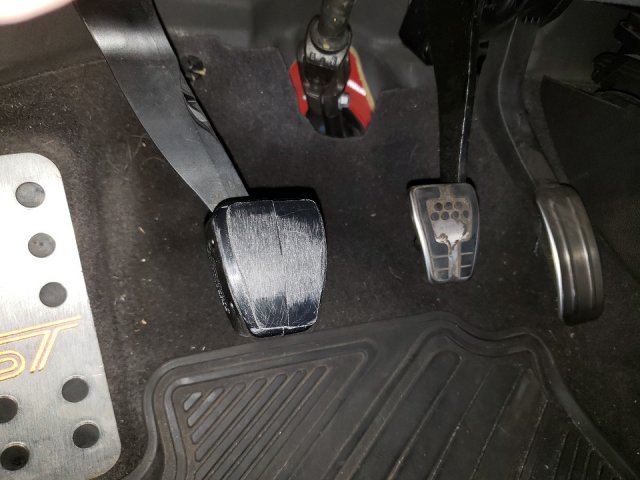
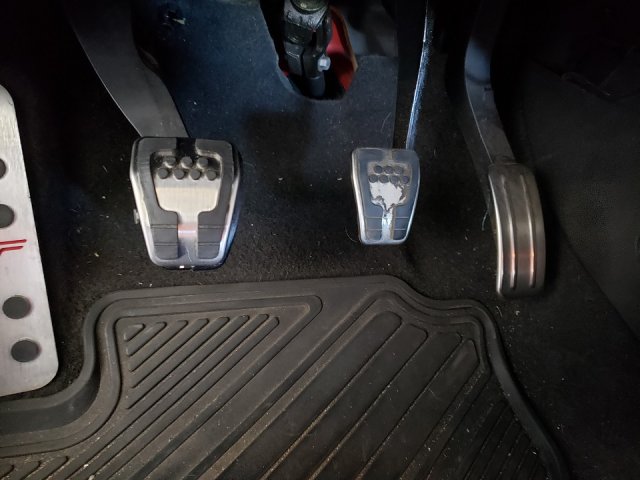
Clutch Pedal Extender
Can be used on the brake pedal as well.
Many photos below will be shown off the car for clarity.
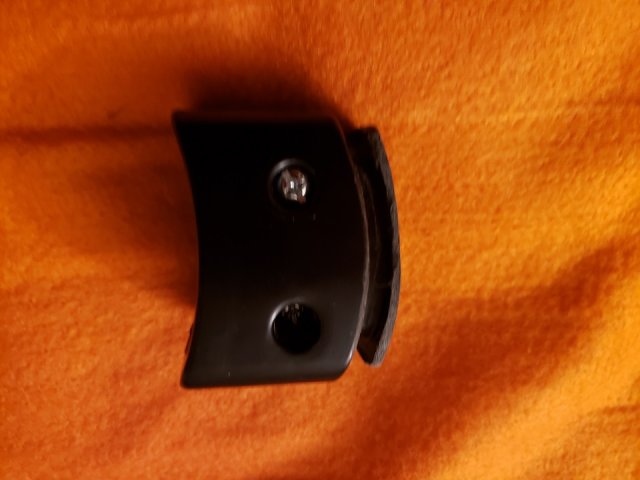
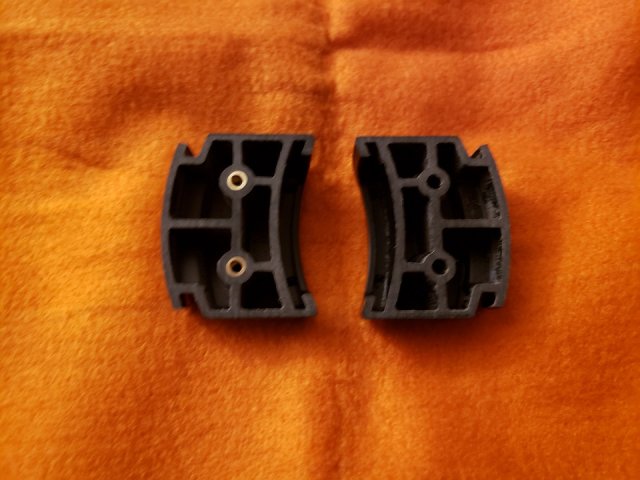
So, I decided to try and modify a Mustang Clutch Pedal Extender rather than build a new one for the Fiesta from scratch.
I purchased the Mustang extender and found out that I was informed correctly, it will not fit the Fiesta as is.
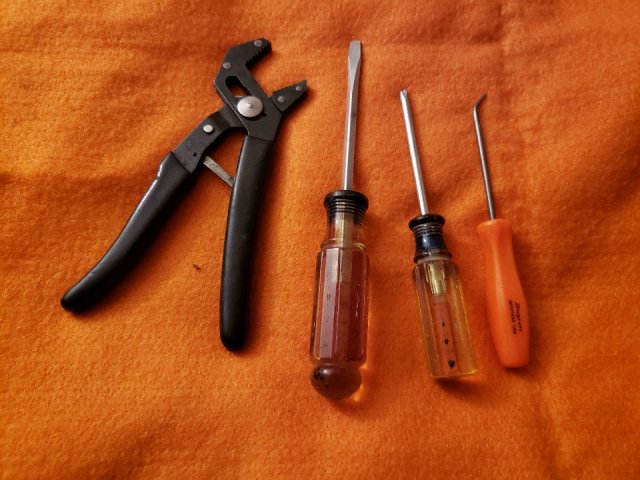
Here are the tools I used in addition to a piece of 60 grit sandpaper.
You could use a Dremel tool (except on the half faces) however I was concerned with removing too much material.
First, I removed the clutch pedal pad from my car.
This can be done with an angled pick, prying up the little metal tabs that hold it on.
With the angled pick you can get under the tab and pry against the pedal arm for leverage.
There are 4 tabs, but you only need to lift the two sides and the bottom to get the pad off.
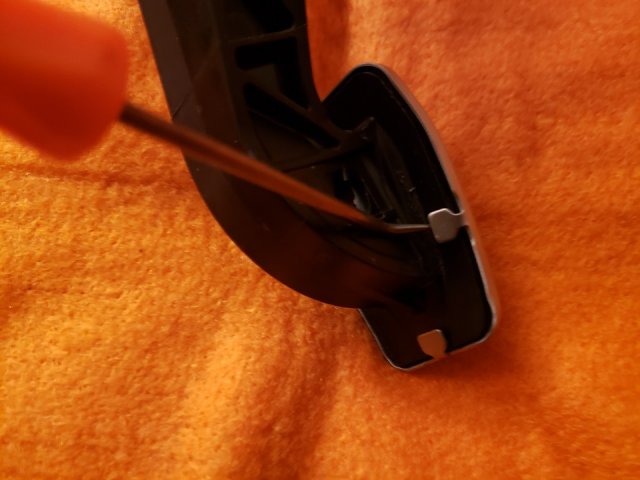
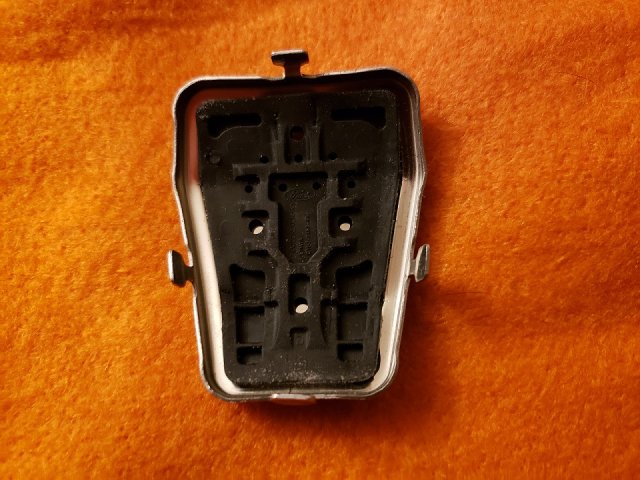
Once the pad is removed you can easily straighten all 4 tabs.
I then tried to fit the Mustang extender on the Fiesta pedal and found that it did not fit as tightly as I would like.
The Mustang pedal is slightly wider than the Fiesta by a very small amount.
To fix this I sanded inside faces of the extender, removing about 1/32” from each face.
I used a piece of sandpaper on a smooth surface.
Now the extender will fit tightly on the Fiesta pedal.
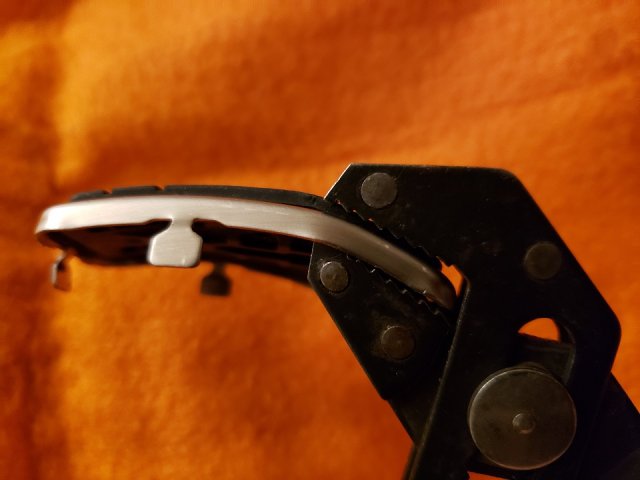
Before going any further you should install the extender on your car and test how you like it.
As it would be pointless to do further work in you don’t like it however, it may a little time to get used to.

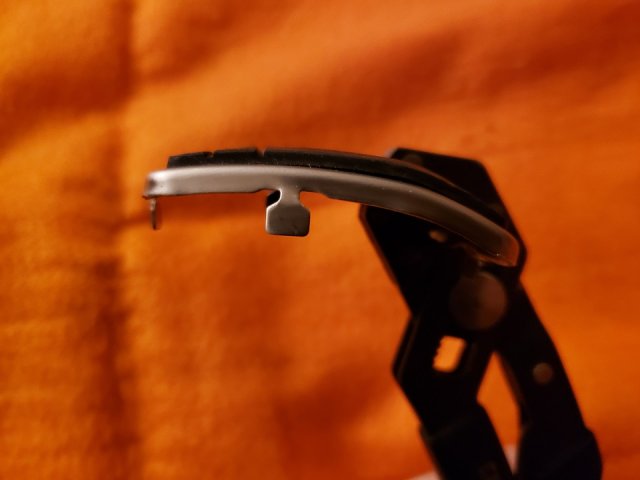
Next remove from the car and reassemble the two halves off the car.
Now you will be trimming the extender’s pad location to except the Fiesta pad.
Again, I used a piece of sandpaper.
First trim the two sides, only worry about the sides at this time, as the arc of the extender will still not fit the Fiesta pad.

Now you will see that the arc of the Mustang and Fiesta pedals are different.
To compensate for this, you must bend the Fiesta pad just a little.
Here you will use the Channel-Loc plyers, placing the top edge of the Fiesta pad in the crotch of the plyers and the plyers at the side edge of the pad.
Do this to both sides of the pad.
However only bend a little at a time.
It will now become apparent that the extender is too long to fit the Fiesta pad as well.
So, trimming of the extender’s top and bottom edge is required, again I just used sandpaper.
Continue bending the Fiesta pad and trimming the extender until the two parts fit together as good as possible.
At this point you will place the pad on the extender (still off the car) and bend the top tab (only) of the pad, to hold the pad to the extender.
You must also note that the extender’s pad location is thicker than the car’s original pedal therefore, the pad’s tab will not bend at the same location.
Now you are ready to install the extender for the final time.
Remove the pad and install the extender on the car.
Do not over tighten.
The final step is to install the pad and bend the remaining tabs to secure.
I came up with an easy way to hold the pad in place and tight on the extender with limited access in the footwell.
This is because the arc of the extender and pad may still not be an exact match.
Placing a zip-tie around the extender and pad will pull the two items together completely.
Apply the zip-tie around the top of the extender and the bottom of the pad, now you can bend the remaining tabs of the pad, without the pad moving, using the flat blade screwdriver.
Then of course remove the zip-tie.

I know that this is a little work but none of it is hard.
It actually requires more time than skill.
This mod is certainly not for everyone but if you find it useful, I just proved it can be done.
I hope you find this helpful.
Can be used on the brake pedal as well.
Many photos below will be shown off the car for clarity.
So, I decided to try and modify a Mustang Clutch Pedal Extender rather than build a new one for the Fiesta from scratch.
I purchased the Mustang extender and found out that I was informed correctly, it will not fit the Fiesta as is.
Here are the tools I used in addition to a piece of 60 grit sandpaper.
You could use a Dremel tool (except on the half faces) however I was concerned with removing too much material.
First, I removed the clutch pedal pad from my car.
This can be done with an angled pick, prying up the little metal tabs that hold it on.
With the angled pick you can get under the tab and pry against the pedal arm for leverage.
There are 4 tabs, but you only need to lift the two sides and the bottom to get the pad off.
Once the pad is removed you can easily straighten all 4 tabs.
I then tried to fit the Mustang extender on the Fiesta pedal and found that it did not fit as tightly as I would like.
The Mustang pedal is slightly wider than the Fiesta by a very small amount.
To fix this I sanded inside faces of the extender, removing about 1/32” from each face.
I used a piece of sandpaper on a smooth surface.
Now the extender will fit tightly on the Fiesta pedal.
Before going any further you should install the extender on your car and test how you like it.
As it would be pointless to do further work in you don’t like it however, it may a little time to get used to.
Next remove from the car and reassemble the two halves off the car.
Now you will be trimming the extender’s pad location to except the Fiesta pad.
Again, I used a piece of sandpaper.
First trim the two sides, only worry about the sides at this time, as the arc of the extender will still not fit the Fiesta pad.
Now you will see that the arc of the Mustang and Fiesta pedals are different.
To compensate for this, you must bend the Fiesta pad just a little.
Here you will use the Channel-Loc plyers, placing the top edge of the Fiesta pad in the crotch of the plyers and the plyers at the side edge of the pad.
Do this to both sides of the pad.
However only bend a little at a time.
It will now become apparent that the extender is too long to fit the Fiesta pad as well.
So, trimming of the extender’s top and bottom edge is required, again I just used sandpaper.
Continue bending the Fiesta pad and trimming the extender until the two parts fit together as good as possible.
At this point you will place the pad on the extender (still off the car) and bend the top tab (only) of the pad, to hold the pad to the extender.
You must also note that the extender’s pad location is thicker than the car’s original pedal therefore, the pad’s tab will not bend at the same location.
Now you are ready to install the extender for the final time.
Remove the pad and install the extender on the car.
Do not over tighten.
The final step is to install the pad and bend the remaining tabs to secure.
I came up with an easy way to hold the pad in place and tight on the extender with limited access in the footwell.
This is because the arc of the extender and pad may still not be an exact match.
Placing a zip-tie around the extender and pad will pull the two items together completely.
Apply the zip-tie around the top of the extender and the bottom of the pad, now you can bend the remaining tabs of the pad, without the pad moving, using the flat blade screwdriver.
Then of course remove the zip-tie.
I know that this is a little work but none of it is hard.
It actually requires more time than skill.
This mod is certainly not for everyone but if you find it useful, I just proved it can be done.
I hope you find this helpful.