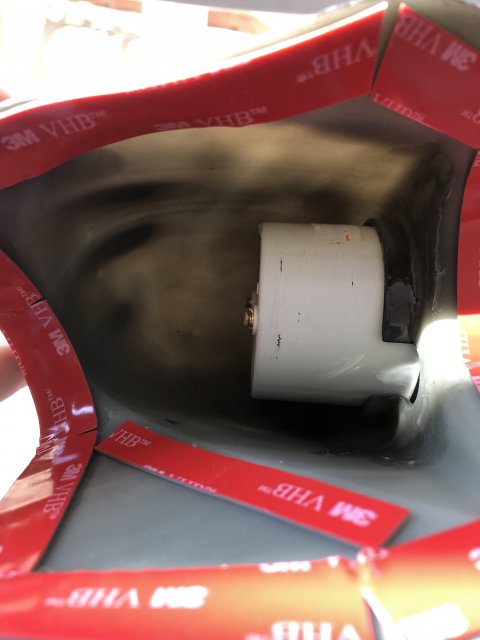
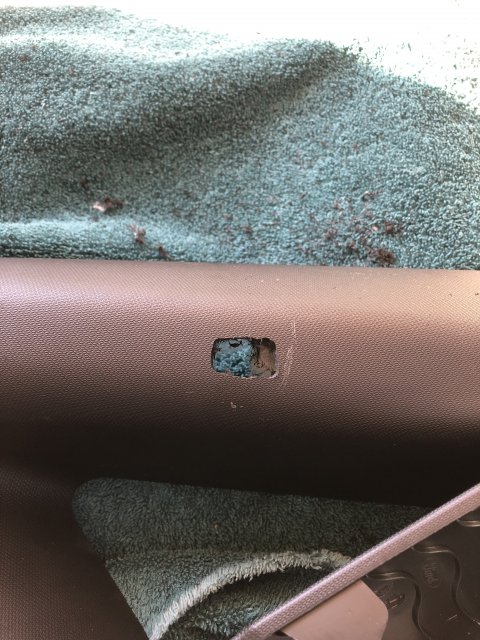
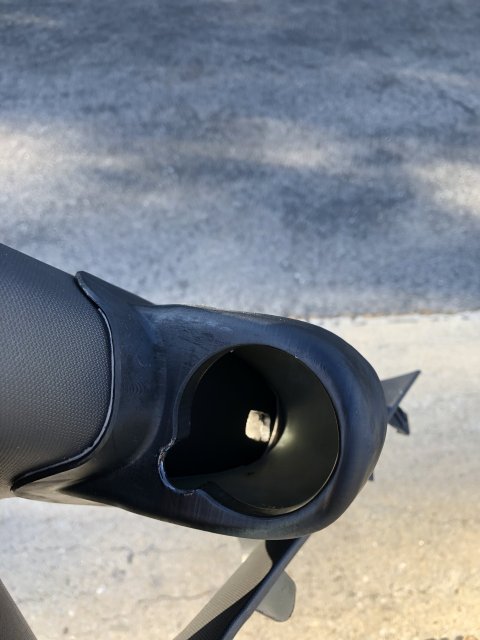
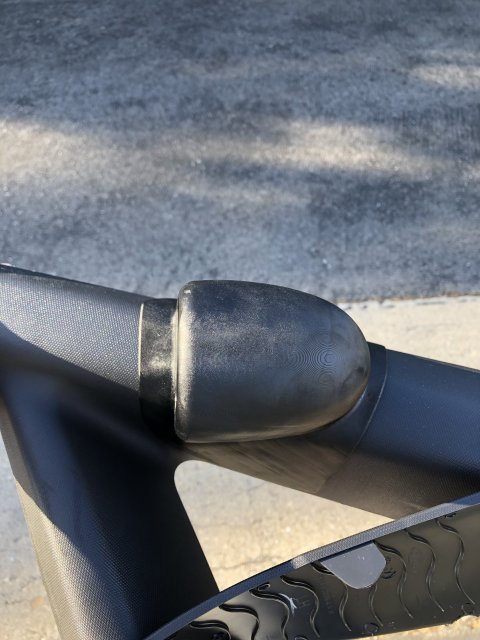
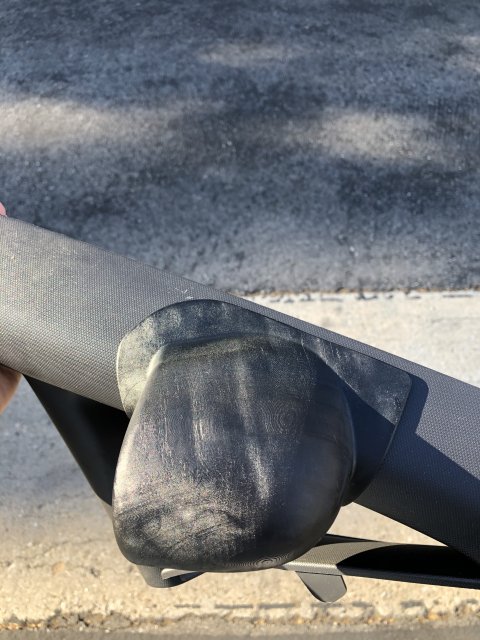
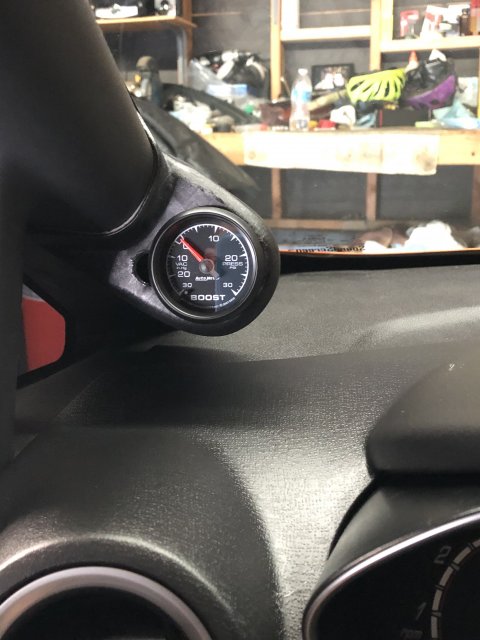
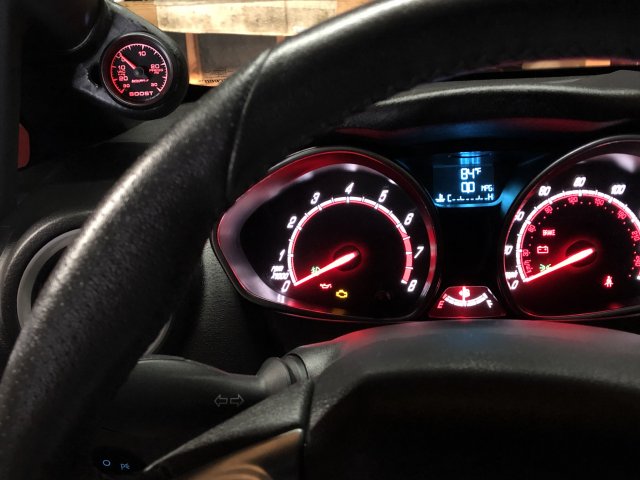
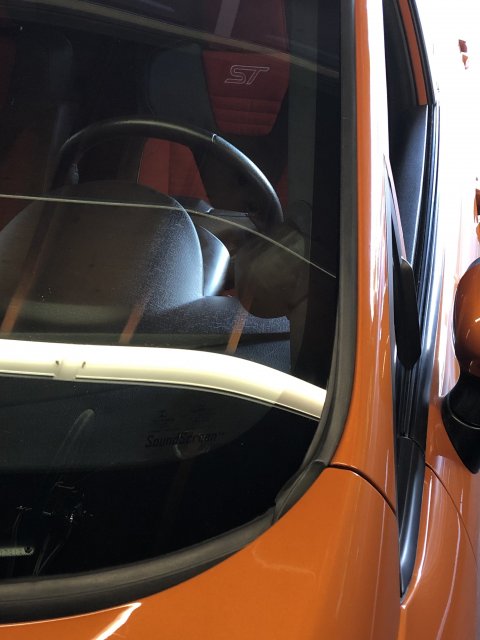
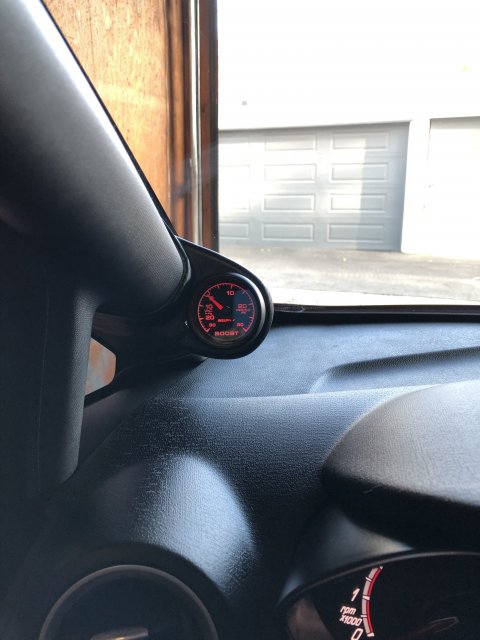
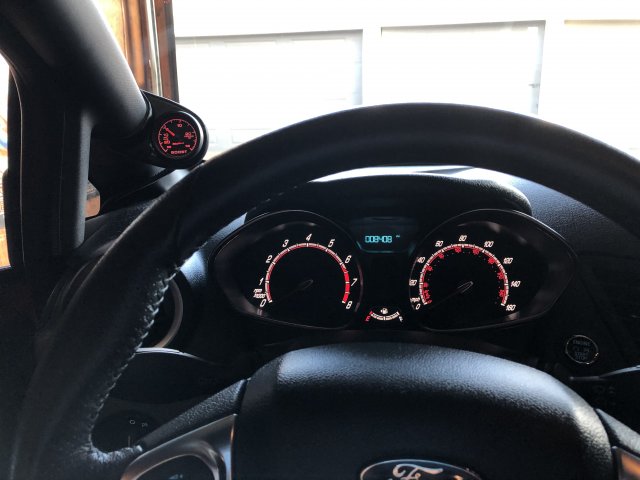
Got the boost gauge installed and working last night. The pod is from a guy on eBay. It's decent quality, 3D printed. The contour matched the factory pillarpretty well. But the inter depth of the pod is very shallow, so I hacked out the back so looking in from the windshield looks pretty terrible. I contacted the seller last night and he's going to update teh desogn for me and make it deeper, so I'll be getting another one.
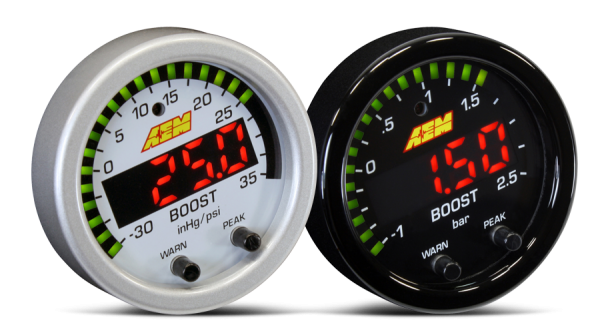
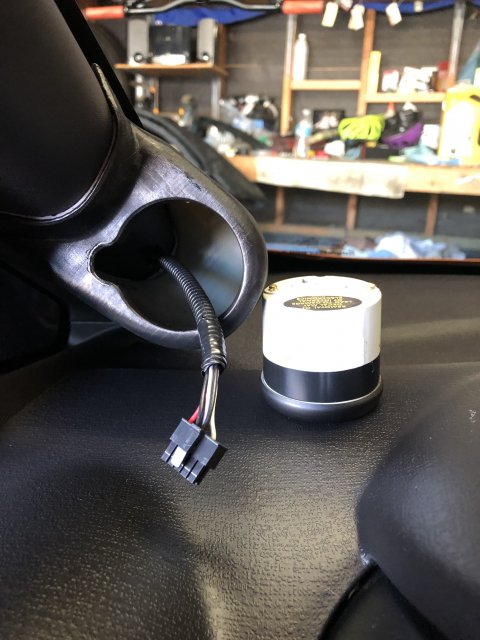
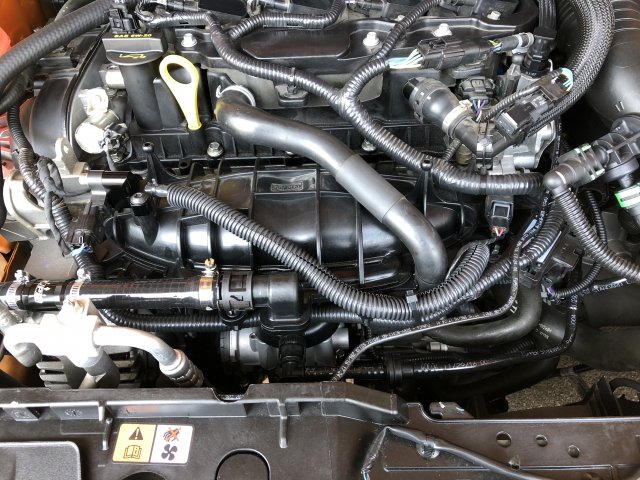
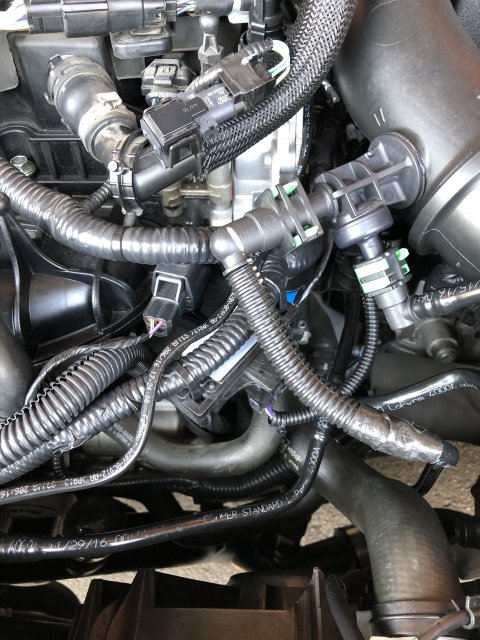
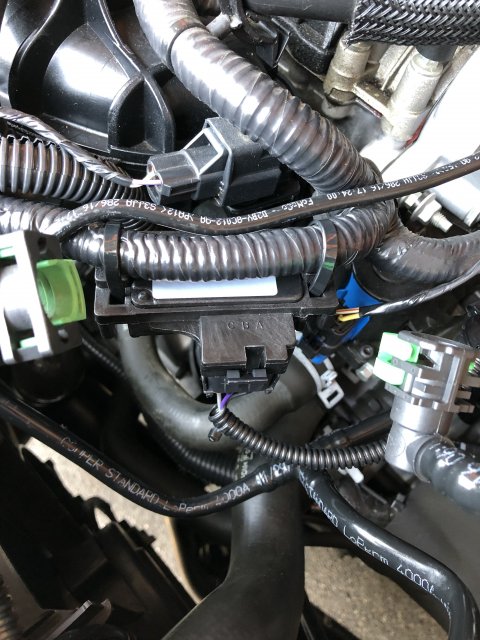
Underhood, I used Whoosh's boost tap reference, and the gauge is a full sweep stepper motor so it comes with a MAP sensor.
Underhood, I used Whoosh's boost tap reference, and the gauge is a full sweep stepper motor so it comes with a MAP sensor.
Attachments
-
 1.6 MB Views: 149
 -
 4.6 MB Views: 153
 -
 6.9 MB Views: 141
 -
 2 MB Views: 132
 -
 1.8 MB Views: 124