Good point. I added some additional part numbers for some alternatives to the instructions - Dynamic Friction is a decent alternative I've been looking at. I also found some Brembo part numbers for the UK spec ST170 Focus, which is identical to the US market SVT Focus rotor, but for some reason isn't marketed here as such, but can be purchased from various vendors.

-
Sign Up! To view all forums and unlock additional cool features
Welcome to the #1 Fiesta ST Forum and Fiesta ST community dedicated to Fiesta ST owners and enthusiasts. Register for an account, it's free and it's easy, so don't hesitate to join the Fiesta ST Forum today!
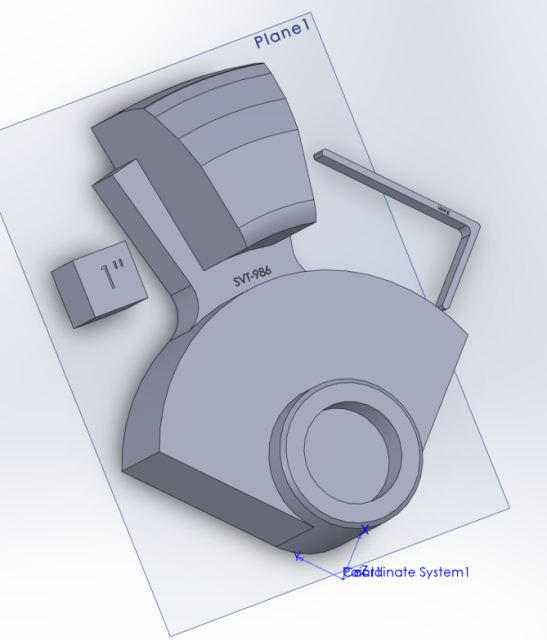
GB SVT/986 Boxster Front Brake Brackets for Fiesta ST - $525 (Extended to mid-July)
- Thread starter Dialcaliper
- Start date
Similar threads
-
-
-
-
 SLD SOLD 17x7 Ford SVT Wheels - 215/45/17 Kuhmo Ecsta 4X Tires 8/32"
- Started by Fiestig
- Replies: 1
-
SLD Pumaspeed ST170 (Focus SVT) 280mm caliper carriers + Rotors + SS lines
- Started by KyleS
- Replies: 4
-
-
-

-

-