NEW Product : Maxton Design rear valance *5-door fitment*

Trader history for ron@whoosh (1)

ron@whoosh

3000 Post Club
Vendor
Premium Account
Member ID
#5638
Messages
3,988
Likes
4,098
#1

Jabbit

2000 Post Club
Member ID
#11420
Messages
2,244
Likes
2,904
#2
Random question - how easily does that badge come off? Is it a small gel badge or what? Is there an indent where it sits? Minor I know but just curious.


Member ID
#22202
Messages
292
Likes
394
#3
oooo whenever I decide to order a front splitter, I might have to add that! It looks good


green_henry

1000 Post Club
Member ID
#7801
Messages
1,048
Likes
785
#4
"This product requires the removal of the original diffuser, self-tapping screws are needed to secure fitment of the new diffuser."

How difficult is it to remove the original diffuser?


rallytaff

1000 Post Club
Premium Account
Member ID
#1899
Messages
1,389
Likes
930
#5
Is this a body shop job to have it done properly?


dhminer

2000 Post Club
Member ID
#12462
Messages
2,515
Likes
2,949
#6
Random question - how easily does that badge come off? Is it a small gel badge or what? Is there an indent where it sits? Minor I know but just curious.
I have a maxton front splitter that I haven’t installed. There seems to be an indent where the badge is and I really don’t want to leave the badge on there.


Member ID
#22202
Messages
292
Likes
394
#7
I have a maxton front splitter that I haven’t installed. There seems to be an indent where the badge is and I really don’t want to leave the badge on there.
You could just Bondo and rattle can it…wouldn’t be hard, and would be plenty nice enough looking for a splitter….


Enzo

Member
Member ID
#24323
Messages
23
Likes
21
#8
"This product requires the removal of the original diffuser, self-tapping screws are needed to secure fitment of the new diffuser."

How difficult is it to remove the original diffuser?
I thought it’s connected to the bumper ??


OP
ron@whoosh

ron@whoosh

3000 Post Club
Vendor
Premium Account
Member ID
#5638
Messages
3,988
Likes
4,098
Thread Starter #10

joesiris

Active member
Member ID
#5179
Messages
609
Likes
461
#15
these install over the old valance; I believe if you took your old one off there wouldn't be anything for the new one to attach too. my old valance (stone guard) is also damaged and is the reason i want one. But i imagine as long as the old one isn't to mishappen you'd be fine. If you still need to remove the stone guard, then they are riveted to the (honeycomb) part of the bumper and those would need to be drilled out.
the first part of this video shows this...only they take off both parts of that valance, just need to drill out the 2 rivets on each side and the clips in the middle


Member ID
#3741
Messages
62
Likes
21
#17
Has anyone installed this yet? I got mine the other day and there are zero instructions provided or on Maxton's site. It came with self tappers but I would assume that it would need 3M or something else to properly install. Any recommendations or experience would be appreciated.


Member ID
#15944
Messages
24
Likes
63
#18
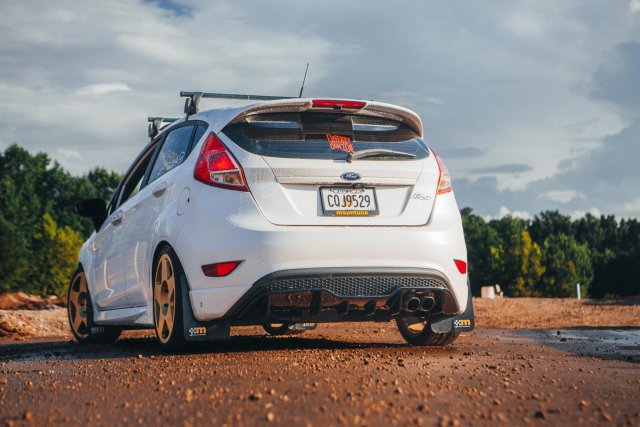
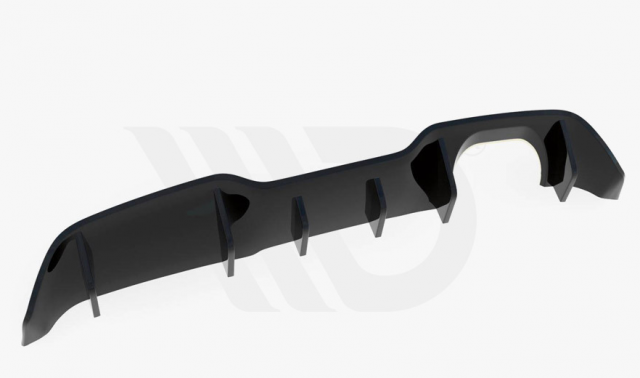
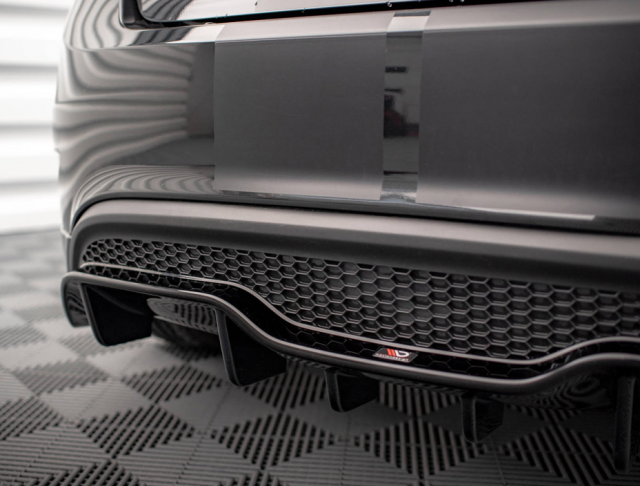
NEW rear diffuser for the 5-door Fiesta ST 2014-2019
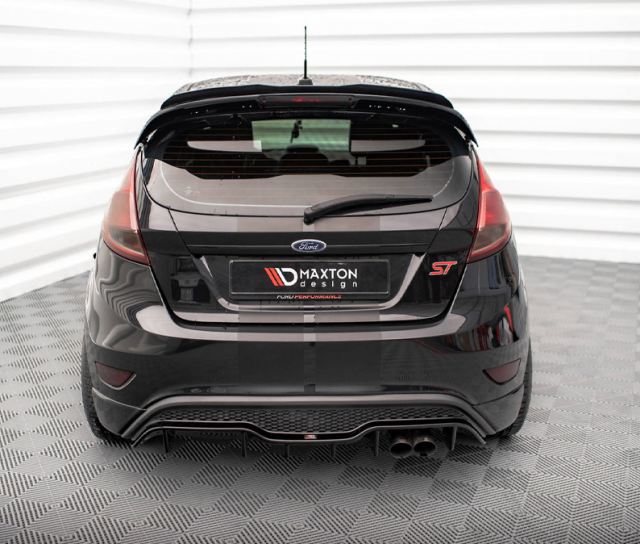
textured and CF look finishes are pre-order (2 week lead time) - we have some gloss black available for immediate shipping

LINK TO PRODUCT:
https://whooshmotorsports.com/colle...4YlQV16SaCjKsKBLNLhQbWUIKtEe8brysYBKSzRtzhzt0

View attachment 50400 View attachment 50398 View attachment 50399
Is this kit compatible with the rear splitters that Maxton sell in their UK website? https://maxtondesign.com/product-eng-9916-Rear-Side-Splitters-Ford-Fiesta-7-ST-Facelift.html


Member ID
#28212
Messages
1
Likes
0
#20
Just bought this and haven’t got to the fitting aspect yet as I haven’t had the time.

I’m also extremely lost with the install as there is not one clear instruction on installing the US based version.

Can anyone give me a rundown of how to install this since I probably wouldn’t have bought it with the little instructions available.


Top