
-
Sign Up! To view all forums and unlock additional cool features
Welcome to the #1 Fiesta ST Forum and Fiesta ST community dedicated to Fiesta ST owners and enthusiasts. Register for an account, it's free and it's easy, so don't hesitate to join the Fiesta ST Forum today!
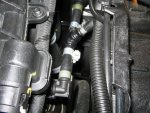
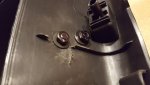
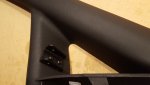
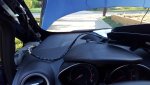
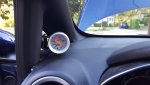
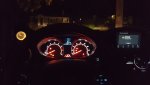
Boost gauge installation
- Thread starter Wez1987
- Start date


Similar threads
-

-

-
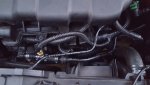
 Installing new hose for boost gauge
- Started by Wolfsbora
- Replies: 3
-
FS AutoMeter boost gauge, whoosh boost tap and 2 mounting pods
- Started by nrayome19FiST
- Replies: 5
-
Boost gauge installed & AP cable routed
- Started by Wolfsbora
- Replies: 7
-
-
Additional silicone hose & clamps for boost gauge?
- Started by Wolfsbora
- Replies: 3
-
 Electric boost gauge install in FiST EU
- Started by BladeRunner
- Replies: 1
-
-

Ford Community Posts
-

-
 Really Should Stop Modifying my Daily Driver into a Track Car
- Latest: Fusion Works
-

-