Mods as of 3/23/2024
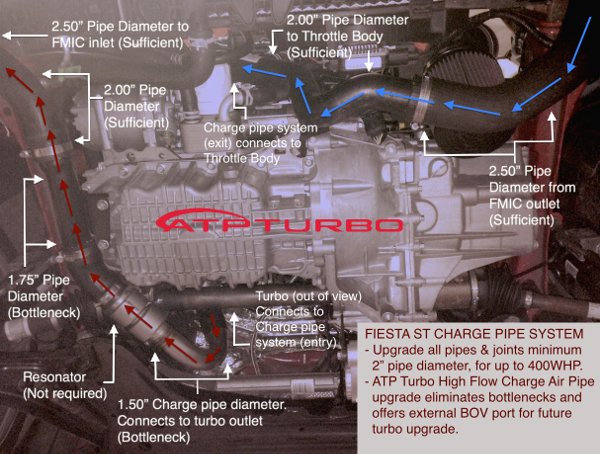
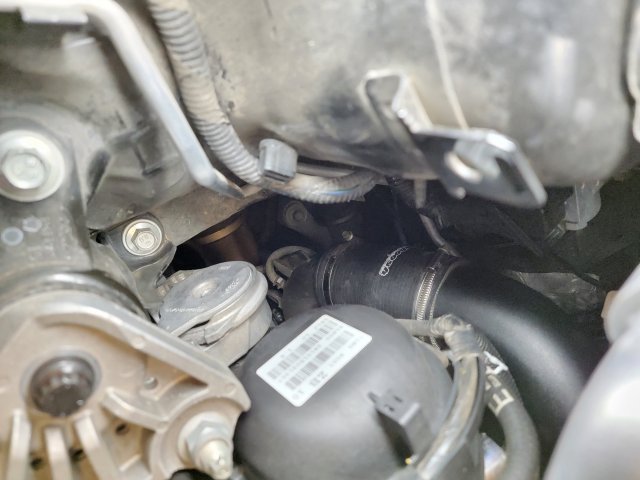
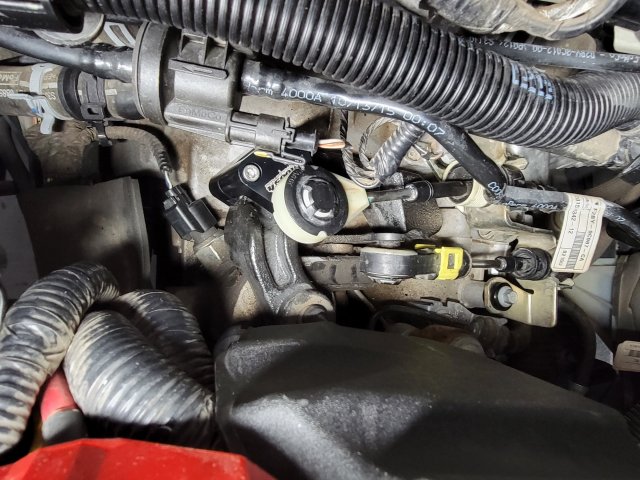
Intake track
ITG intake
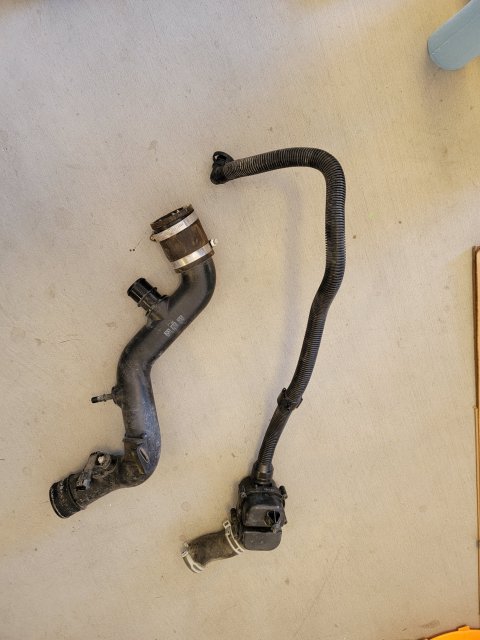
Montune induction hose
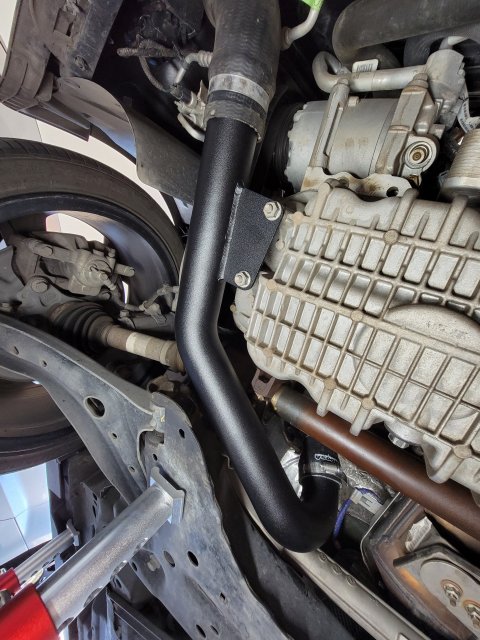
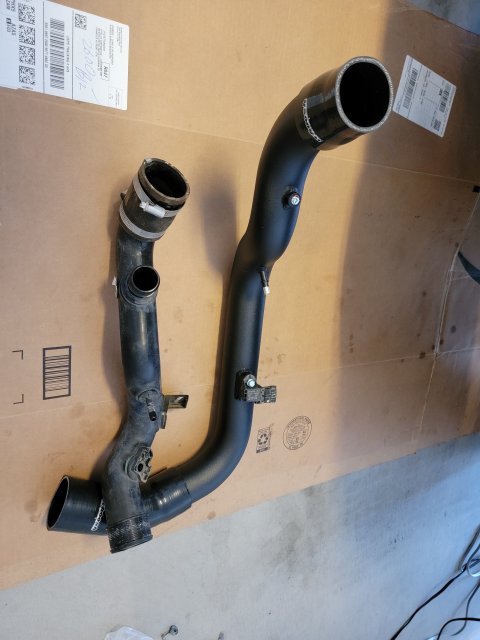
Whoosh crossover pipe
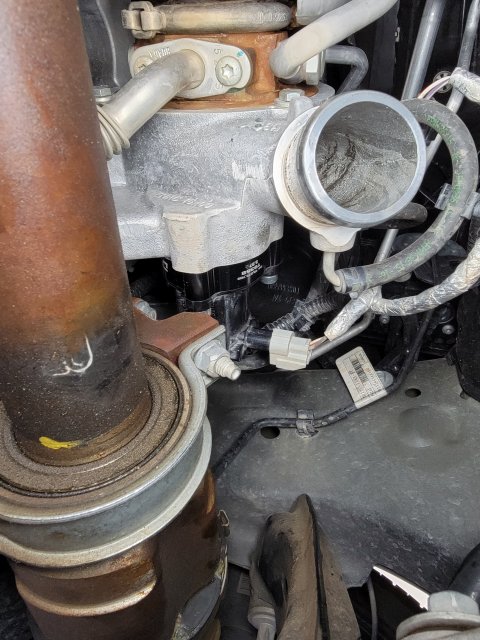
S280 hot side charge pipe
Whoosh hot side intercooler "S" hose
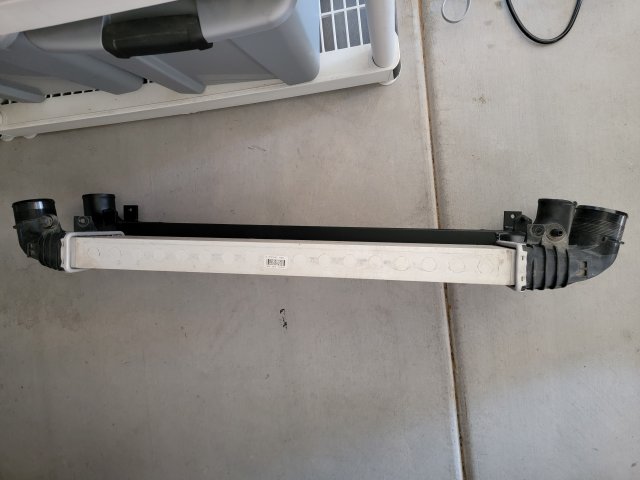
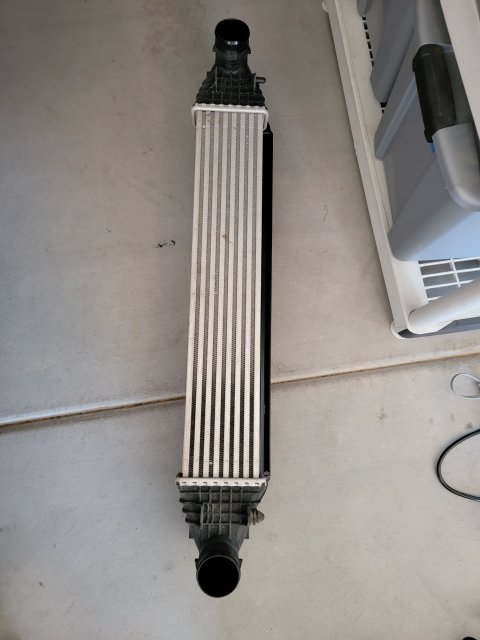
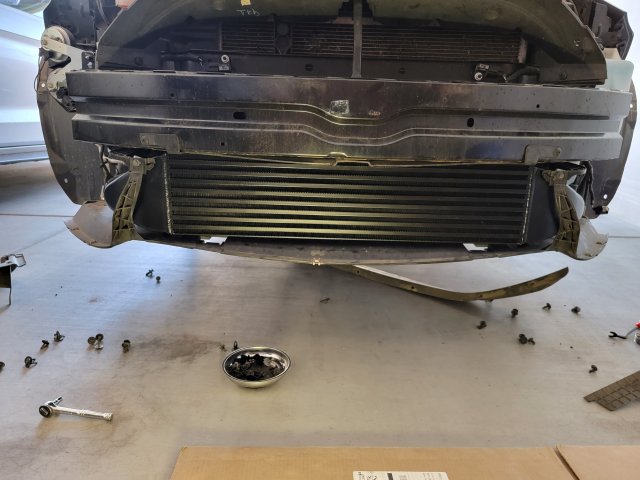
Whoosh v1 intercooler
Whoosh cold side charge pipe
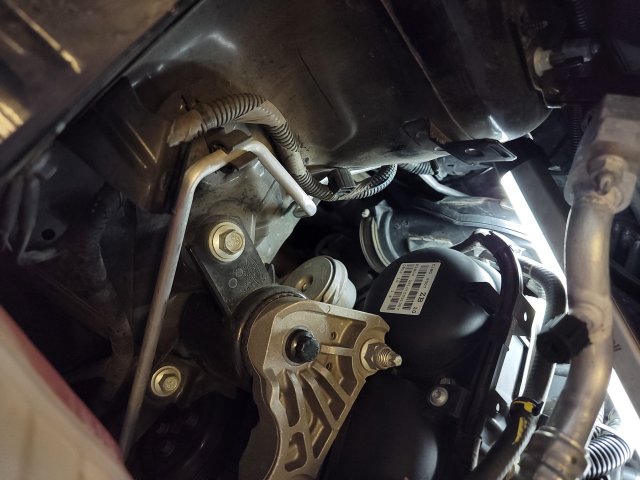
Turbo
Turbo Technics S280 Turbo
Funk Motorsports turbo blanket
GFB DV+
Fuel and Ignition
E30
Dizzy Ethanol Content Gauge Kit
Snow Stage 3 WMI kit
NGK 1-step colder Ruthenium spark plugs
Whoosh Coil Packs
Exhaust track
Airtec tubular exhaust manifold
Whoosh V1 catless downpipe
Swave and Summit GT Full Titanium Exhaust with Resonator
Whoosh exhaust hangers
Cooling
Mountune Triple Pass Radiator
Whoosh Coolant Hose Kit
Spal radiator fan with OEM fan shroud delete
Pro Alloy Coolant Tank (Black)
Tune
Cobb AccessPort v3
Tune+ pro-tune (91oct, 91+WMI, E30+WMI)
Transmission
Spec Aluminum Flywheel
Spec Stage 2 Clutch (Sprung)
RTS CSC Slave Cylinder
BG Syncro Shift II Synthetic Gear Lubricant 75W-90
Motor Mounts
Cobb RMM
AWR PSMM with 62 durometer bushings
AWR TSMM with 62 durometer bushings
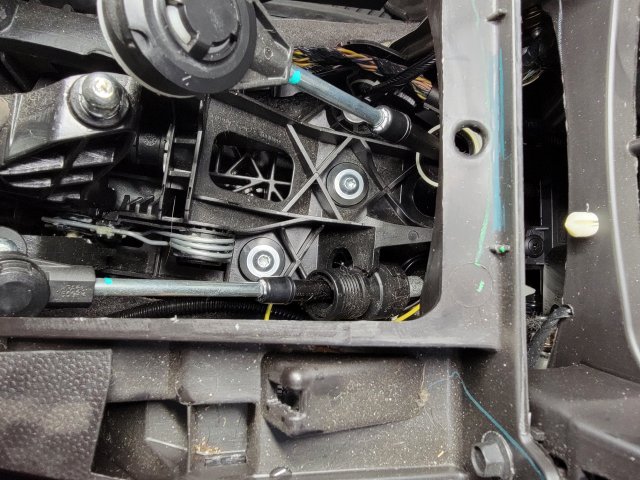
Suspension
ISC N1 Street/Sport Coilover Kit
Powerflex Front Sway Bar Bushings - Street
Swave and Summit Adjustable Sway Bar Drop Links
DNA Racing Front LCA
Powerflex Rear Coil Spring Pads - Street
Whiteline Rear Sway Bar
Chassis
Whoosh Subframe Centering Kit
Swave and Summit Front Lower 4 Point Subframe Brace
Steering Rack Bushings - Aluminum
Spoon Rear Rigid Collar Kit
Powerflex Rear Beam to Chassis Bushings - Street
Whoosh 2 Point Trunk Bar
Brakes-Front
Wilwood Front BBK with Stainless Steel Brake Lines
Wilwood BP-10 Pads
Brakes-Rear
StopTech Stainless Steel Brake Lines
WaveSpec Sport Rotors
EBC Redstuff Pads
Ford performance CB Shift Knob
Shifter
Whoosh short shift kit
Whoosh shifter base bushings
Whoosh transmission cable bracket bushing
Weight
Mele battery mount
Shoari LiON battery LFX36L3-BS12
Wilwood Forged Dynapro 6 Front BBK
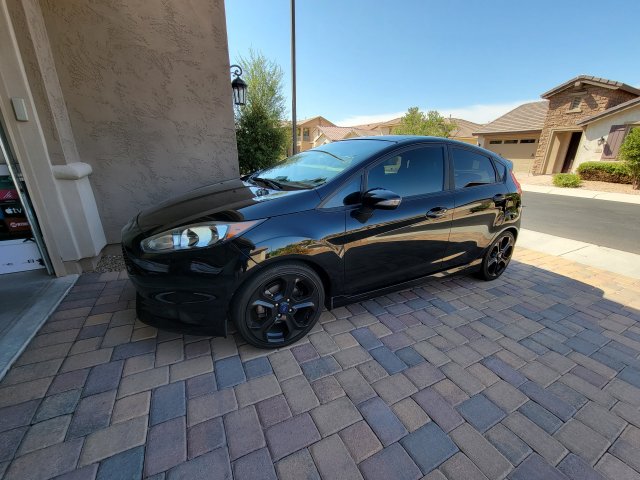
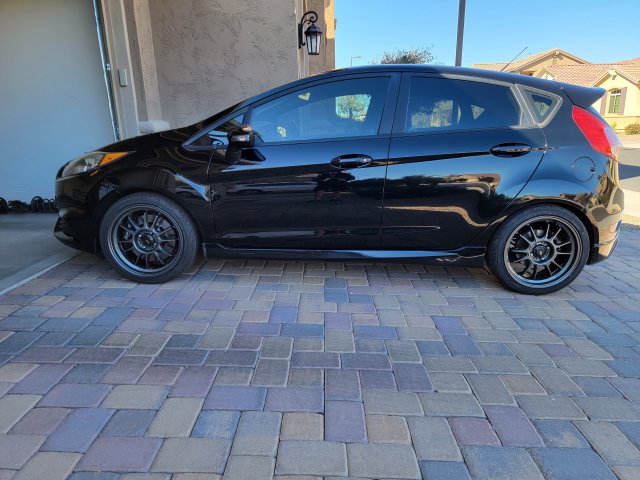
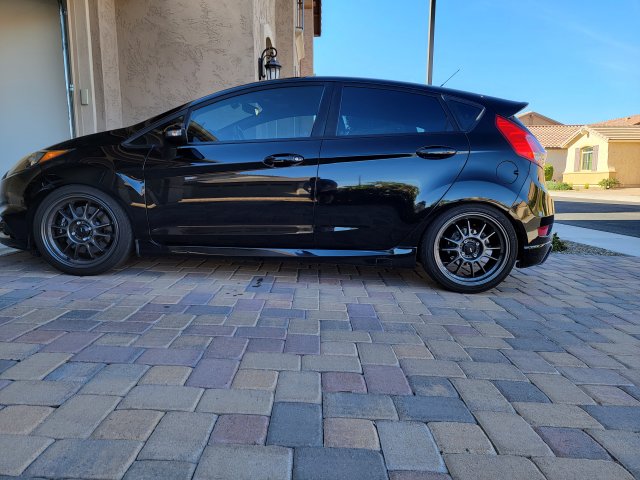
17" Konig Hypergram wheels with Continental ExtremeContact Force tires (225/40R17)
TB Performance Front Crash Bar
TB Performance Rear Crash Bar
Whoosh Rear Wiper Delete
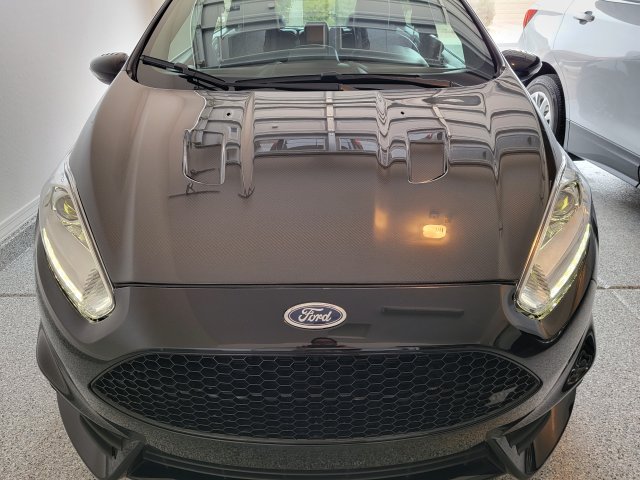
Seibon TM Style Carbon Fiber Hood
Back seat, spare tire, and jack delete
Corbeau Evolution X Seats
Lexan rear door windows
Rear door cards
Seibon Carbon Fiber Hatch
Lexan hatch window
Misc
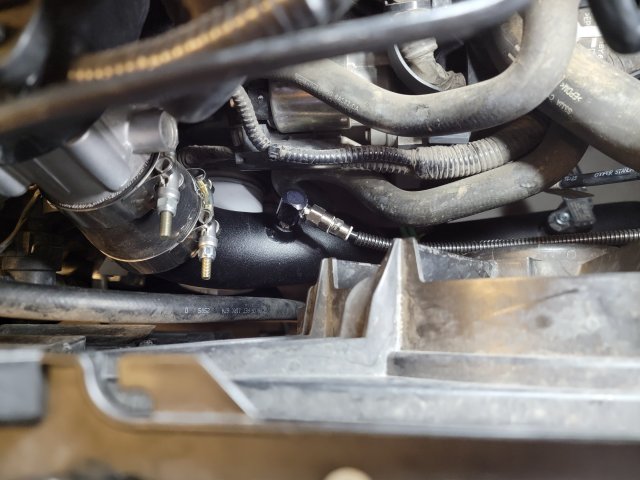
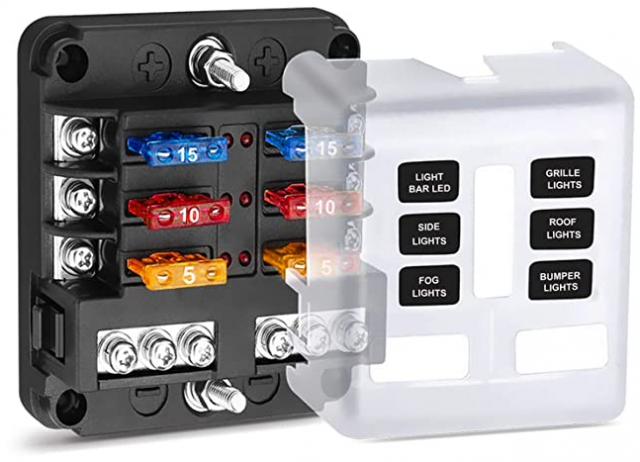
Whoosh Boost Tap
Fumoto F106SX Oil Drain Valve
Non-performance upgrades
Backup Camera
Gentex auto-dimming rearview mirror with Homelink
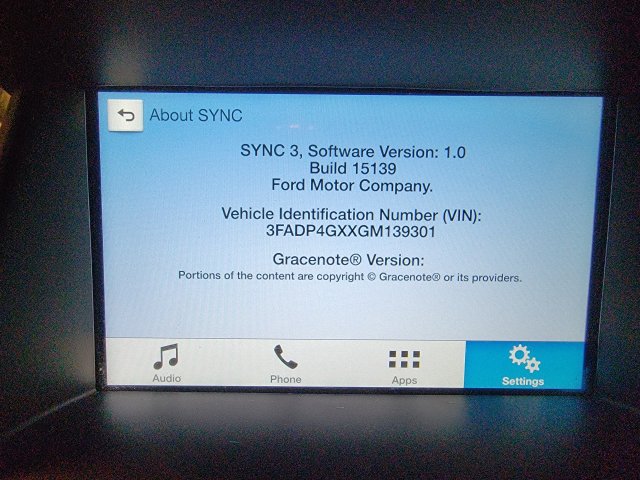
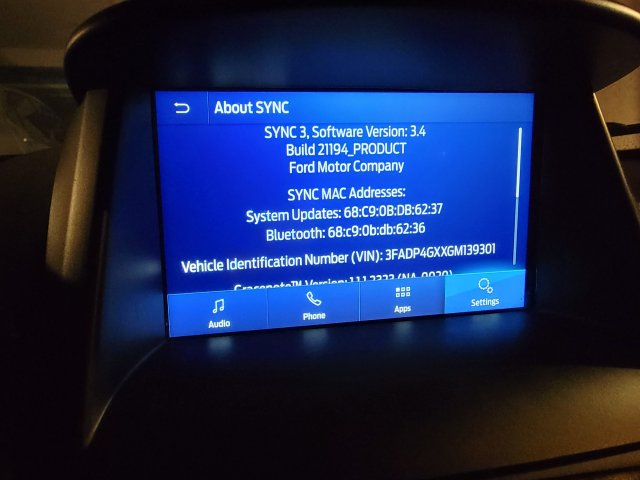
Sync version 3.4
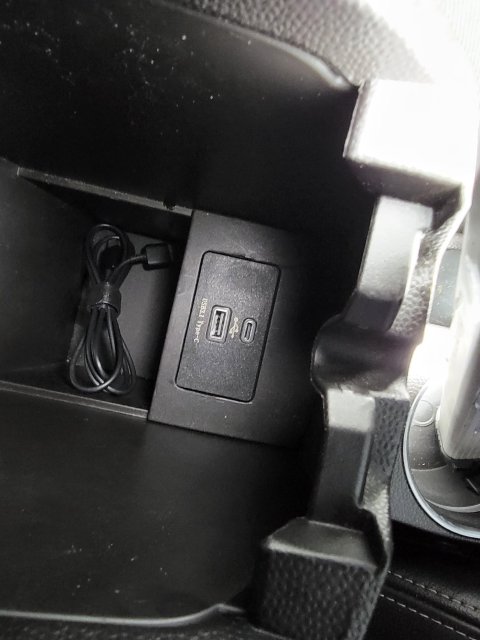
USB hub upgrade
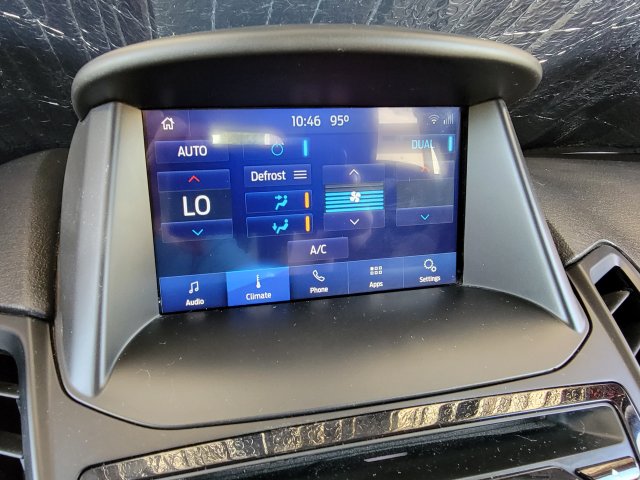
Climate control display enable
Auto Sport mode enable
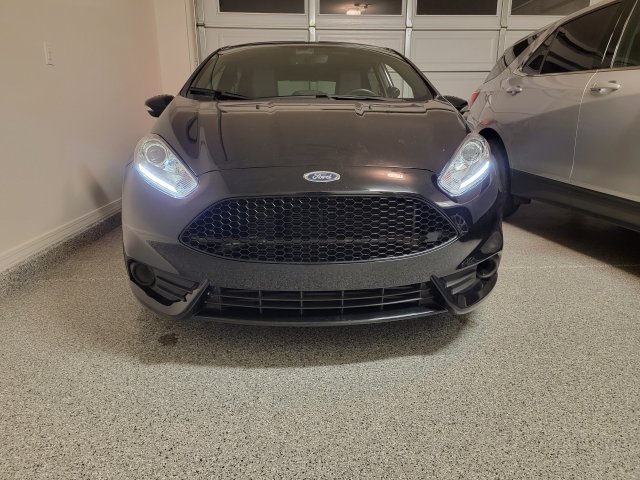
Depo Euro Headlights with auto DRL switching
CravenSpeed 2" Short Antenna
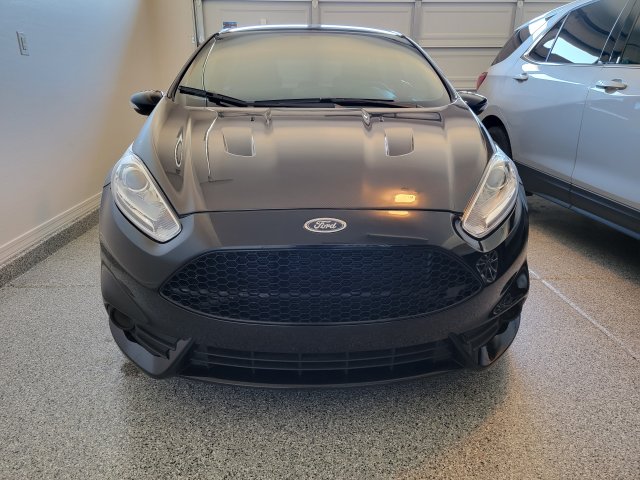
Before mods
After wheels and front BBK
After rear WaveSpec rotors and ISC coilovers
After Euro headlights
After Seibon TM-style carbon fiber hood
After PPF applied to the hood and headlights
Intake track
ITG intake
Montune induction hose
Whoosh crossover pipe
S280 hot side charge pipe
Whoosh hot side intercooler "S" hose
Whoosh v1 intercooler
Whoosh cold side charge pipe
Turbo
Turbo Technics S280 Turbo
Funk Motorsports turbo blanket
GFB DV+
Fuel and Ignition
E30
Dizzy Ethanol Content Gauge Kit
Snow Stage 3 WMI kit
NGK 1-step colder Ruthenium spark plugs
Whoosh Coil Packs
Exhaust track
Airtec tubular exhaust manifold
Whoosh V1 catless downpipe
Swave and Summit GT Full Titanium Exhaust with Resonator
Whoosh exhaust hangers
Cooling
Mountune Triple Pass Radiator
Whoosh Coolant Hose Kit
Spal radiator fan with OEM fan shroud delete
Pro Alloy Coolant Tank (Black)
Tune
Cobb AccessPort v3
Tune+ pro-tune (91oct, 91+WMI, E30+WMI)
Transmission
Spec Aluminum Flywheel
Spec Stage 2 Clutch (Sprung)
RTS CSC Slave Cylinder
BG Syncro Shift II Synthetic Gear Lubricant 75W-90
Motor Mounts
Cobb RMM
AWR PSMM with 62 durometer bushings
AWR TSMM with 62 durometer bushings
Suspension
ISC N1 Street/Sport Coilover Kit
Powerflex Front Sway Bar Bushings - Street
Swave and Summit Adjustable Sway Bar Drop Links
DNA Racing Front LCA
Powerflex Rear Coil Spring Pads - Street
Whiteline Rear Sway Bar
Chassis
Whoosh Subframe Centering Kit
Swave and Summit Front Lower 4 Point Subframe Brace
Steering Rack Bushings - Aluminum
Spoon Rear Rigid Collar Kit
Powerflex Rear Beam to Chassis Bushings - Street
Whoosh 2 Point Trunk Bar
Brakes-Front
Wilwood Front BBK with Stainless Steel Brake Lines
Wilwood BP-10 Pads
Brakes-Rear
StopTech Stainless Steel Brake Lines
WaveSpec Sport Rotors
EBC Redstuff Pads
Ford performance CB Shift Knob
Shifter
Whoosh short shift kit
Whoosh shifter base bushings
Whoosh transmission cable bracket bushing
Weight
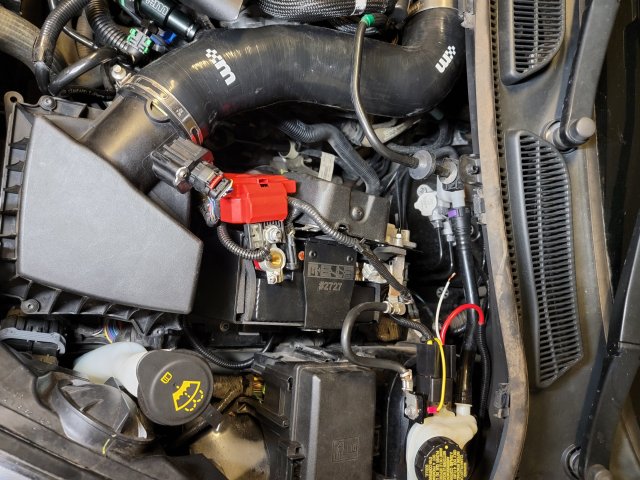
Mele battery mount
Shoari LiON battery LFX36L3-BS12
Wilwood Forged Dynapro 6 Front BBK
17" Konig Hypergram wheels with Continental ExtremeContact Force tires (225/40R17)
TB Performance Front Crash Bar
TB Performance Rear Crash Bar
Whoosh Rear Wiper Delete
Seibon TM Style Carbon Fiber Hood
Back seat, spare tire, and jack delete
Corbeau Evolution X Seats
Lexan rear door windows
Rear door cards
Seibon Carbon Fiber Hatch
Lexan hatch window
Misc
Whoosh Boost Tap
Fumoto F106SX Oil Drain Valve
Non-performance upgrades
Backup Camera
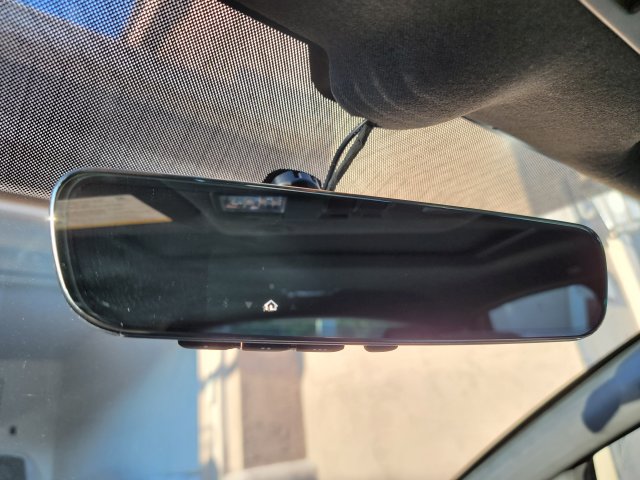
Gentex auto-dimming rearview mirror with Homelink
Sync version 3.4
USB hub upgrade
Climate control display enable
Auto Sport mode enable
Depo Euro Headlights with auto DRL switching
CravenSpeed 2" Short Antenna
Before mods
After wheels and front BBK
After rear WaveSpec rotors and ISC coilovers
After Euro headlights
After Seibon TM-style carbon fiber hood
After PPF applied to the hood and headlights
Last edited: