I bought a set of the Mini H1 to use in the car and the DS2 in the truck but decided to go all out and put in the bigger and better DS2 system in the car and will order another one for the truck, I guess I better put up an ad for the Minis....
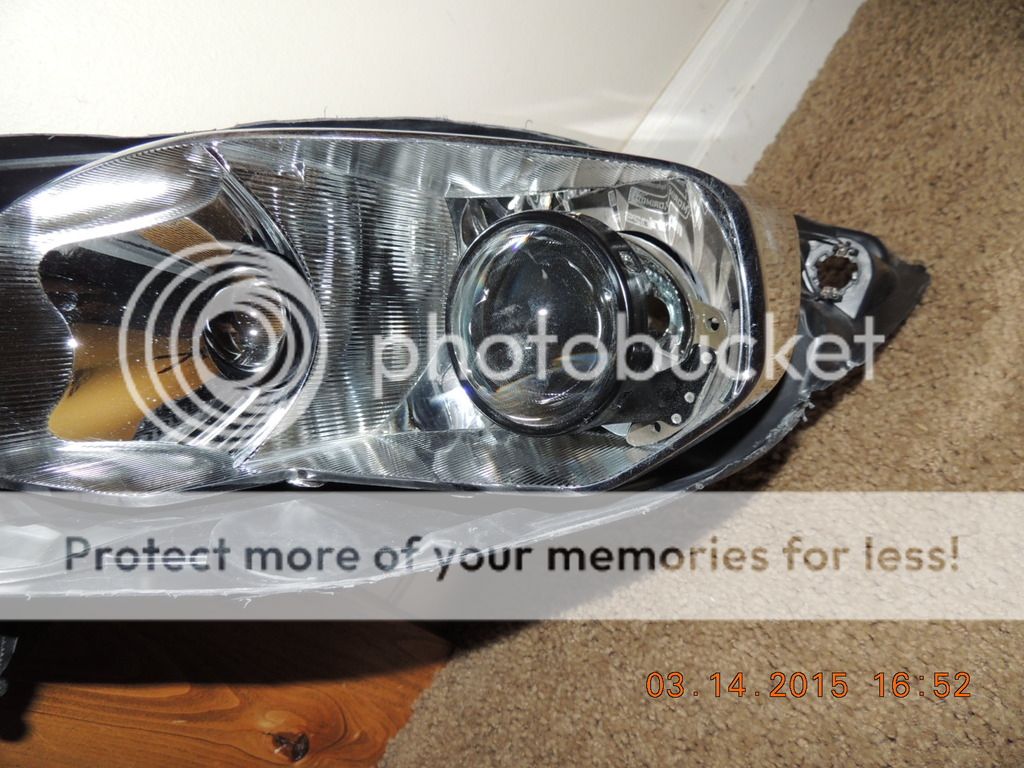
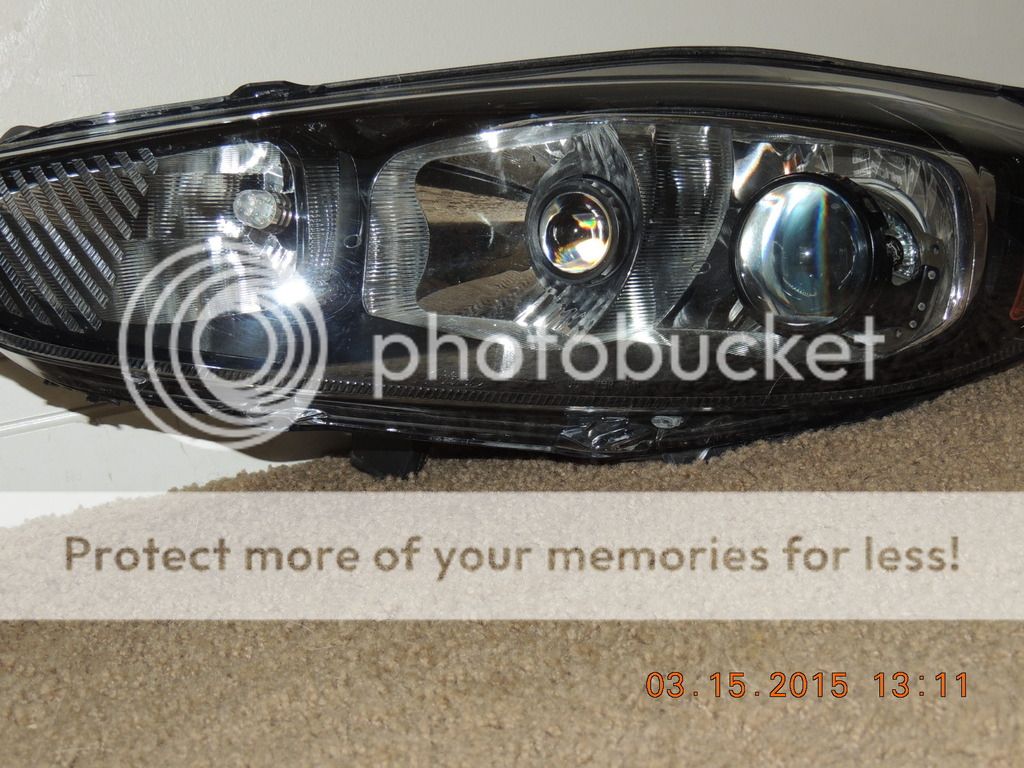
This is taking some serious effort as a far tighter fit than the pics will show, had to recess the projectors a lot to get coverage with the shields which are also going to take a lot of trimming to make work.
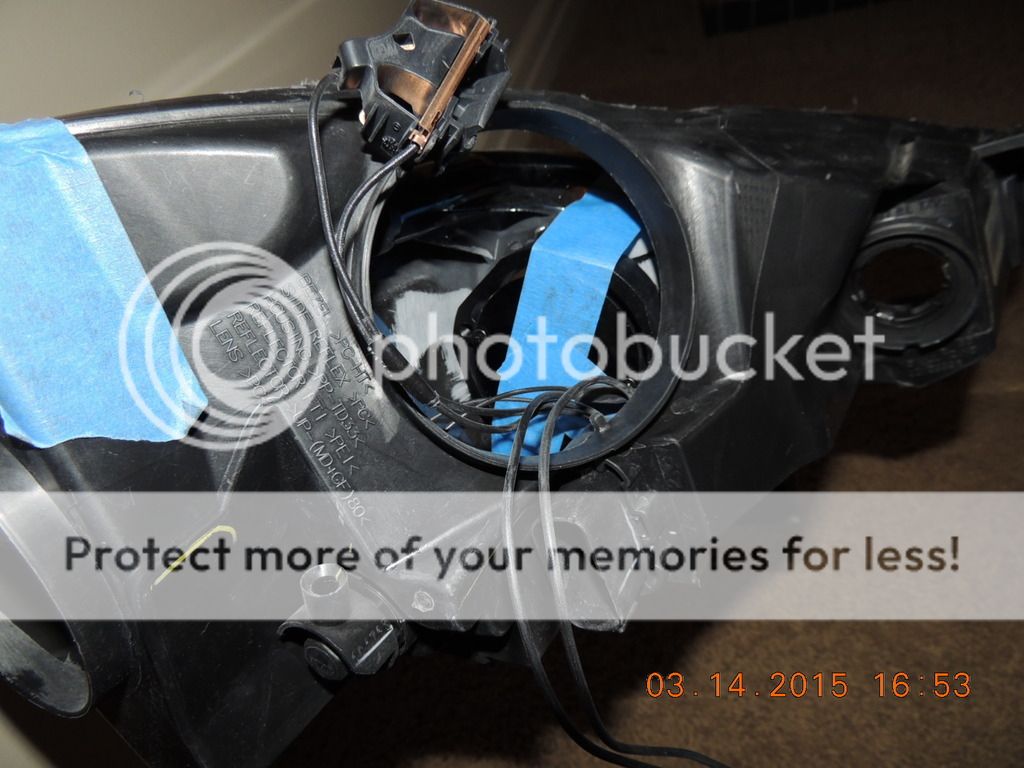
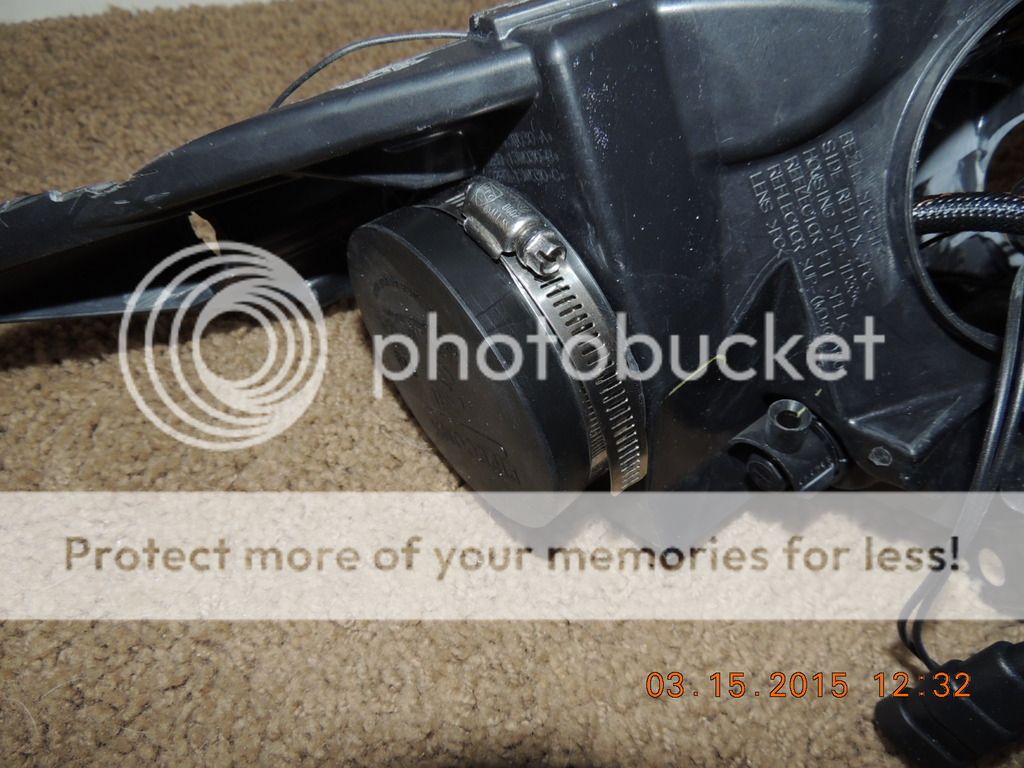
#1, getting the lights apart is a pain in the arse with the adhesive Ford uses. I tested different methods, diamond cut off wheel, heat gun, combination and in the end the job would look like crap and take a great deal of effort.
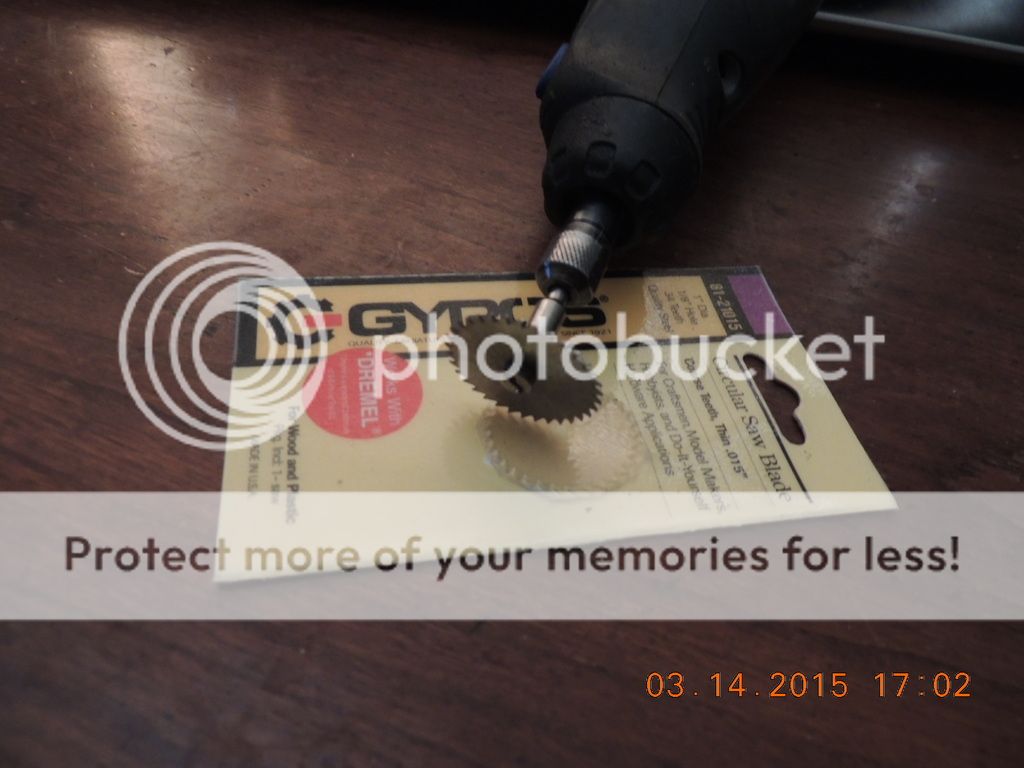
This and how I used it save a huge amount of effort, it was a $17 demel saw blade and cuts, when used right, without melting the ABS back together.
I decided to cut out the backing and not even mess with the adhesive, I will use proper adhesive to glue them back together and then with the valley nearly all the way around will use black silicone sealer and make a really clean coved seal over it all, it will come out quite nice, pics will be posted when I get to that part.
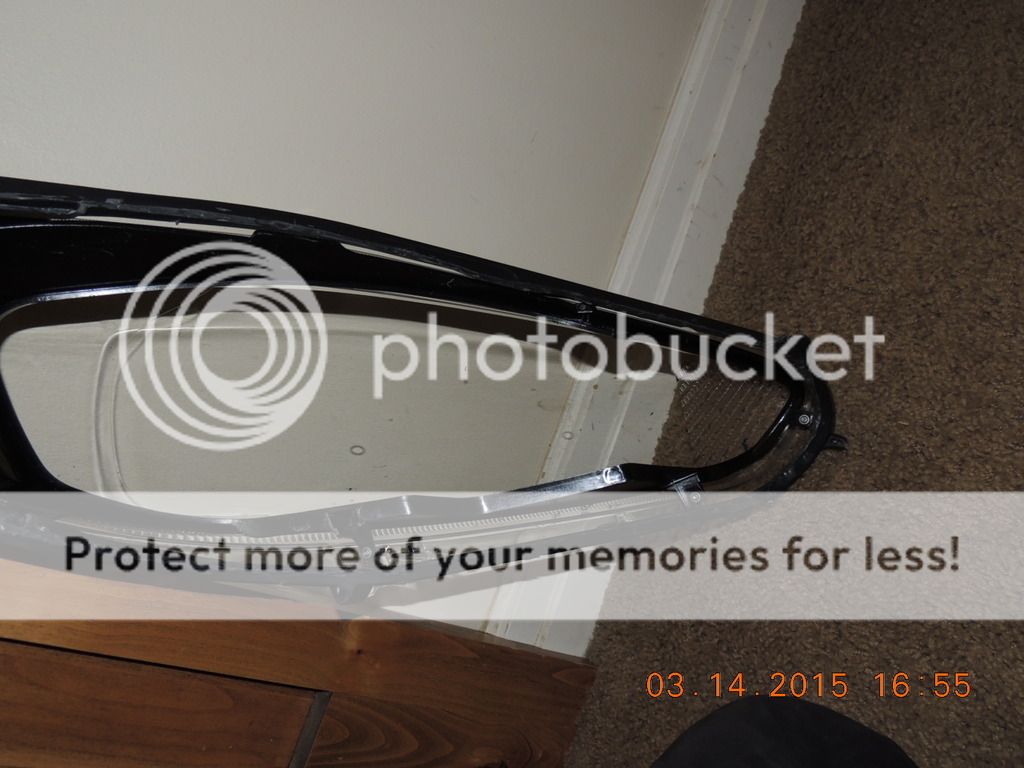
I "cheated" a bit on the corner, no need to cut it out, will not show when done, left it a bit stronger that way....
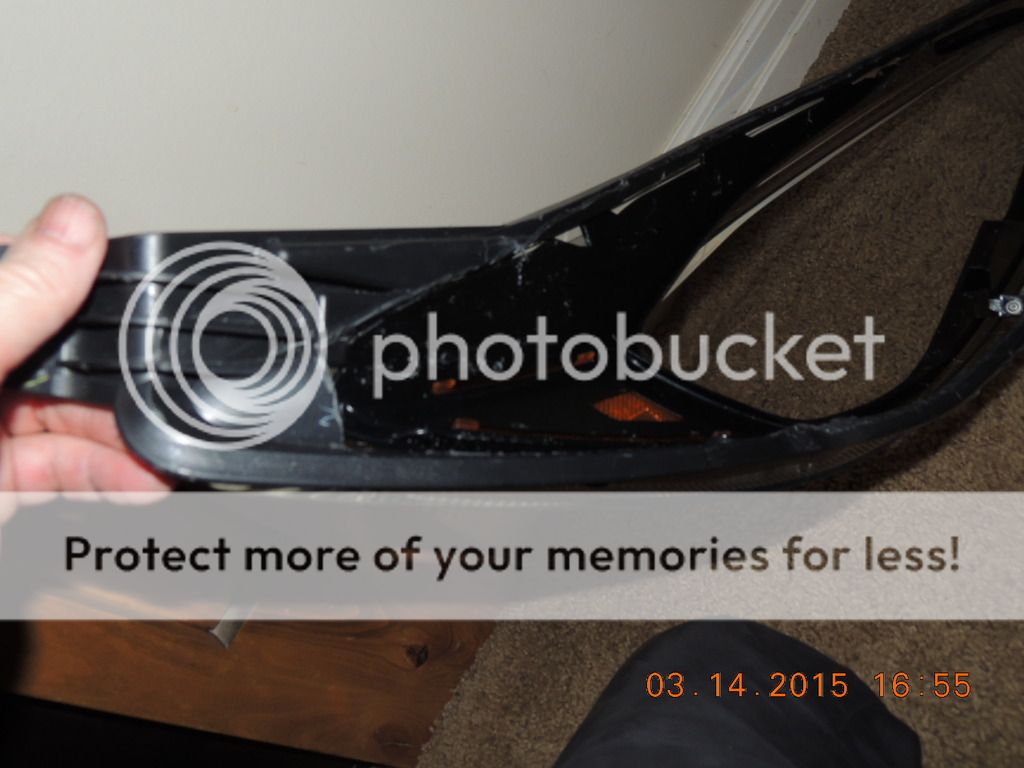
First job is always the one that takes most of the time, that hole took a couple of hours to carefully make it just right, the second light will take 25% of the time at the most.
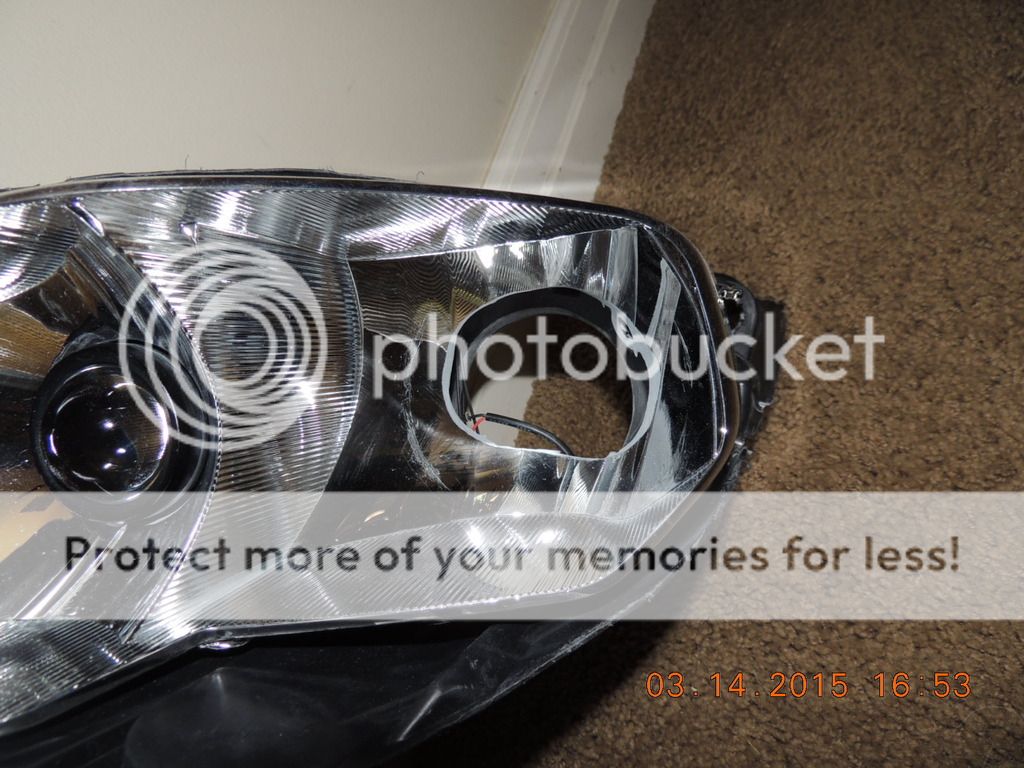
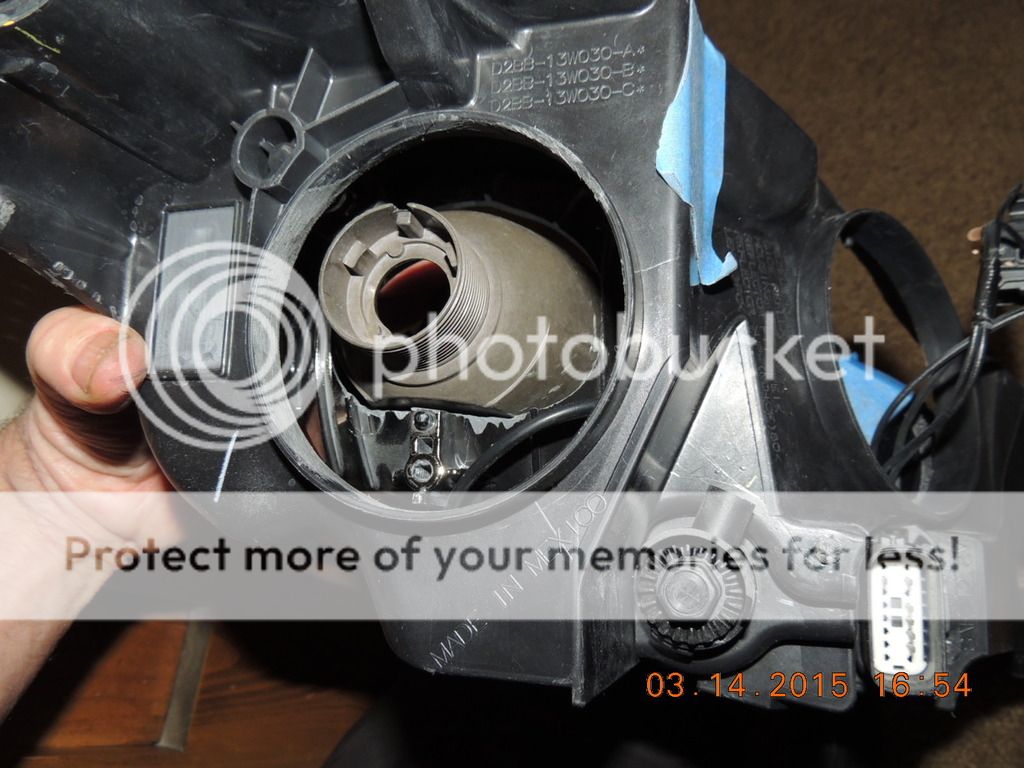
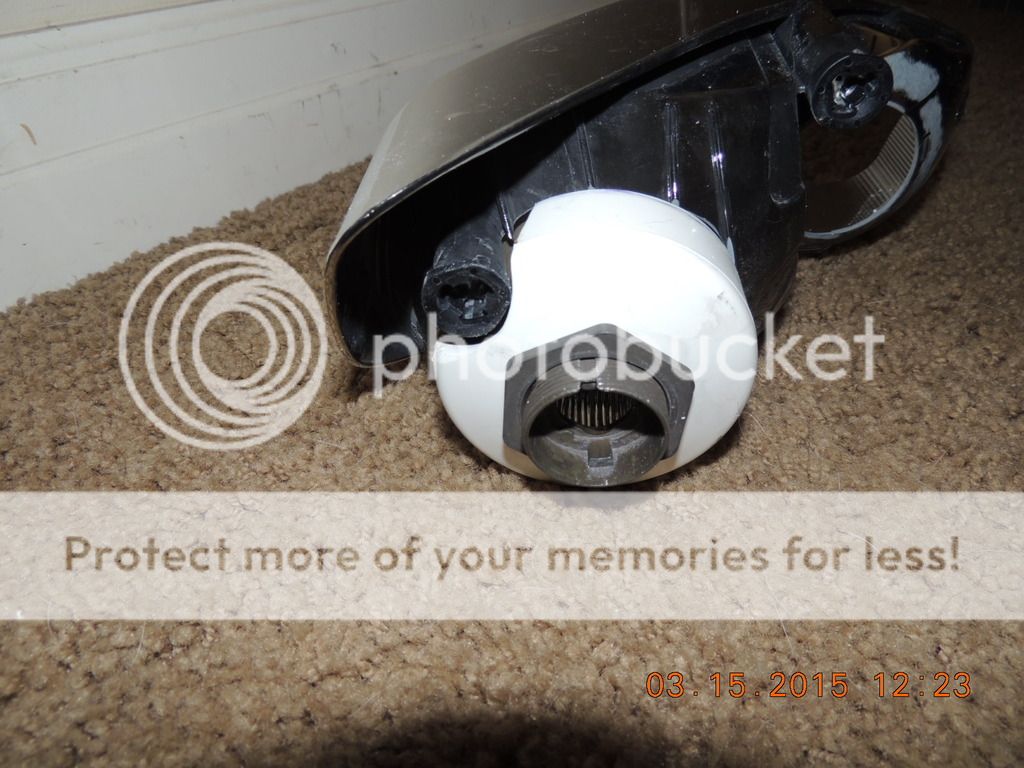
High beam replaced with Mirimoto 25mm DRL LED, they are VERY bright and look better than the picture shows, aluminum housing, etc......
See next post")
This is taking some serious effort as a far tighter fit than the pics will show, had to recess the projectors a lot to get coverage with the shields which are also going to take a lot of trimming to make work.
#1, getting the lights apart is a pain in the arse with the adhesive Ford uses. I tested different methods, diamond cut off wheel, heat gun, combination and in the end the job would look like crap and take a great deal of effort.
This and how I used it save a huge amount of effort, it was a $17 demel saw blade and cuts, when used right, without melting the ABS back together.
I decided to cut out the backing and not even mess with the adhesive, I will use proper adhesive to glue them back together and then with the valley nearly all the way around will use black silicone sealer and make a really clean coved seal over it all, it will come out quite nice, pics will be posted when I get to that part.
I "cheated" a bit on the corner, no need to cut it out, will not show when done, left it a bit stronger that way....
First job is always the one that takes most of the time, that hole took a couple of hours to carefully make it just right, the second light will take 25% of the time at the most.
High beam replaced with Mirimoto 25mm DRL LED, they are VERY bright and look better than the picture shows, aluminum housing, etc......
See next post