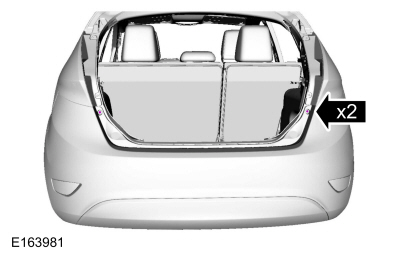
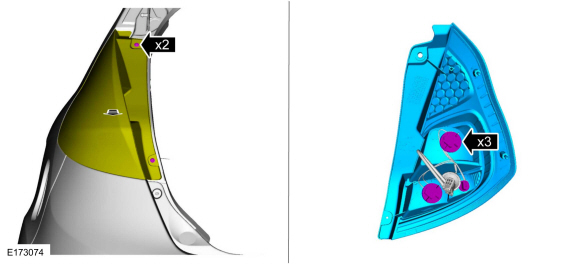
Remove the rear cover, it's the ONLY way you will stop this. The correct method to remove the rust and re-paint will take at least 1 week and may take longer. Try taking a shortcut on this repair and you'll be chasing this rust for as long as you own the car.
Step 1 is to sandblast the corroded area with the surrounding areas fully and completely masked off. Think blue plastic tarping in layers and lots of masking and duct tape to hold it in place. Note, Sears used to sell a portable sand blaster that was composed of a special bucket, hose and nozzle that would be perfect for this task. I would suggesting looking for something similar at Harbor Freight.
Step two is application of the Primer. As an extra measure of rust protection I would suggest you use a military grade zinc based galvanizing primer for the first 2 or 3 coats of primer. You should be able to find this type of primer at a body shop paint supply center. You can also occasionally find this primer at Marine supply stores and Old fashioned Auto Parts shops that work with car restorers and hot rodders.
Step 3 is the color coat and top coat. DO NOT go cheap on the paint. Use a cheap rattle can approach and that repair won't ever look right. That paint I would use is Dupont Chromaclear. While it's not cheap it is pure magic for any metallic color. The clear coat is also excellent. Tip, plan on 3 layers of clear coat, doing this will allow you to wet sand the surface to be 100% free of orange peel and have enough thickness left for a full polish. Tip 2, shoot the clear coat at a reduced temperature somewhere around 50 degrees. Doing this will slow down the curing time and that will allow the surface to self level more completely. Also lay on the clear coat a bit "thin" so you don't get a run. To be blunt, don't try for an orange peel free wet look when you shoot the clear, let the reduced cure temp do the job of leveling the surface finish.
Step 4 is the final protectant, a clear adhesive film layed on top of the fender seam where the bumper cover contacts the fender. Don't know the year of your Fist but my 2019 has some areas that are masked with this type of film to protect against rock chips. Bit of a shame that Ford didn't use the same film to protect against rubs with the front and rear bumper covers. I expect that any body shop supply would have a suitable film. If not the US Post Office sells a clear packing tape that is exceptionally tough that may be a good alternate.
Also I need to tell you that the last time I shot a clear coat finish was on my motorcycle in 1999, so the specific paints I'm suggesting may not exist anymore. However if Chromaclear is no longer made I would expect that any replacement coming from Dupont would be every bit as good or even better. You'll also want to ask for suggestions at that body shop paint supply store because I have never had to do any blending. My memory is that there is a special additive you can mix into the paint for a seamless blend.
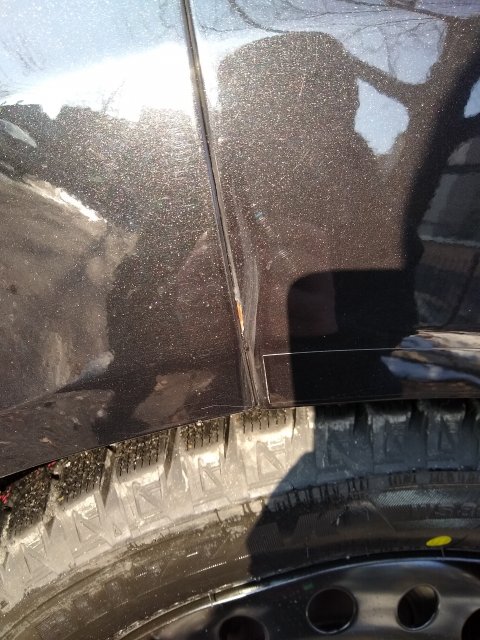
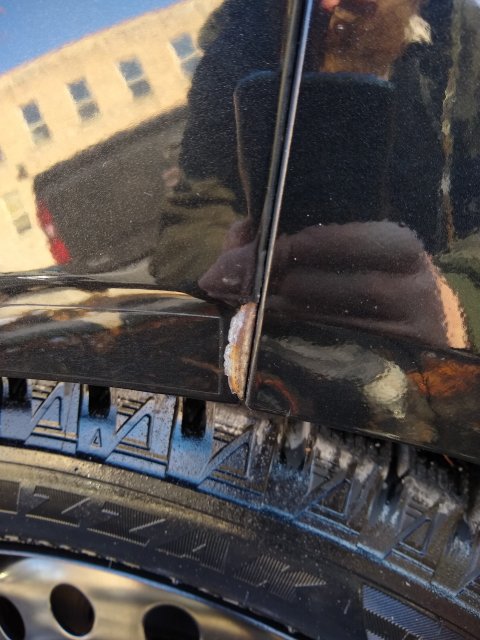
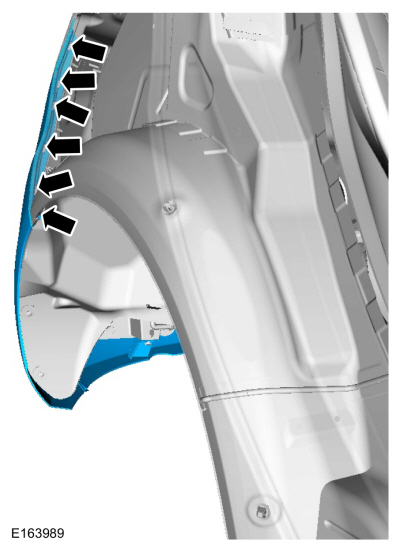
BTW it appears to me that the rear cover has been rubbing the fender long enough to go thru the paint. There are adhesive film you can get at a body shop supplier that will prevent this from happening. However you cannot install that film until the paint is fully cured. Plan on at least 1 week for a ocmplete cure and playing it "safe" and curing to 2 weeks or more is not a bad idea.
Finally If all this seems a bit much then just take it to a very good restoration grade body shop to do the work. Yeah it may cost a grand or more but this type of repair really needs to be done properly the first time. If you don't want to do it right, just slap on some duct tap to hide the damage that will show up in a few years.


 SLD Pierce Motorsports & Garagistic Front & Rear Tow Hook Kit
 Finally decided on wheels/tires/suspension, need insight

