2860 install

OP
SpiceyorangeST
Member ID
#7465
Messages
357
Likes
189
Thread Starter #41
The tension from the Lockwasher should not allow these to come loose. But if your set on tightening them....custom design that tool.

Sent from my SM-N975U1 using Tapatalk
The one that doesn't have the washers is the one I'm worried about.


OP
SpiceyorangeST
Member ID
#7465
Messages
357
Likes
189
Thread Starter #45
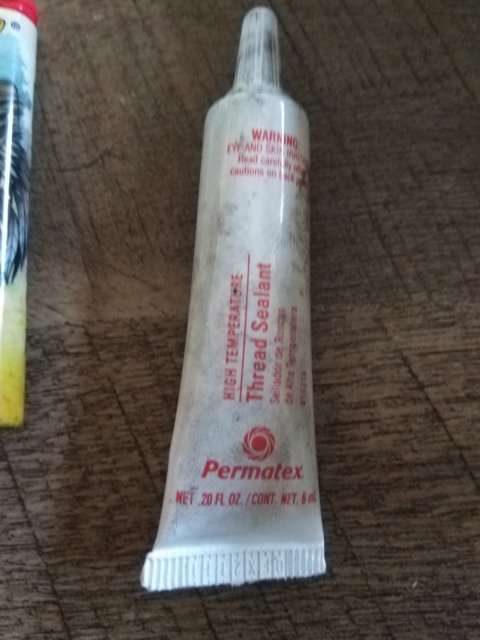
I took a pic of the 12 point crows foot I got. It's way too thick to fit in there. I'll have to grind it down to get those loose to put that thread locker on them.


TyphoonFiST

9000 Post Club
Premium Account
Member ID
#3304
Messages
11,852
Likes
8,307
#46
I took a pic of the 12 point crows foot I got. It's way too thick to fit in there. I'll have to grind it down to get those loose to put that thread locker on them.
DIY that so others can follow and utilize the process *

Sent from my SM-N975U1 using Tapatalk


Member ID
#13802
Messages
126
Likes
158
#47
I've picked this up from autozone and it's holding my caliper pins in place. Applied it in fall and it's lasted through winter, rain, hard use, potholes...


Attachments

OP
SpiceyorangeST
Member ID
#7465
Messages
357
Likes
189
Thread Starter #48
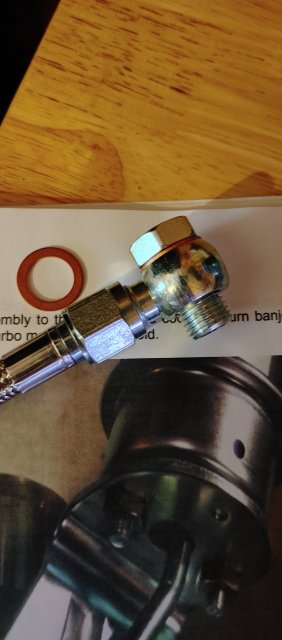
So question, do I just tighten this banjo bolt as tight as I can making sure one of the holes is lined up with the line? Also what's the second washer for?


haste

1000 Post Club
Member ID
#1646
Messages
1,222
Likes
1,267
#50
The washer goes on the other side so both sides of the banjo fitting are sealed with the crush washers when the bolt is tightened. I wouldn't go "as tight as you can". Everything has a torque spec.


TyphoonFiST

9000 Post Club
Premium Account
Member ID
#3304
Messages
11,852
Likes
8,307
#51
I do believe crush washers are a 10 -15ft lb. Tq. spec. just make sure they are clean when you Tq. them down. You can always ask ATP also they will tell you exactly*


OP
SpiceyorangeST
Member ID
#7465
Messages
357
Likes
189
Thread Starter #52
Ok what about the holes inside the bolt though? There are 3 of them, am I just supposed to make sure at least one is lined up with the braided line itself?


OP
SpiceyorangeST
Member ID
#7465
Messages
357
Likes
189
Thread Starter #54
I've never dealt with one before so it the orientation doesn't matter at all? Just tighten it?


dhminer

2000 Post Club
Member ID
#12462
Messages
2,534
Likes
2,976
#55
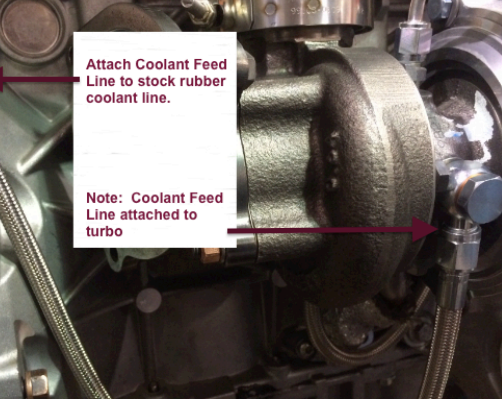
Align it at a right angle perpendicular to the ground. The braided line should point straight down when the turbo is mounted on the car.

1624029735433.png


OP
SpiceyorangeST
Member ID
#7465
Messages
357
Likes
189
Thread Starter #56
Align it at a right angle perpendicular to the ground. The braided line should point straight down when the turbo is mounted on the car.

View attachment 41455
Right so just tighten the bolt like any other bolt without worrying about the orientation of the holes inside


OP
SpiceyorangeST
Member ID
#7465
Messages
357
Likes
189
Thread Starter #59
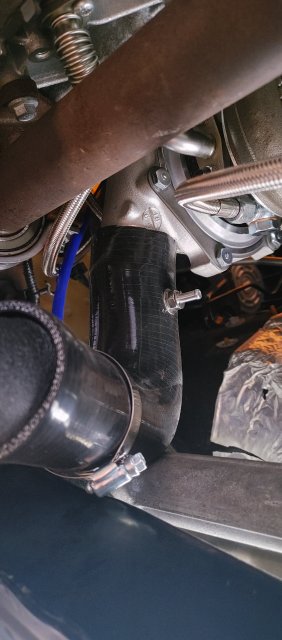
So turbo is in. But looks like I should have mocked up this elbow for the charge pipe before I put the boost tap in because it's way too long and rubs against the rack, doesn't line up with where the charge pipe needs to be at all. 20210627_154145_HDR.jpg


TyphoonFiST

9000 Post Club
Premium Account
Member ID
#3304
Messages
11,852
Likes
8,307
#60
So turbo is in. But looks like I should have mocked up this elbow for the charge pipe before I put the boost tap in because it's way too long and rubs against the rack, doesn't line up with where the charge pipe needs to be at all. View attachment 41676
Cut it down*

Sent from my SM-N975U1 using Tapatalk


Similar threads


Top