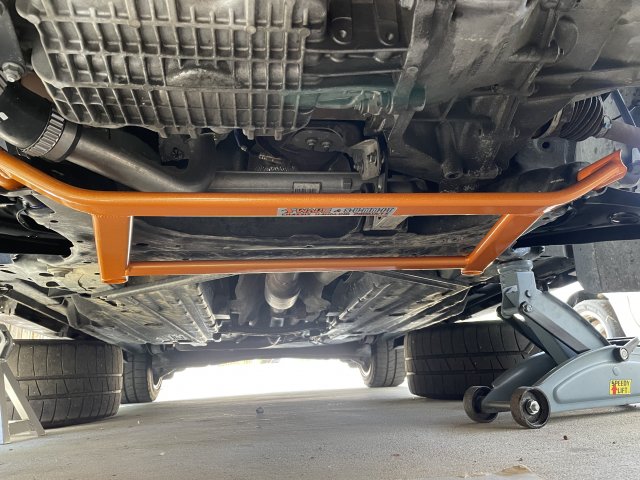
The only drawback to that Swave/Summit brace is that you would need a custom fabbed skid plate
if you ever decided to go that route.
![[wink]](/images/smilies/wink.gif "Wink [wink]")
(Most of the bolt-on ones available use k member/subframe holes for mounting which are blocked by that brace.
![[:(]](/images/smilies/frown.png "Frown [:(]")
)
I was going to wait until I got it fully installed, but since you mentioned it...
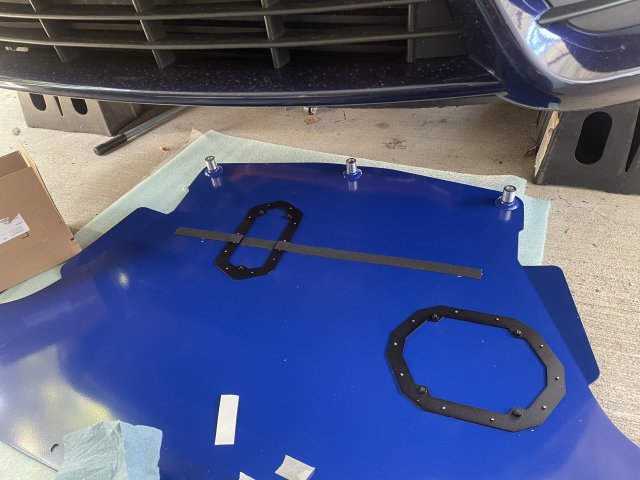
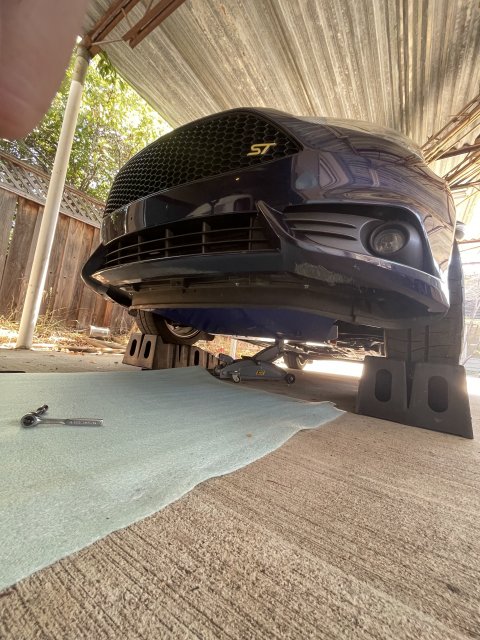
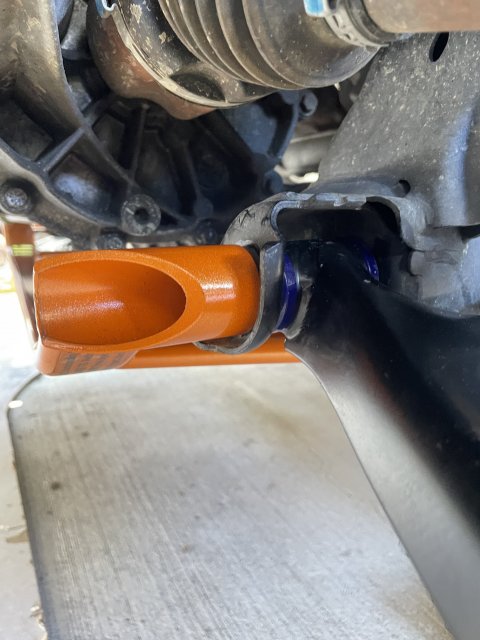
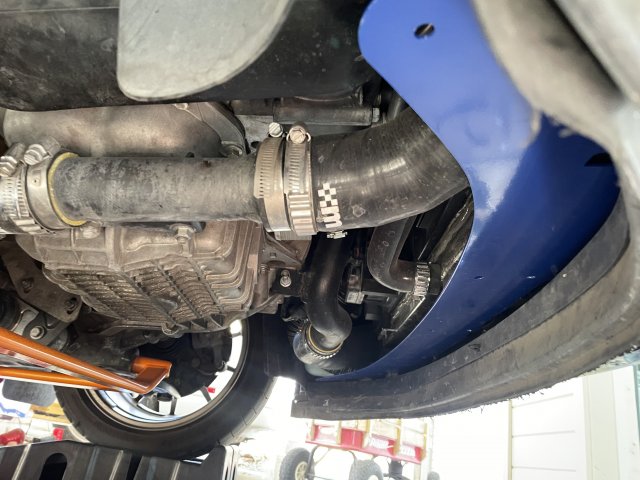
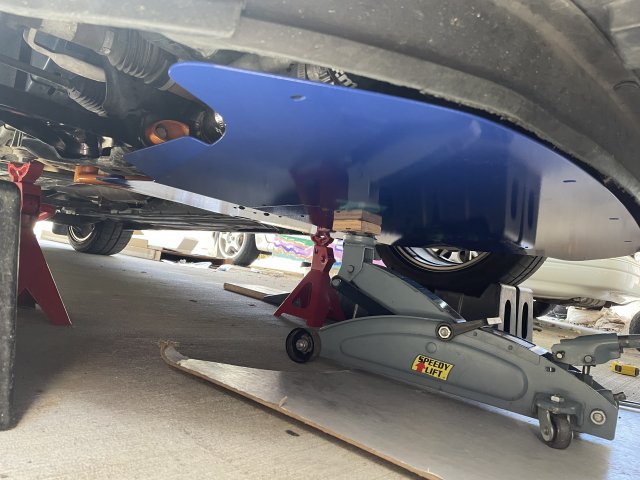
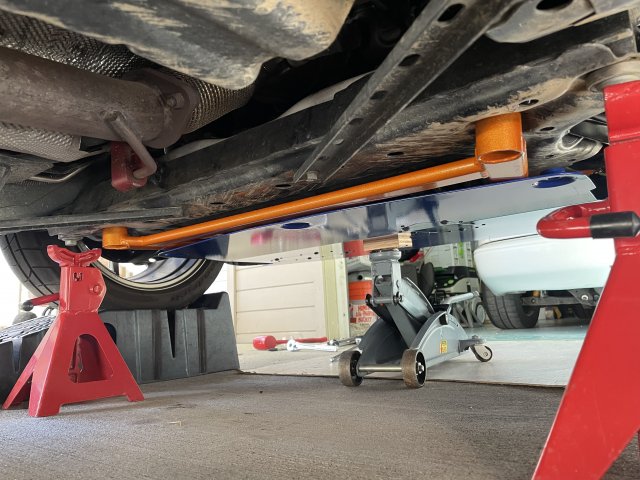
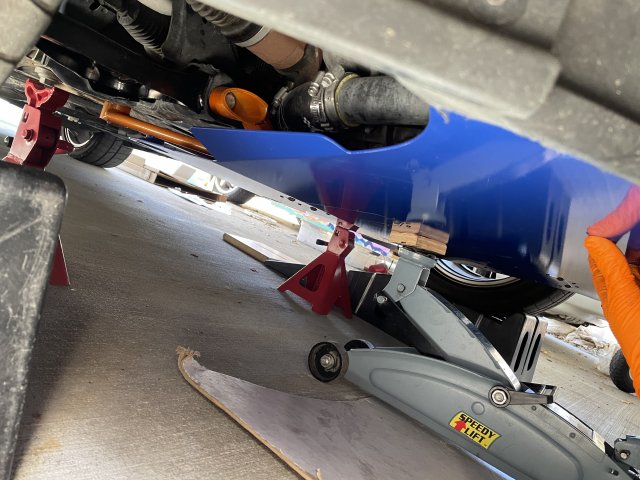
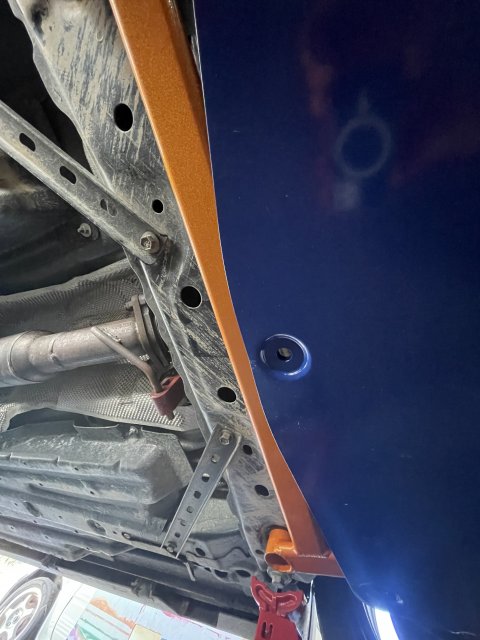
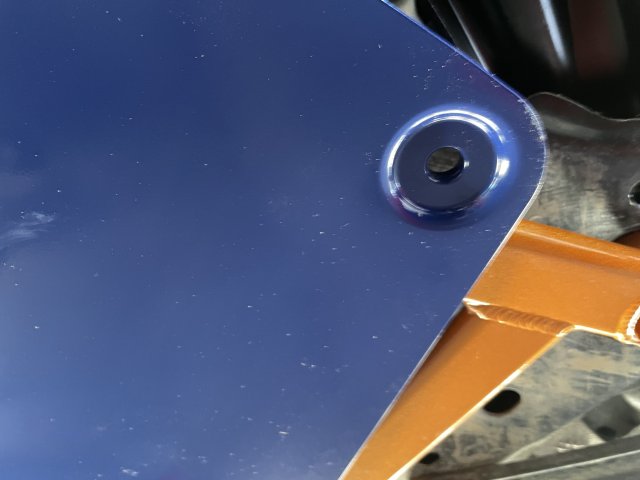
Through some investigation, planning and also some luck, The ADF skidplate will fit with longer bolts and some spacers in the back. The K-member holes they chose for the rivnuts just perfectly dodge the Swave brace. In fact that's part of why I chose the two together and took a chance based on photos.
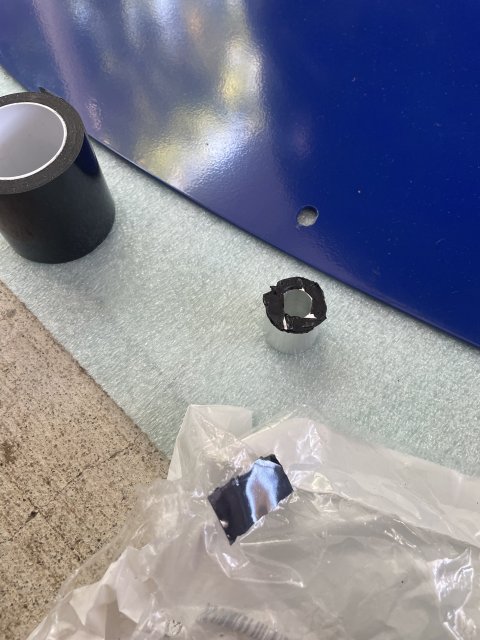
I plan to put some foam in between the Swave and the skidplate to hopefully prevent rubbing/noise. Measurement looks like the spacers need to be about 1" tall. It means the subframe brace will be supporting the skidplate if it makes contact, but its meant to be a "lightweight" plate to protect things underneath in case of incidental scrapes and clean up airflow, not a heavy duty rally skidplate you can "surf" on.
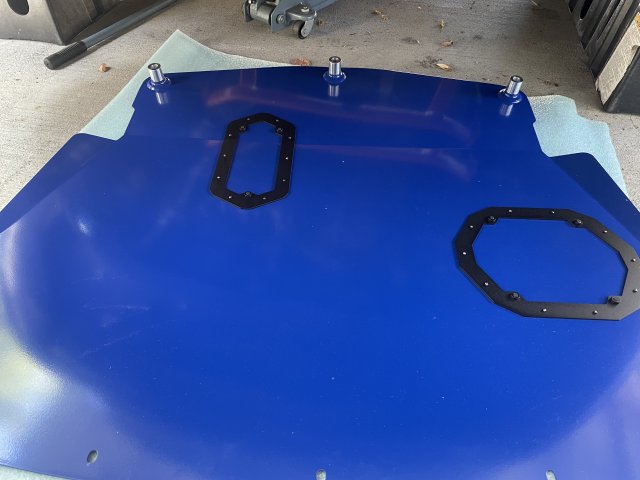
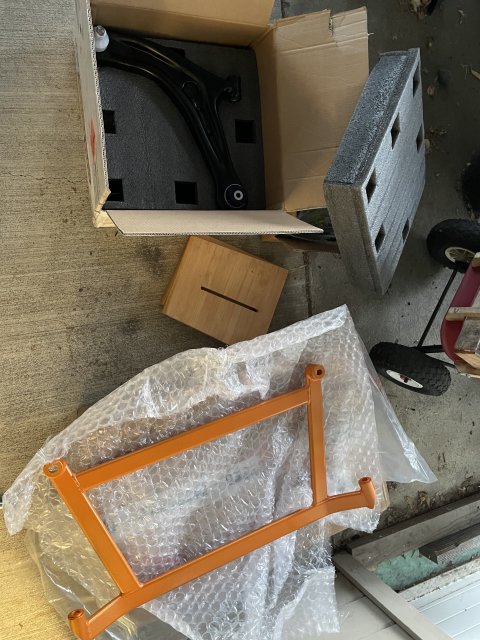
I got lucky and when I emailed ADF back in January (while the plates were out of stock), they were just ramping up for another batch. As long as you're willing to wait and pay up front, for an extra $30, they did a custom color for me - nothing quite a match for Kona Blue, but I think the lighter hue is close enough that with the shadows underneath the car it looks pretty good. The new round of plates have oil and filter change access like the Focus skidplates.
Mine looks a little odd because I had them move the filter access hole so I'll be able to use it once I've got my filter relocation kit installed. They even did it free of charge since I was paying up front. The standard plates have it right under the "correct" location under the filter.
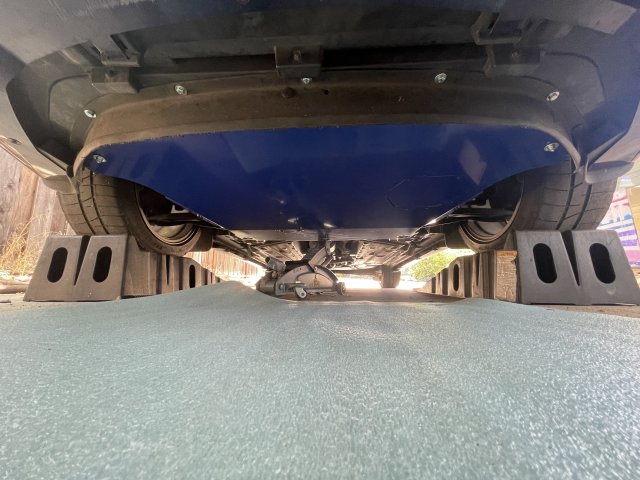
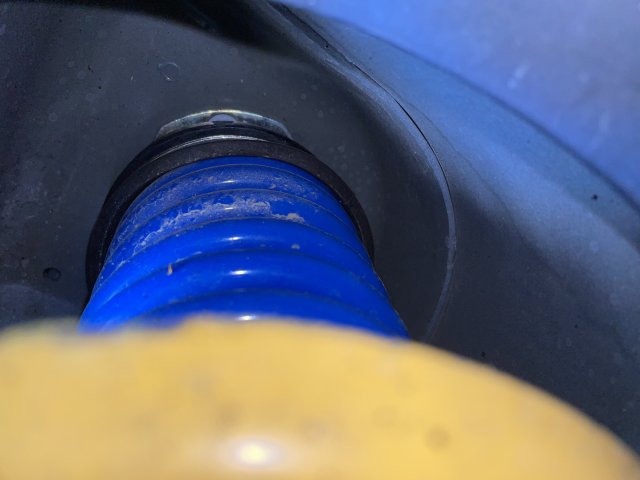
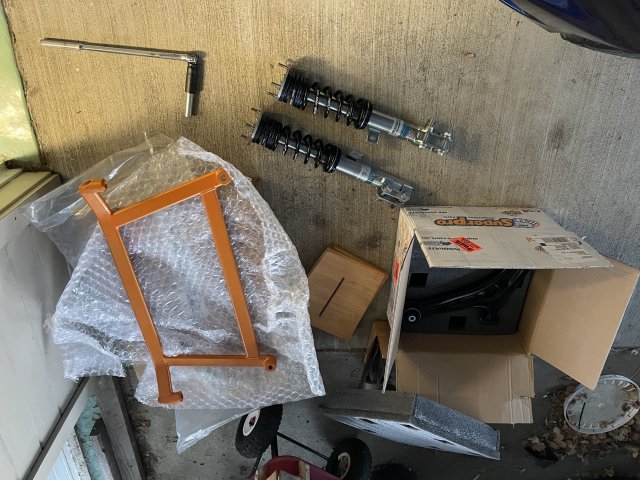
Haven't installed it yet, but did a test fit to confirm (and take the spacer measurement). Its hard to tell from the angle of the pictures, but the rivnut holes *are* lined up correctly (just no spacers in yet). Also need to slightly reroute my ST200 intake hose, because currently it sticks down a little too low running "under" the charge pipe into the space behind the foglight.

![IMG_8713[1].JPG](/data/attachments/56/56589-f20ec2403689ad658f923ec4bf1be649.jpg)
![IMG_8716[1].JPG](/data/attachments/56/56590-844d92b8b89e79485eabc83d76fe8aae.jpg)
![IMG_8714[1].JPG](/data/attachments/56/56591-72a4a936eddbc7c666d9d4e255b13703.jpg)
![IMG_8715[1].JPG](/data/attachments/56/56592-59f5bb66506ec4c51ee31ba5b4b4ff4b.jpg)
![IMG_8717[1].JPG](/data/attachments/56/56593-e33eb391b42b3484988649431346a869.jpg)


![[8D]](/images/smilies/cool.gif "Cool [8D]")