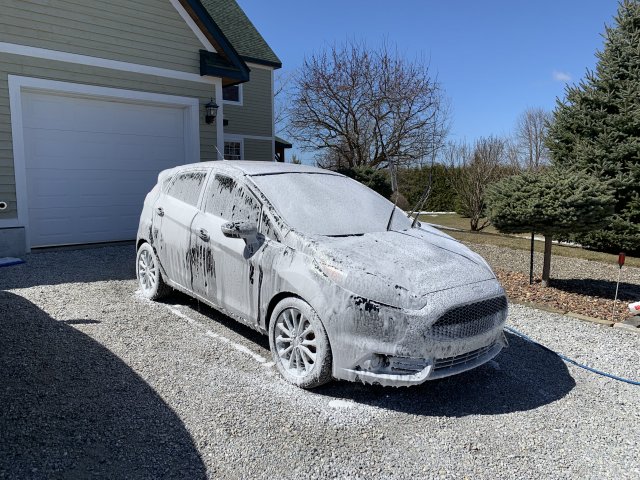
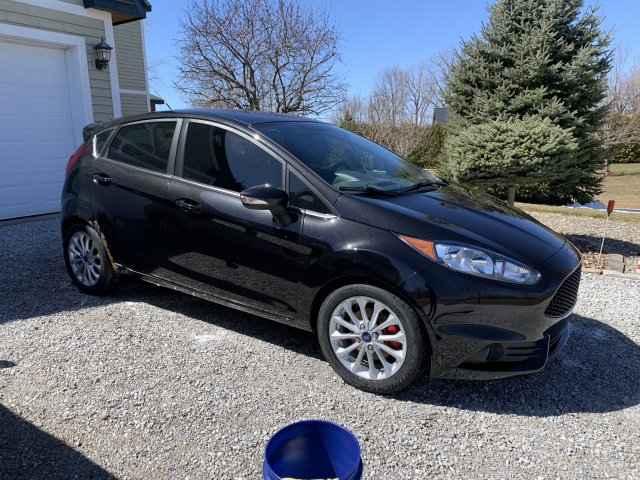
I thought I'd start a build thread for my 2014 tuxedo black Fiesta ST. I've owned this car new since July 2014, and it's been my daily driver ever since. It's been my only new car purchase, and I learned to drive manual on it. I bought it with the help of my grandfather when I was a 20 yr old starry-eyed college student. Throughout the years, I've only done maintenance and repairs with some small upgrades sprinkled in, like a COBB RMM, Carbon fiber shift knob, false floor mod, Rally-Armour mud flaps and 70% tint.
I currently have around 128k KM's on it (Canadian, living in Montréal). My aim is not too increase performance right now. I'm more focused on driving dynamics and road compliance. Think better damping, lighter unsprung mass, etc.
Here is the list of things I want to address and will be documenting in this thread. I am sure this list is incomplete and will evolve over time. I'll try to hotlink these things with the corresponding post.
Sound, NVH & Comfort
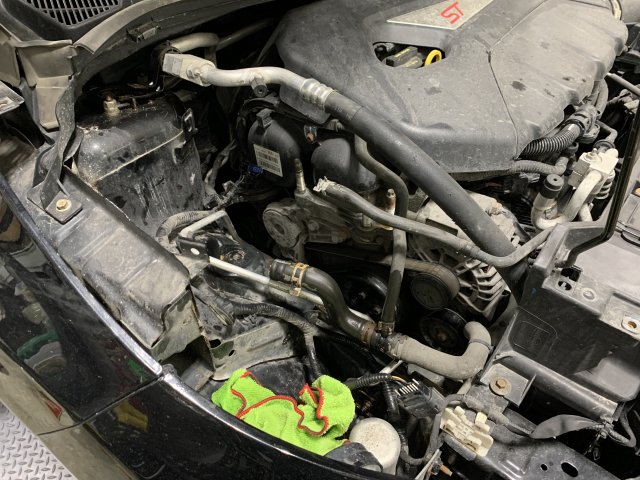
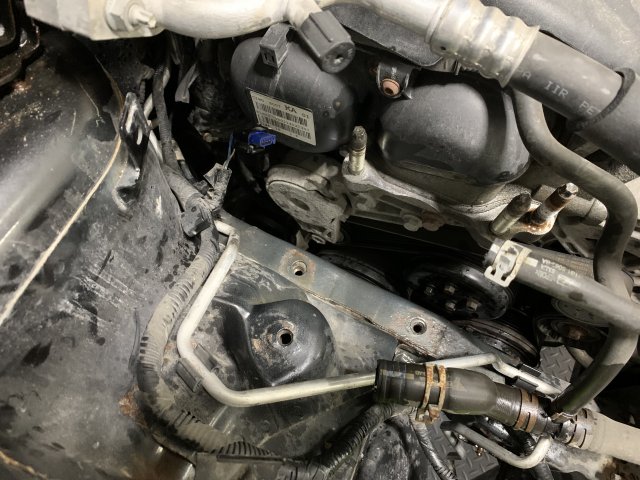
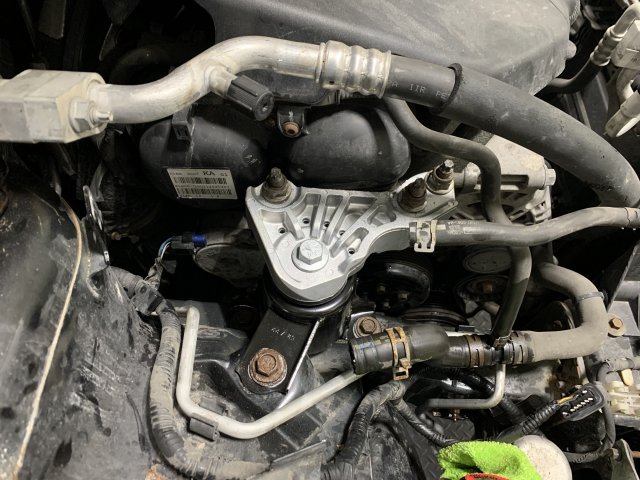
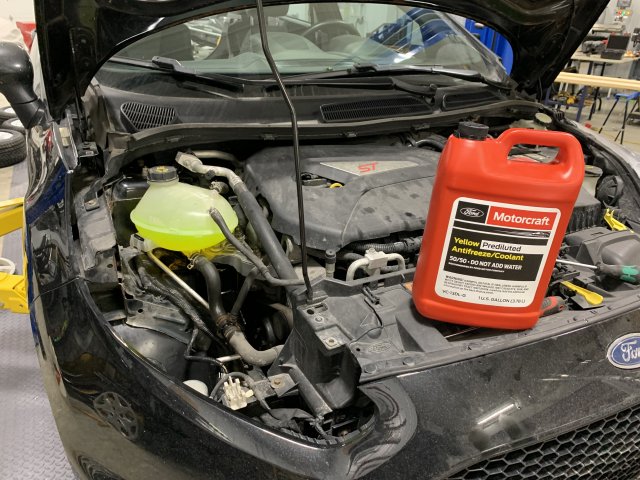
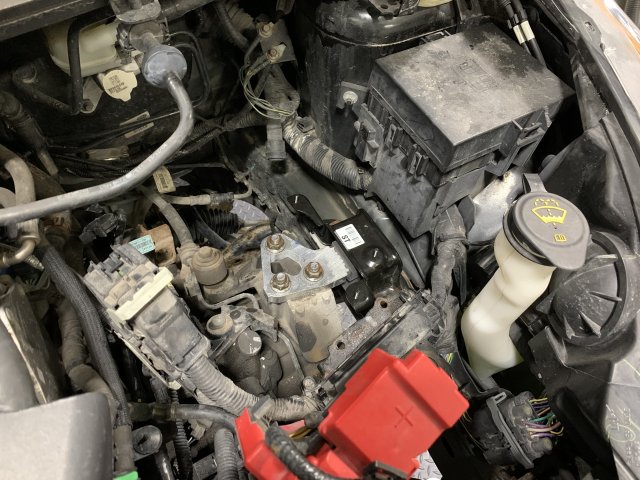
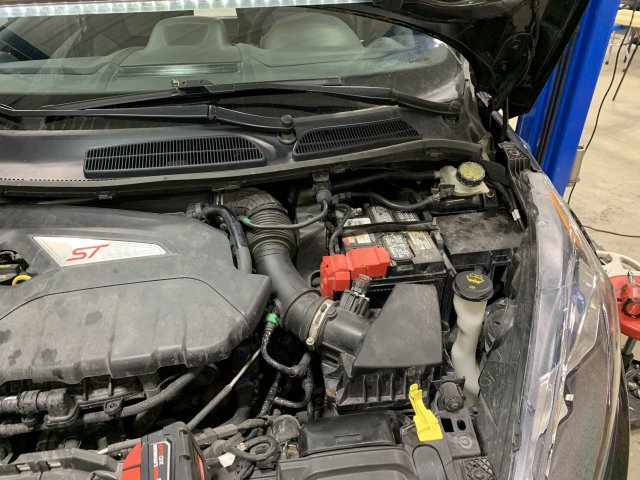
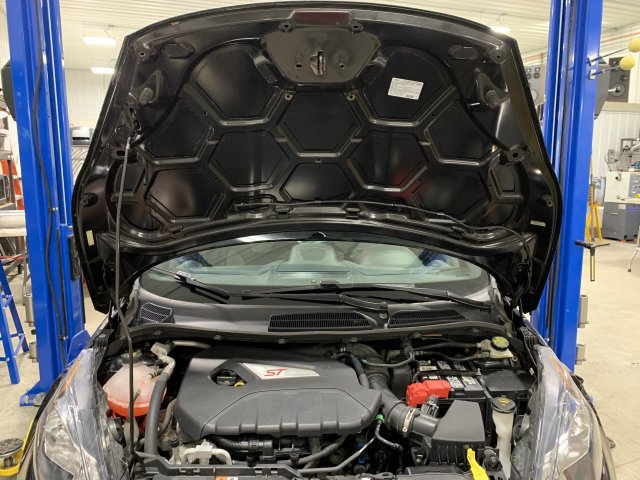
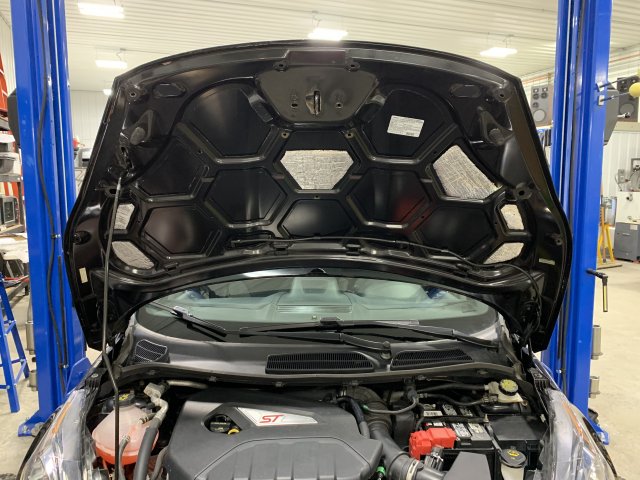
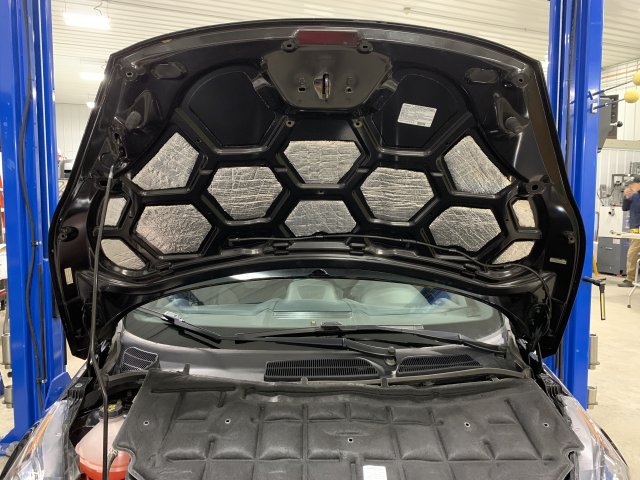
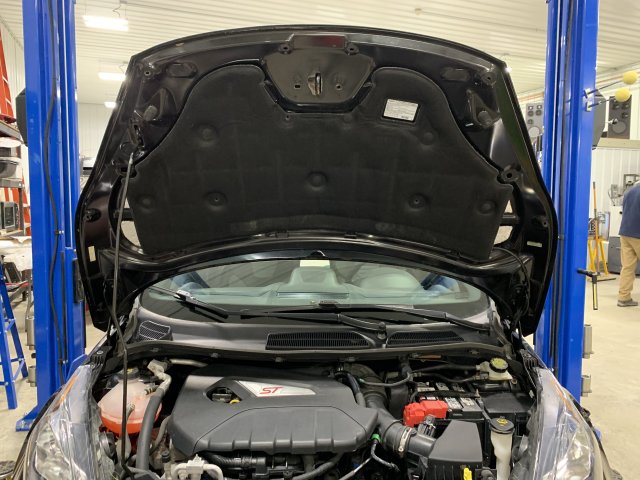
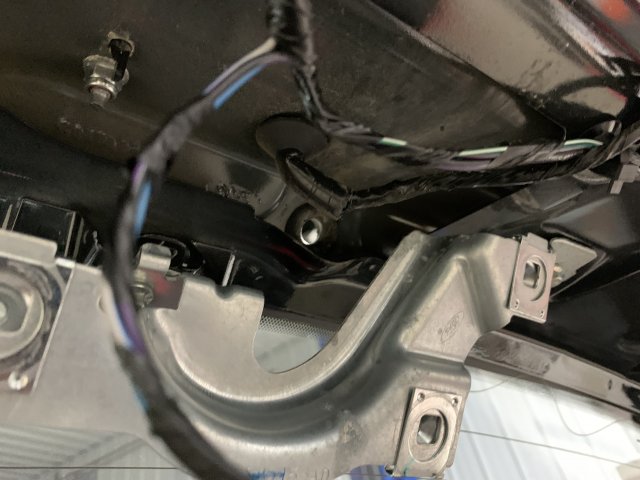
- Underhood insulation (noise & heat)
- Putting back OEM rear spring pads
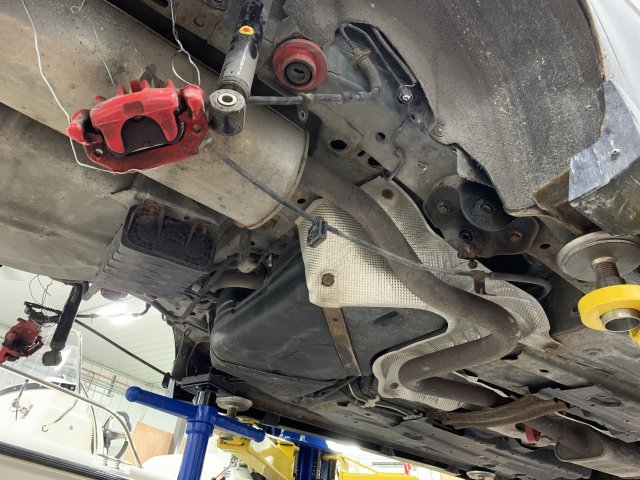
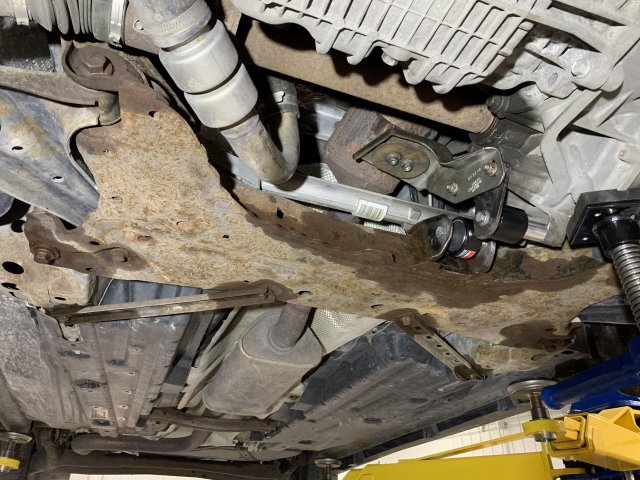
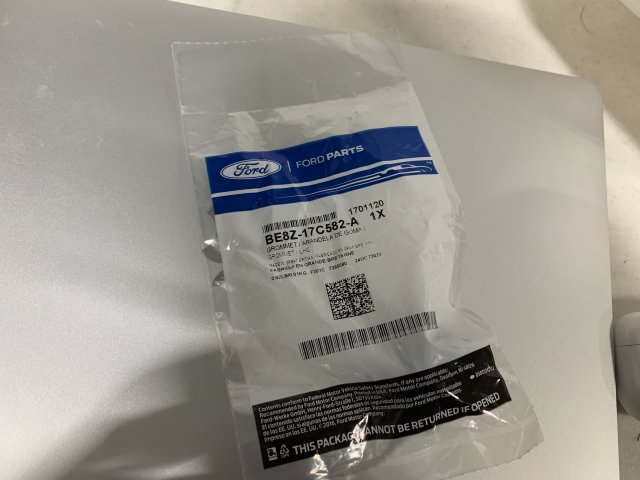
- OEM Exhaust isolators
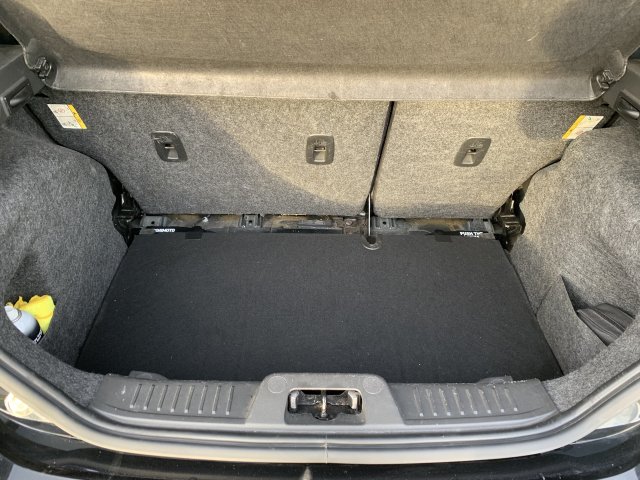
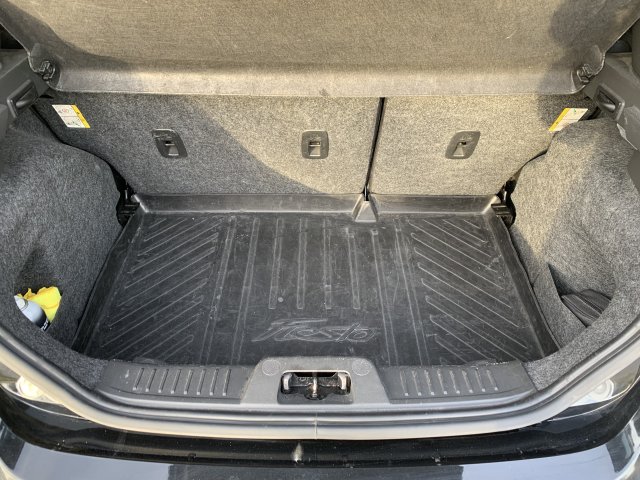
- Complete rear trunk sound insulation (100ml butyl + 157ml closed-cell foam)
- Complete aero flat panel under-tray
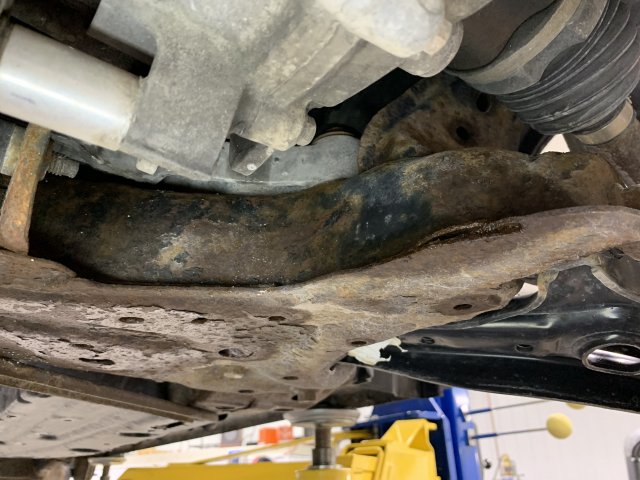
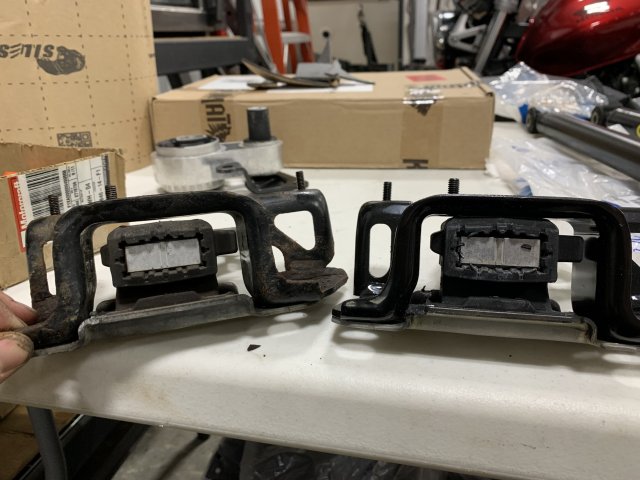
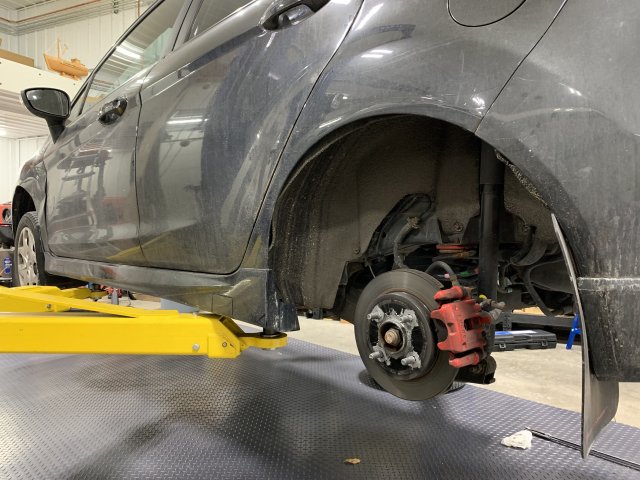
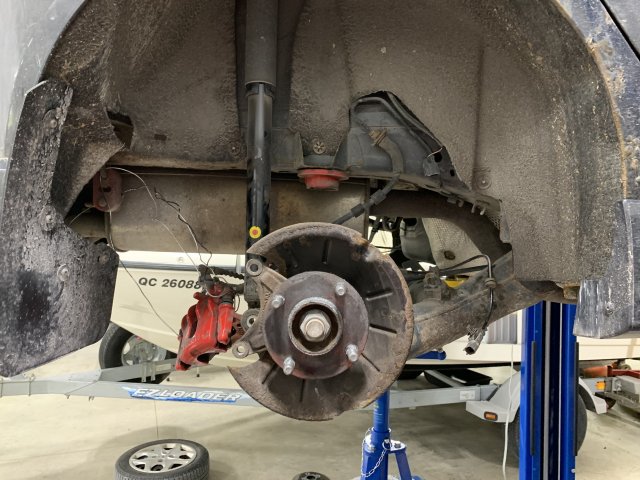
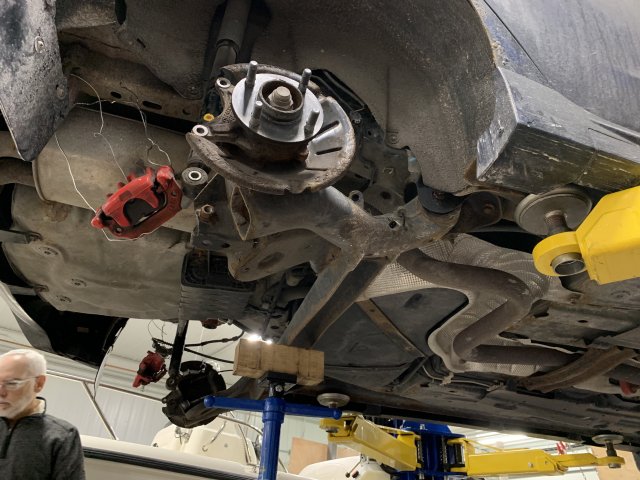
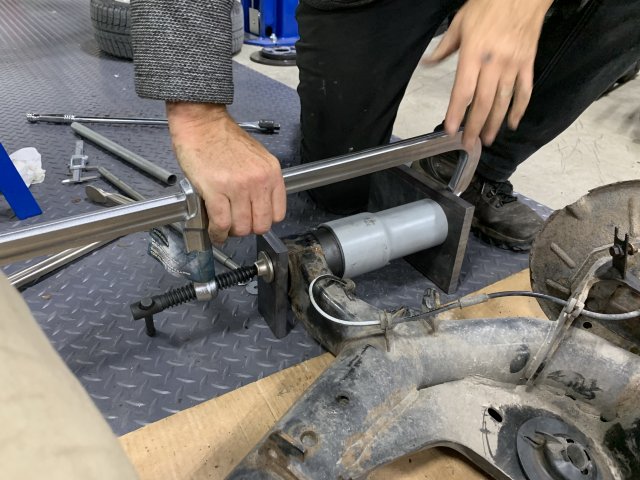
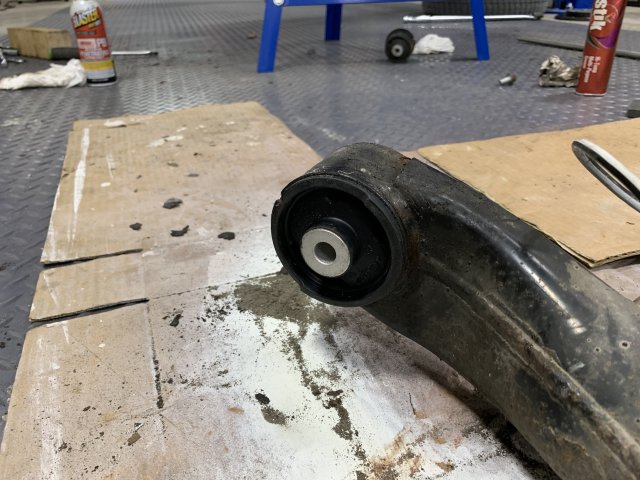
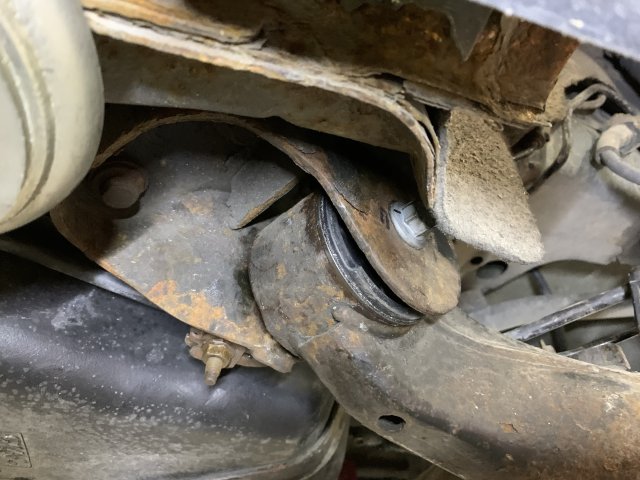
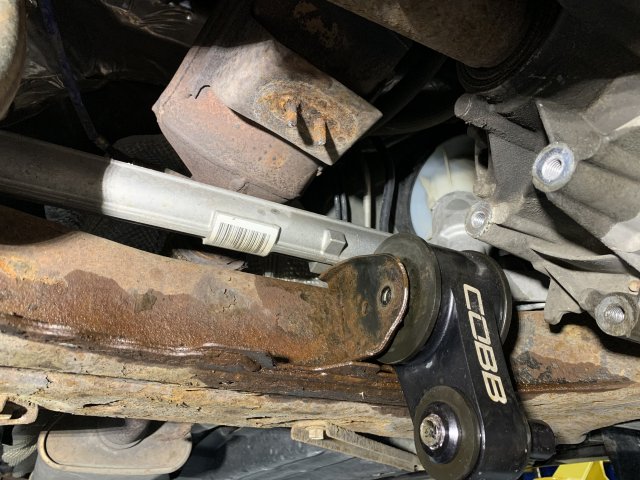
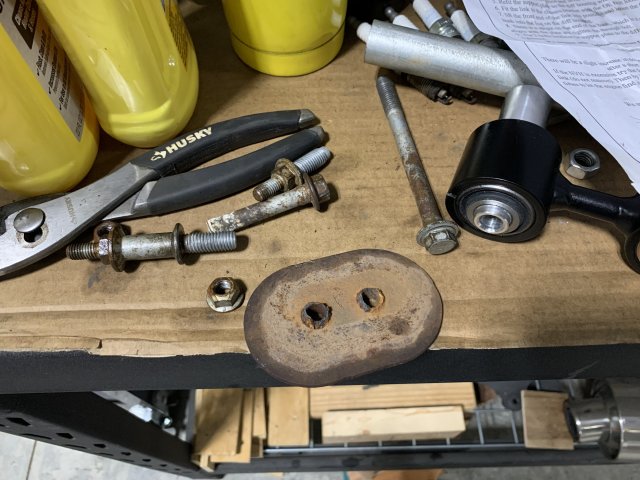
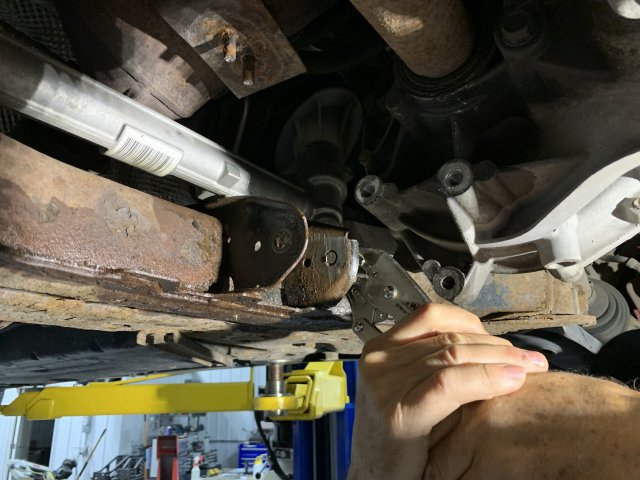
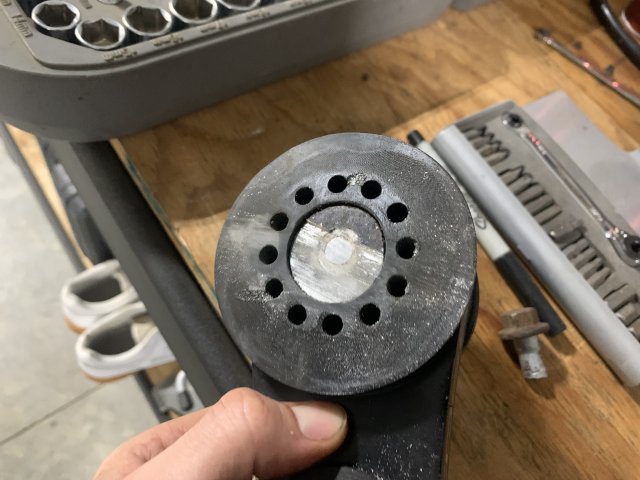
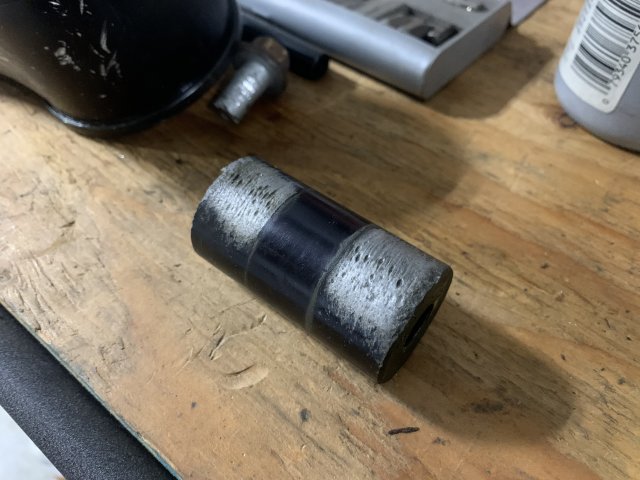
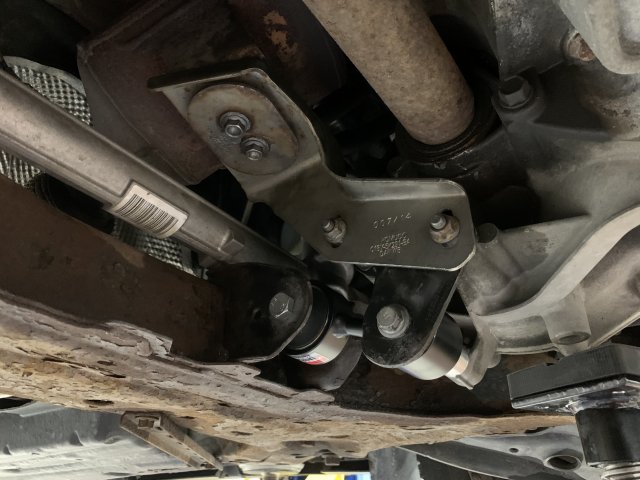
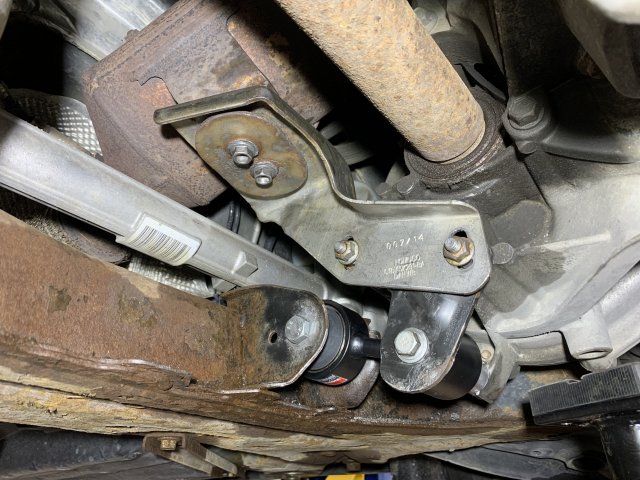
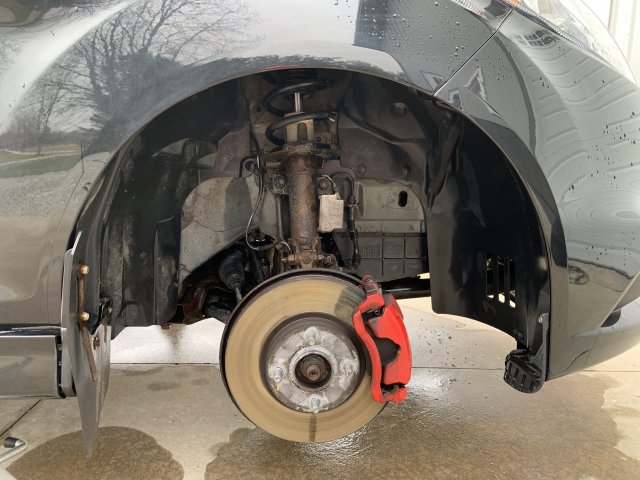
- Replace rear trailing arm bushings
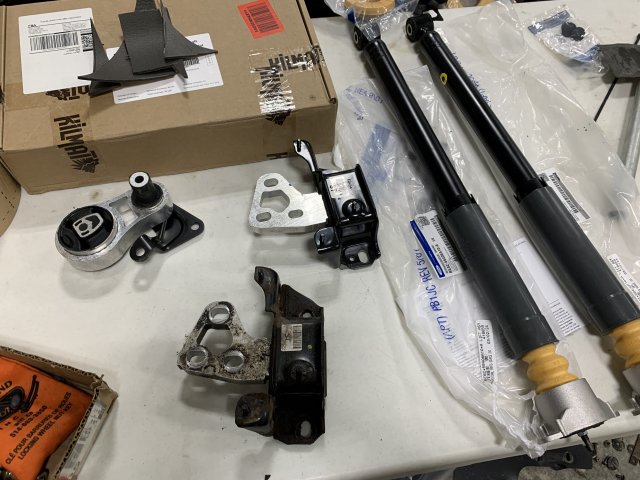
- Vibra-Technics RMM Install
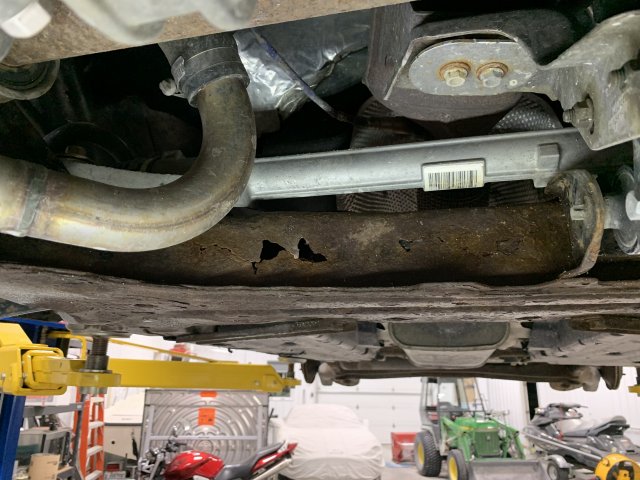
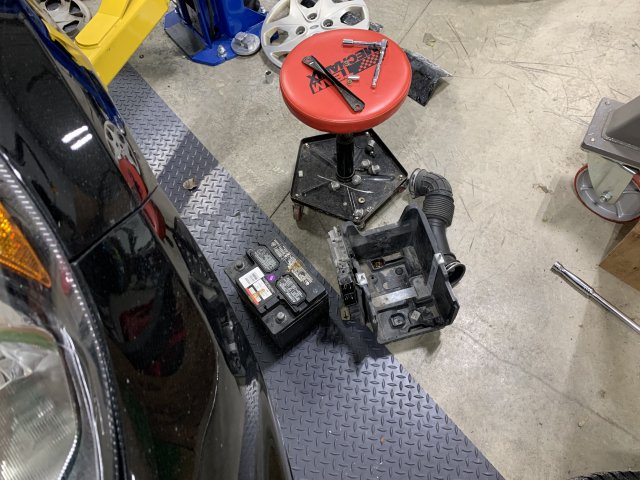
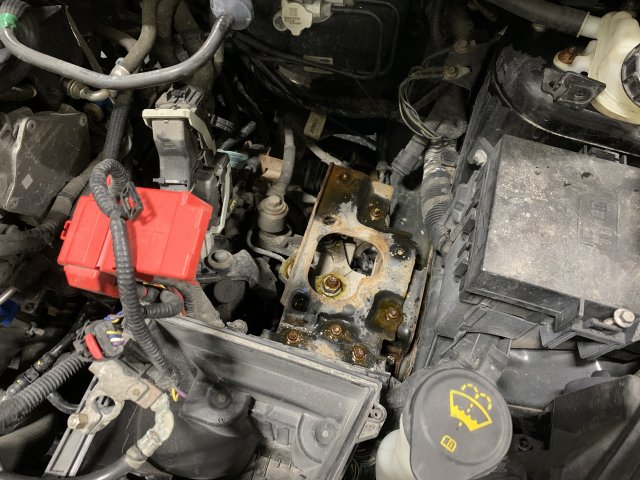
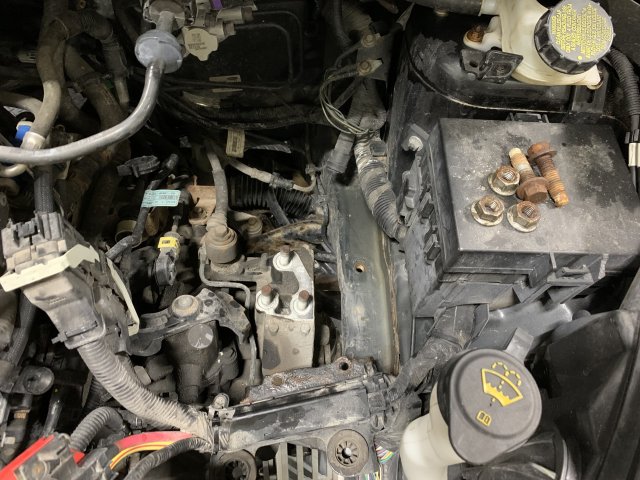
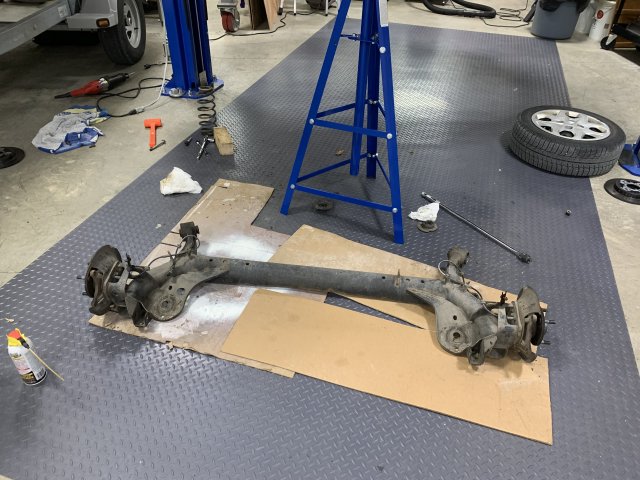
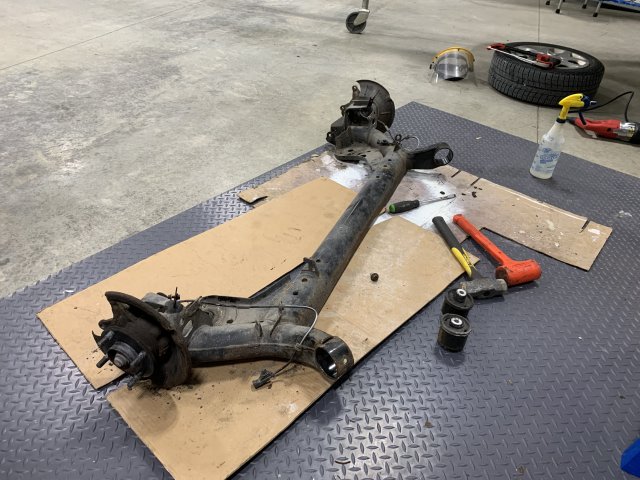
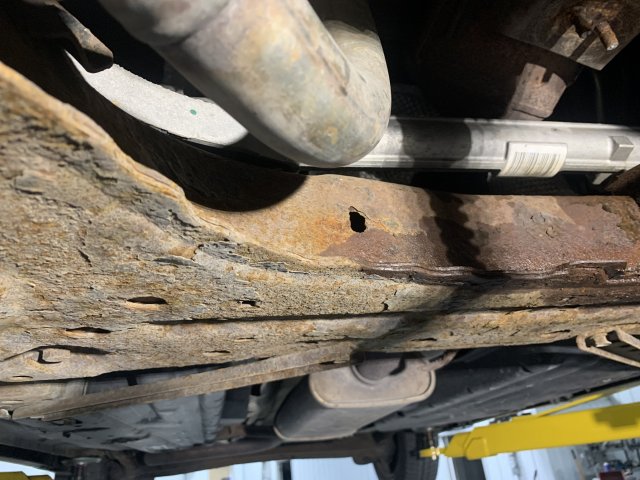
- New subframe (original one is rotting)
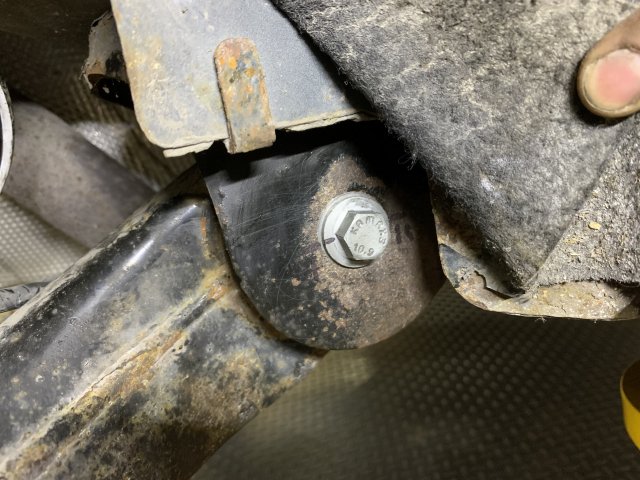
- New swaybar bushings & hardware
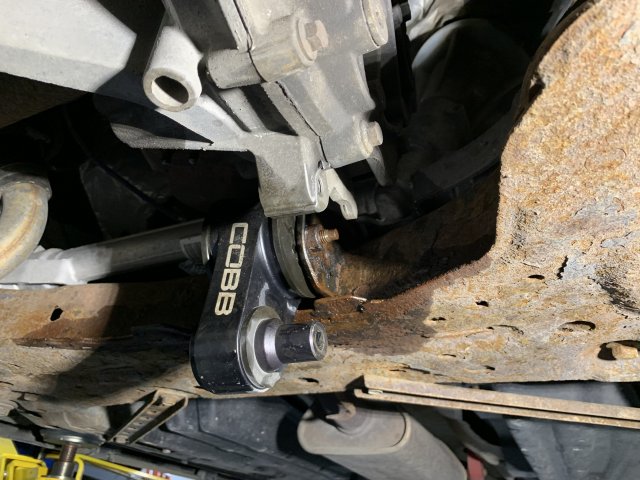
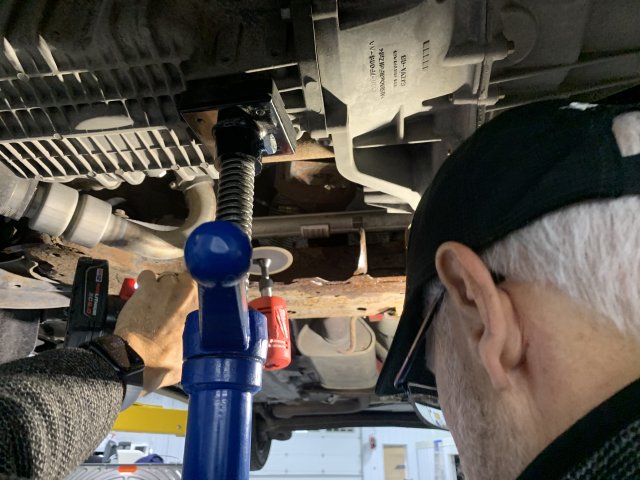
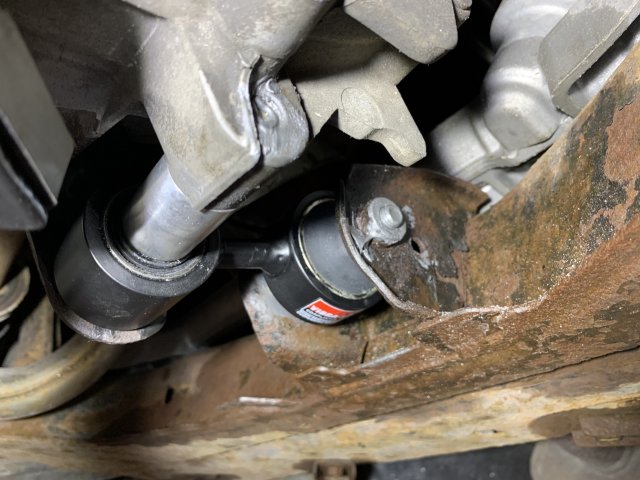
- New control arms & swaybar links
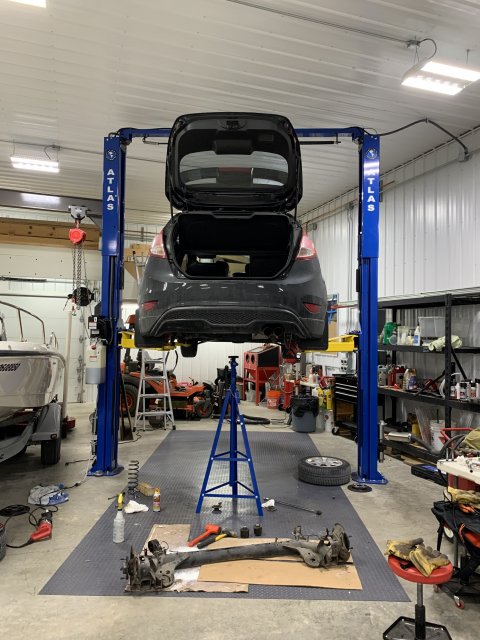
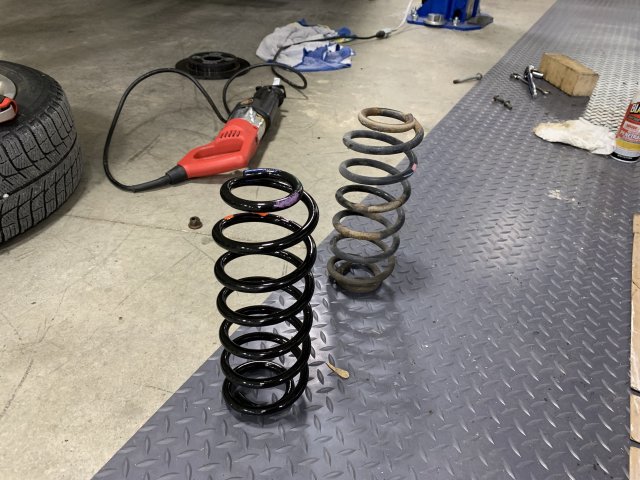
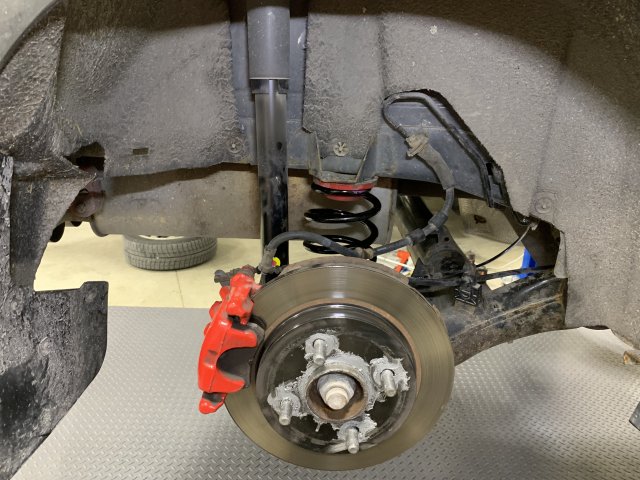
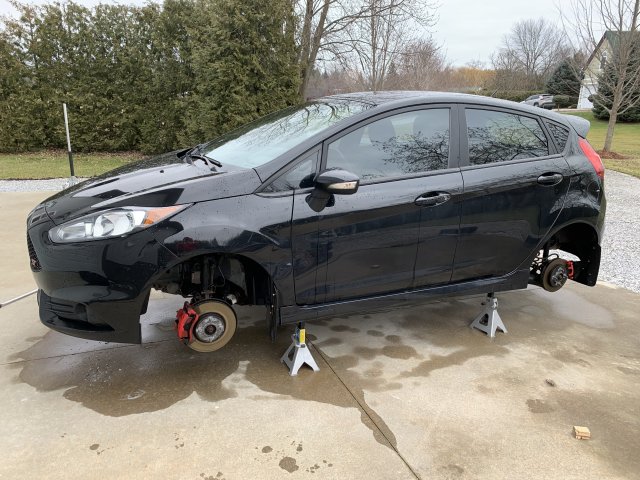
- New front 2016+ struts w/2016 springs
- New rear 2016+ shocks
- Swave 4-point brace
- Shock tower brace (reduces dash rattles)
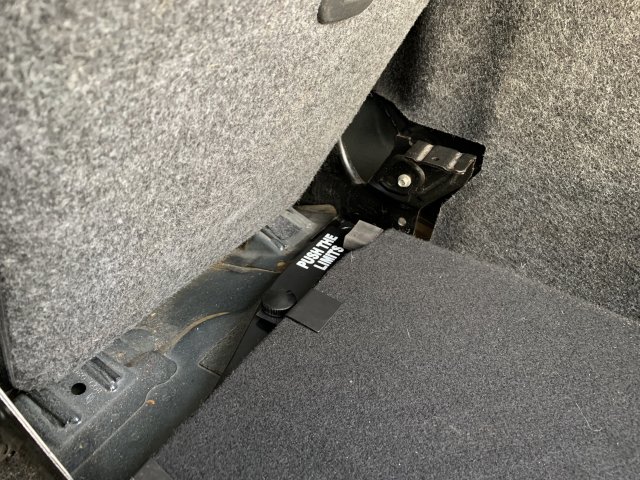
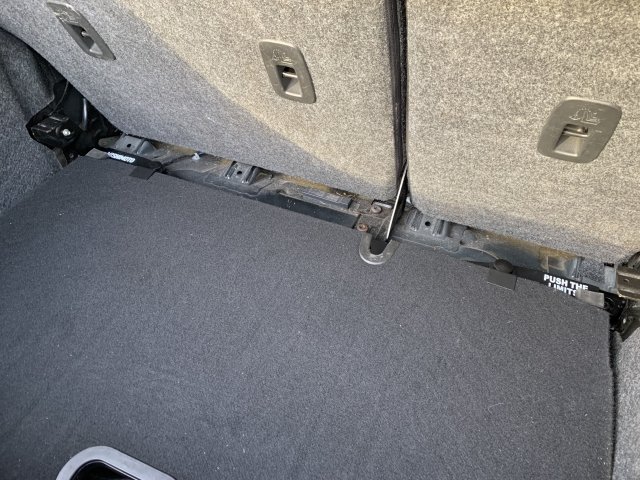
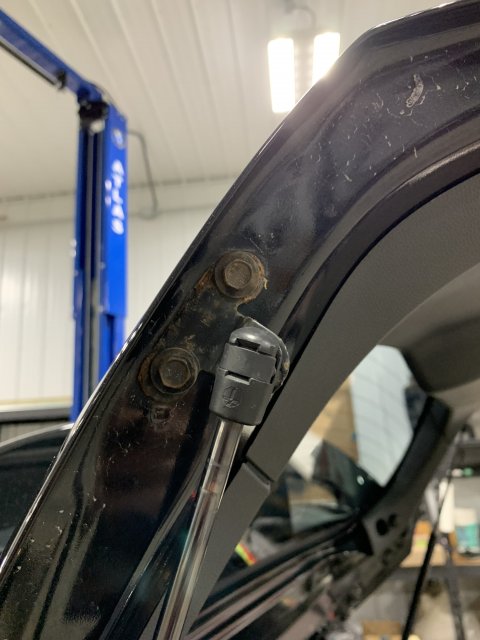
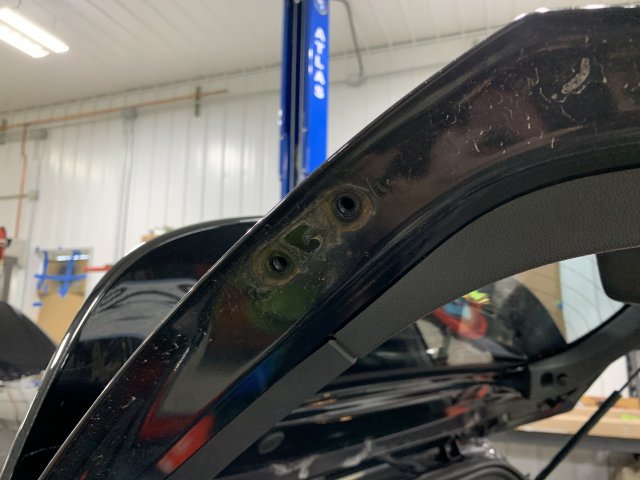
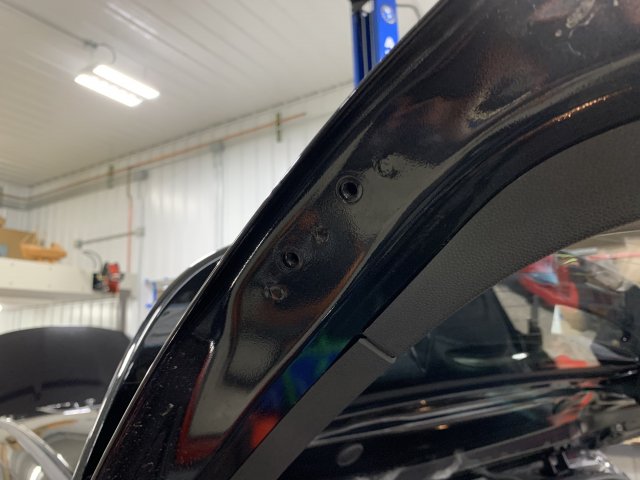
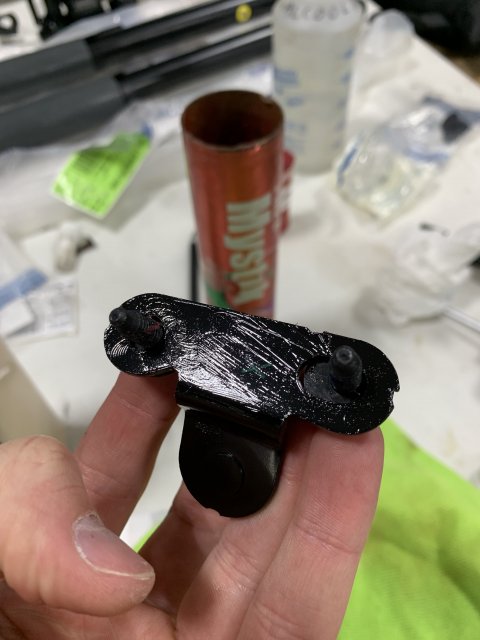
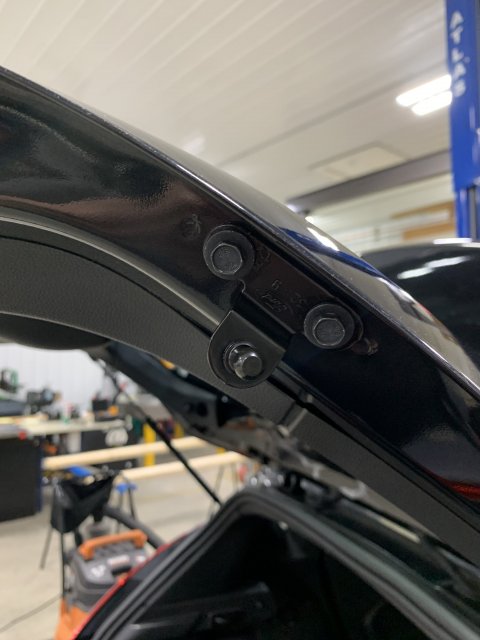
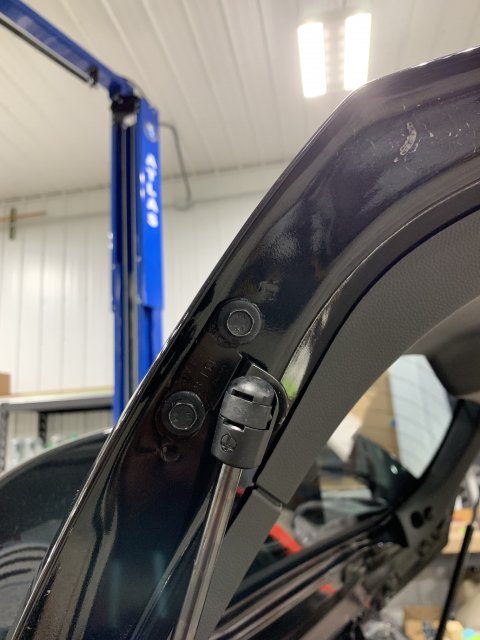
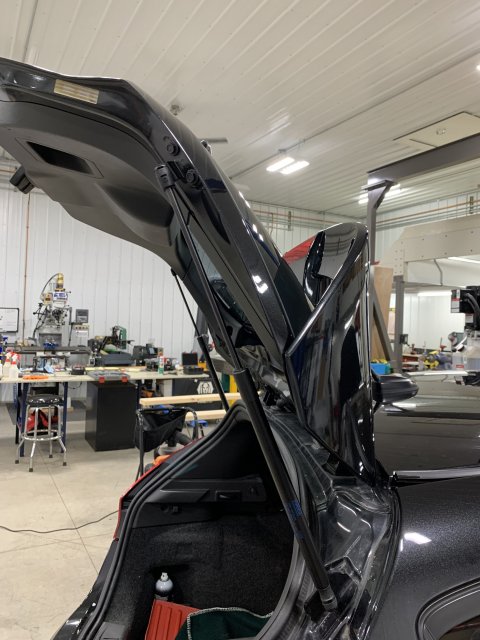
- Mishimoto rear trunk brace
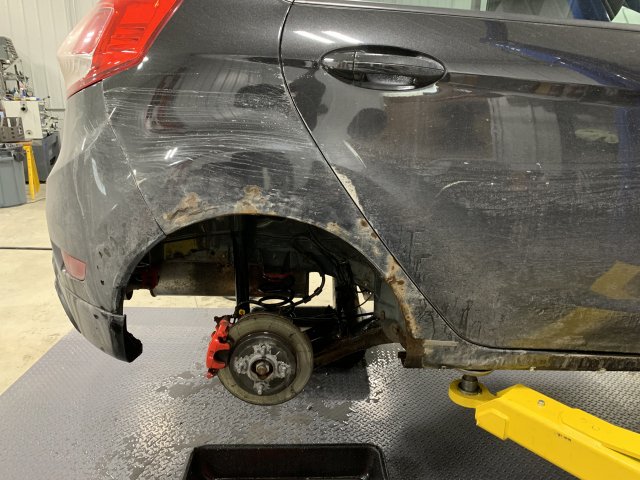
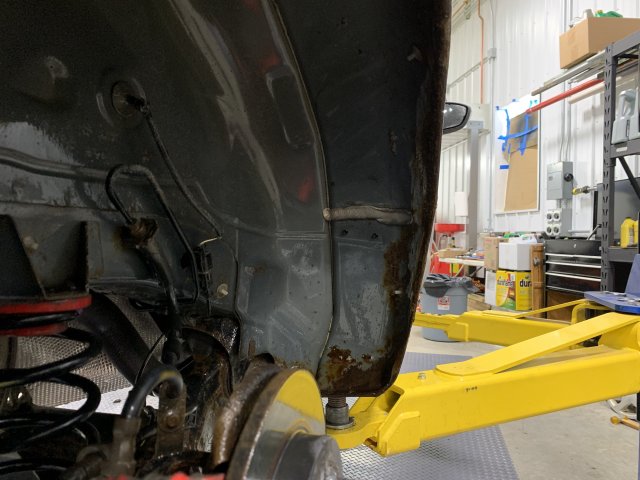
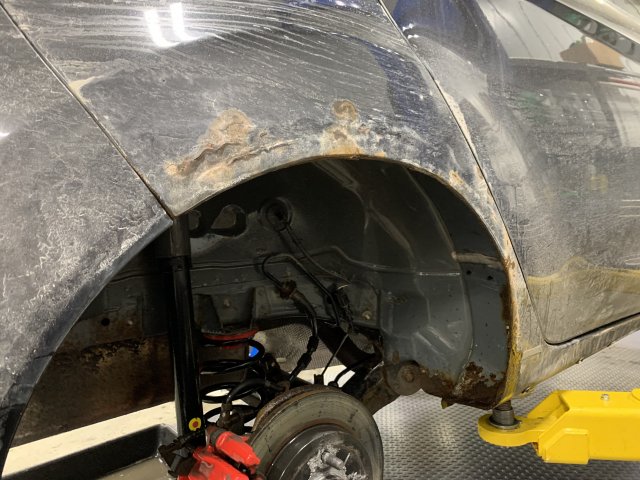
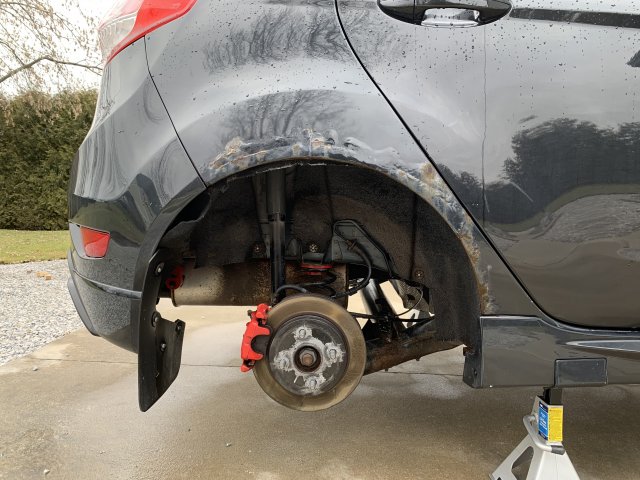
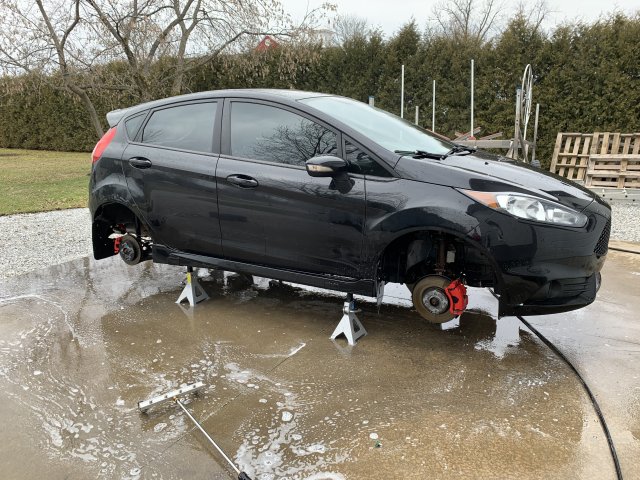
- Repair rear passenger quarter panel rust
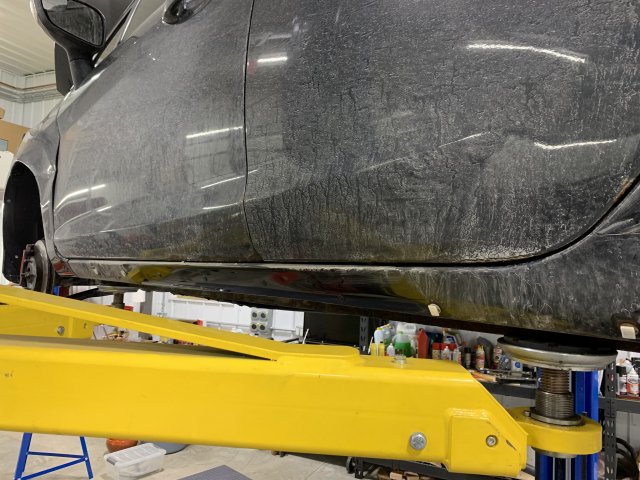
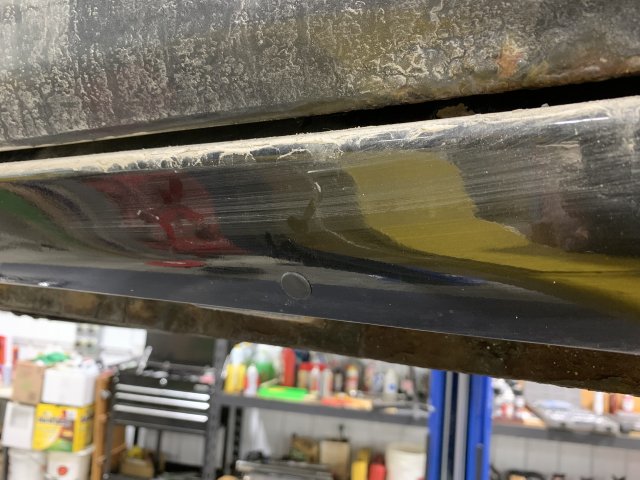
- Fix falling sideskirts
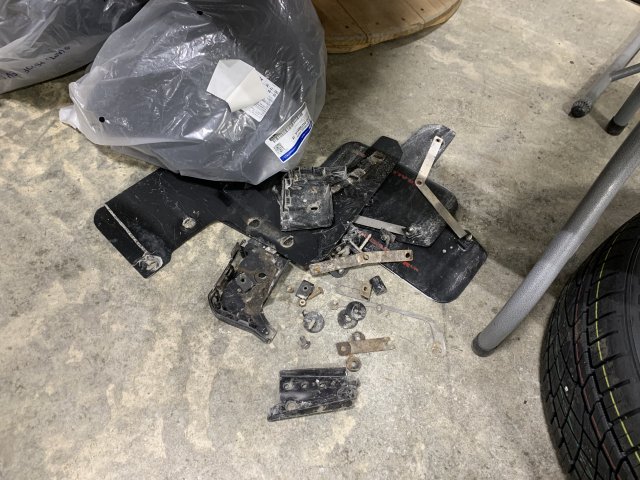
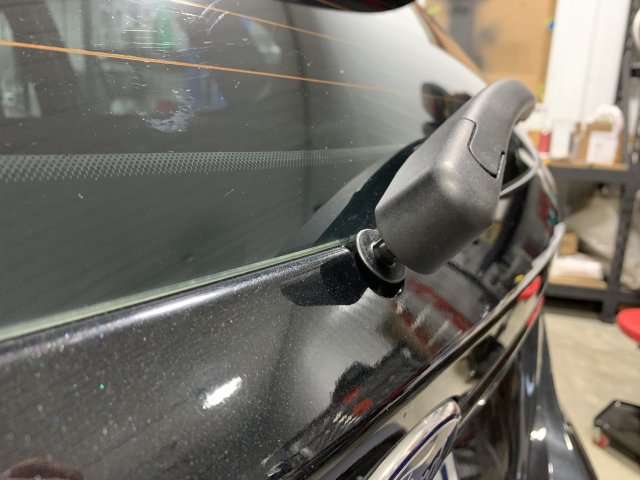
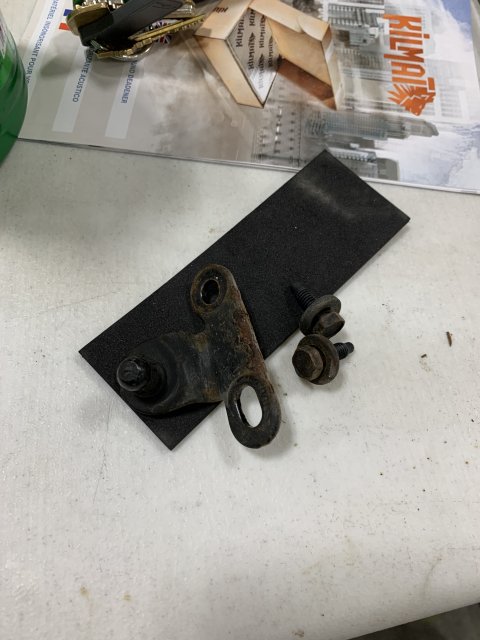
- Fix front attachment points for rally armour mudflaps
- Find good condition driver-side doors (bottoms are all rusted)
- Treat underbody with rust-conversion coatings
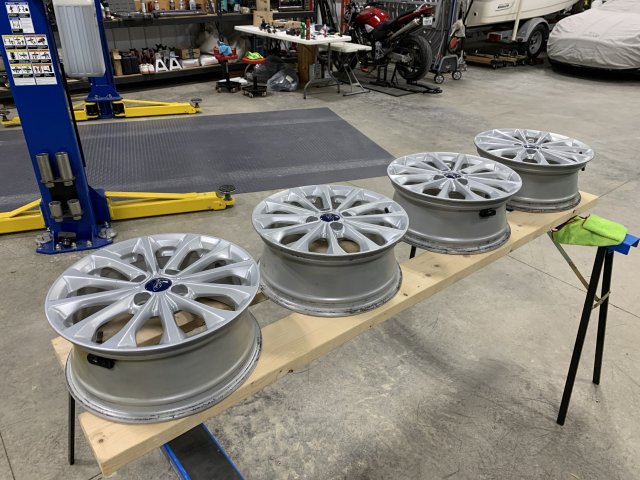
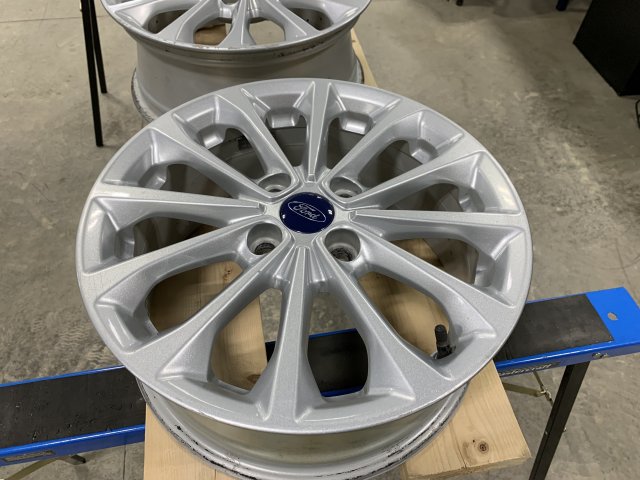
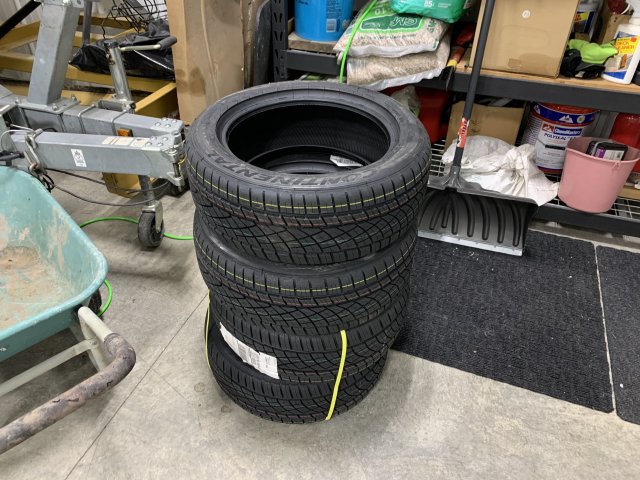
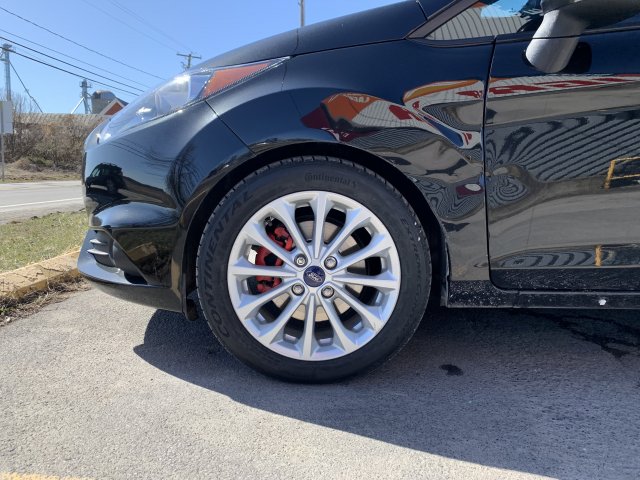
- Need new summer tires (Considering the Continental DWS06+ in 205/45ZR17 on OEM wheels)
- or
- 16x7 Speedline Turini 2120 wheels + 205/50ZR16 DWS06+
- (((Update on the above)))
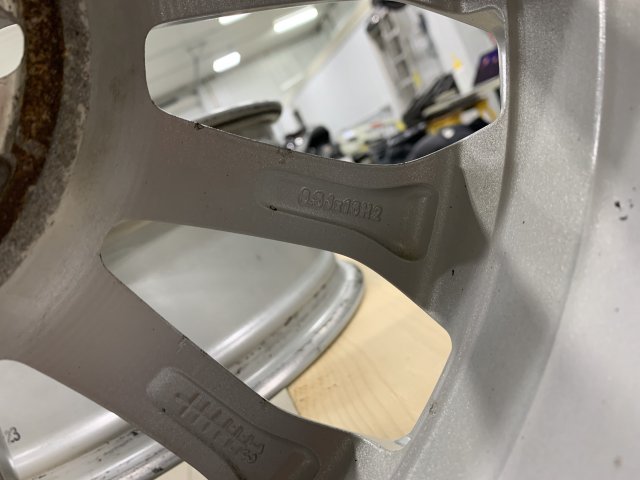
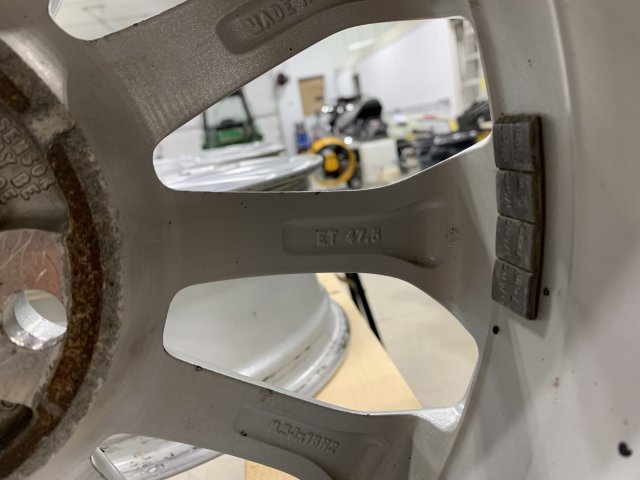
Actually ended up with OEM Fiesta 16x6.5 wheels and 205/50ZR16 DWS06+ tires. (link)
- Need to replace front rotors & pads (might go wilwood 4 piston calipers + SVT rotors OR 21mm wilwood lightweight two piece rotors)
- If I do the front wilwood calipers, I'll do the rear SVT brackets + rotors.
Last edited:
")
![[:(]](/images/smilies/frown.png "Frown [:(]")
![[wink]](/images/smilies/wink.gif "Wink [wink]")
![[histerical]](/images/smilies/histerical.gif "Histerical [histerical]")
![[mad]](/images/smilies/mad.png "Mad [mad]")