Here’s the follow-up to my post on Whoosh Subframe Centering Kit. Someone on the Facebook group mentioned that he used a Spoon Subframe Rigid Collar kit for both front and rear. I’m happy with the Whoosh kit, but since there isn’t one for the rear, I ordered Spoon’s rear kit to try it out.
The cheapest set I found was on Black Hawk Japan for around $150 plus shipping. It took a few weeks for them to ship.
https://www.blackhawkjapan.com/prod...sta-50300-fyj-000?_pos=1&_sid=6d06da075&_ss=r
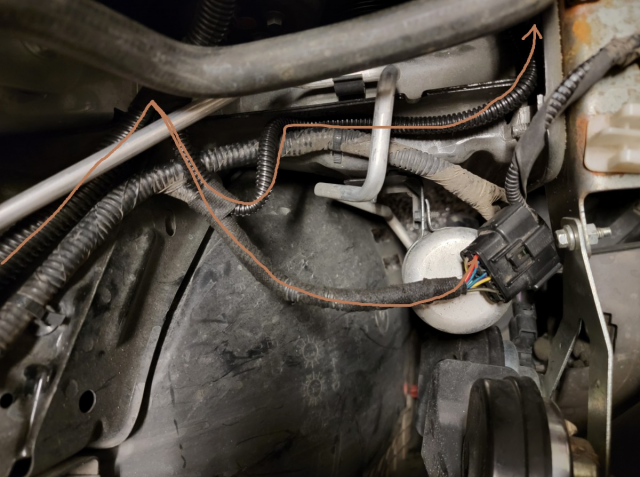
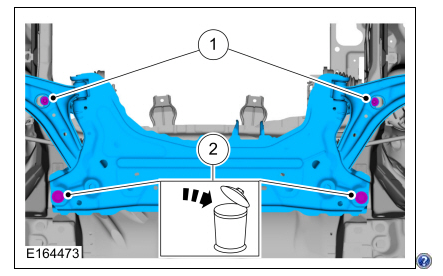
This is also a good time to upgrade rear beam to chassis bushings since dropping the bracket will give you enough clearance to take the bushing bolt out on the fuel tank side, and you’ll have to get the car aligned afterwards anyways.
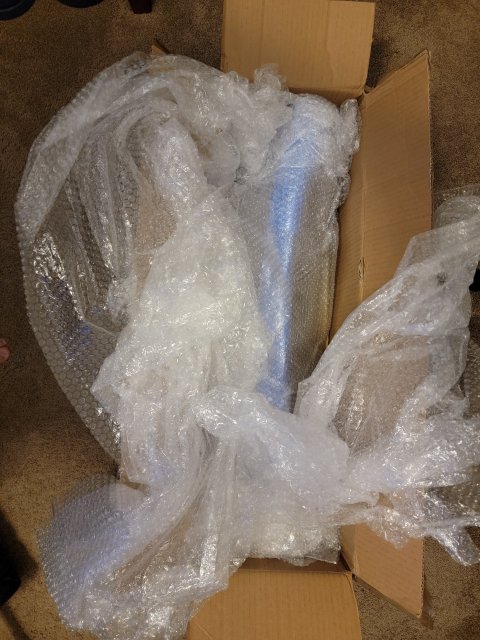
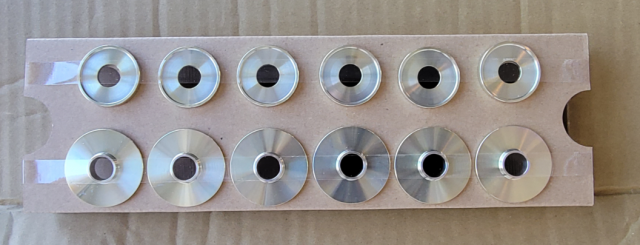
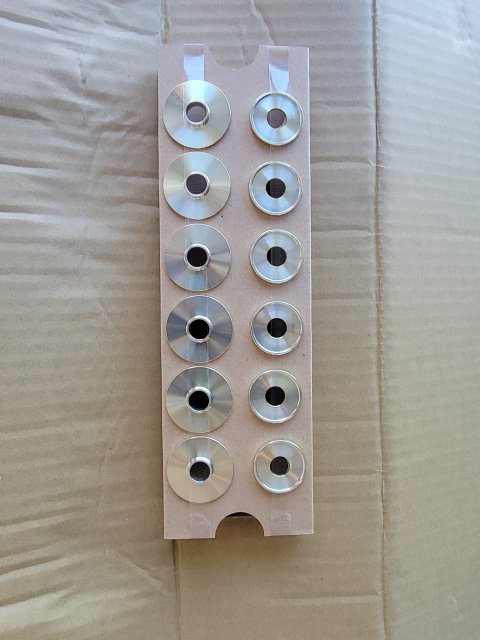
The kit comes with two pieces per hole, one for in between the frame and brackets, and one for in between bolts and brackets.
View attachment 54013
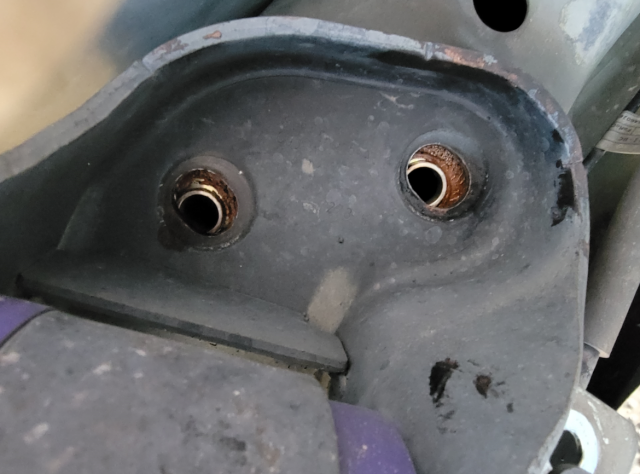
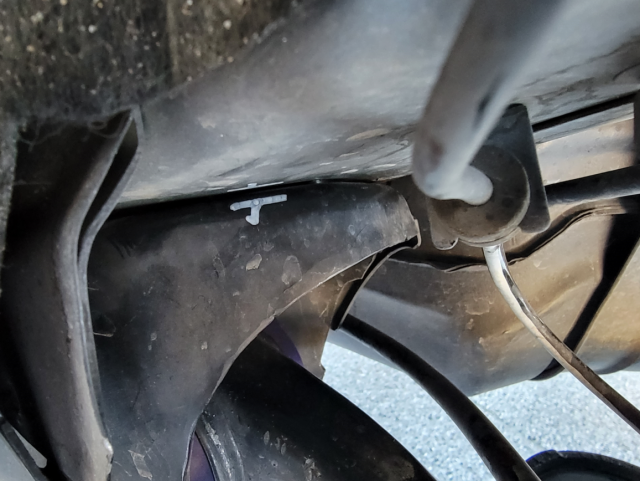
The kit comes with a tube of anti-seize, which also acts like a glue to hold the collar in place while I aligned brackets to collars.
View attachment 54014
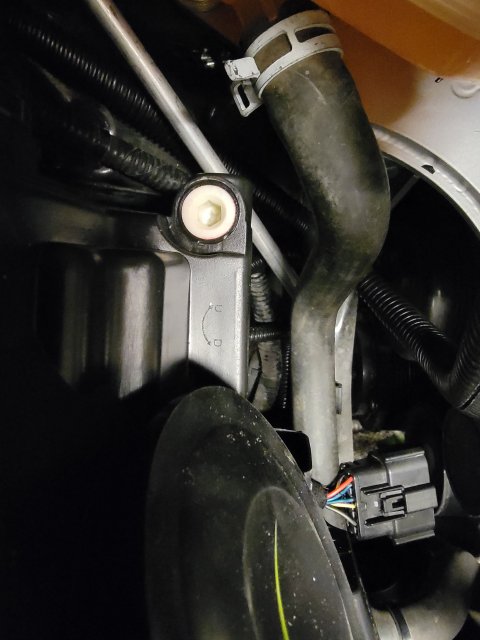
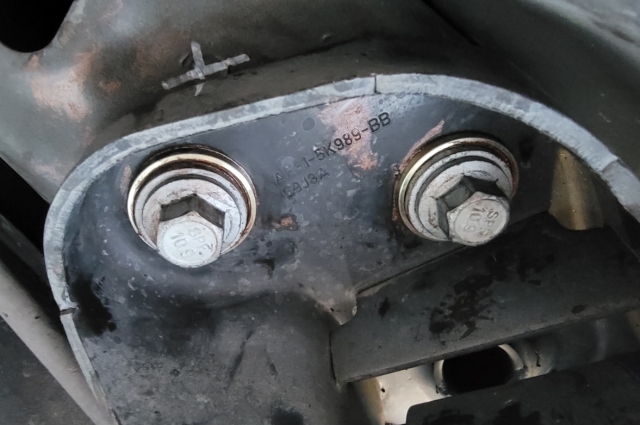
I forgot to take a picture before putting the bolts back on. While brackets have elongated bolt holes, collars reduce the amount of play due to ridges on the collars between the three bolt holes.
View attachment 54015
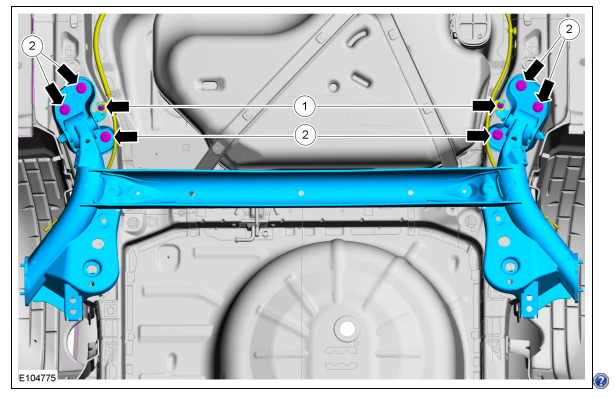
It’s hard to see in the picture but the pre-install alignment marks show a shift of about 0.5mm, so the rear end was already pretty close to being centered.
View attachment 54016