Did a bit of a write up of the process for another member and thought I'd post it up here in case anyone else wants to try it. Adhesive I use is essentially aerospace JB Weld, any grey epoxy should be fine. Spacer and ball end sourced from ebay, stainless so polish can be final step, 3/4" is length you want. Grease all moving parts going back together. Dremel, file, and sandpaper are only tools used.
Spacer:
https://www.ebay.com/itm/323793764670
Ball end:
https://www.ebay.com/itm/382838488154
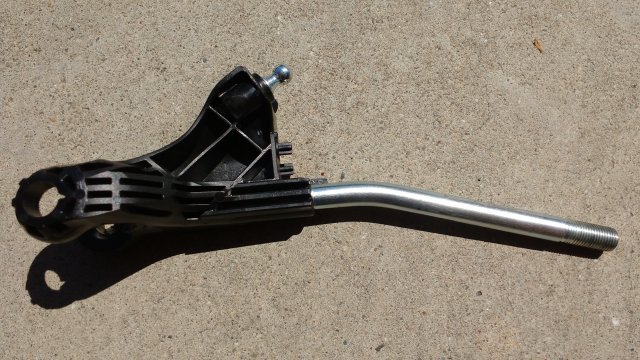
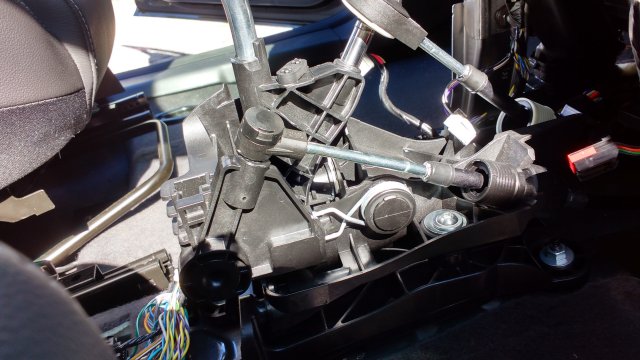
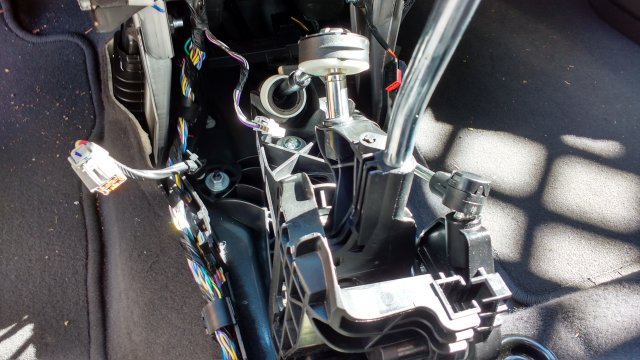
1) reference Boomba instructions/video to remove lever from assy.
2) grind ball end on lever to approx. 1/4" diameter and cut to length, light press fit where you have to tap it together optimum but not critical as grey epoxy will act as liquid shim.
3) grind threaded end of new ball end to approx. 1/4" diameter and cut to length. Again light press fit optimum.
4) lightly abrade ID of spacer, solvent clean and bond new ball end to spacer. Let cure 24 hours.
5) grind, sand, polish base of new ball end to match OD of spacer. Tape ball to prevent damage.
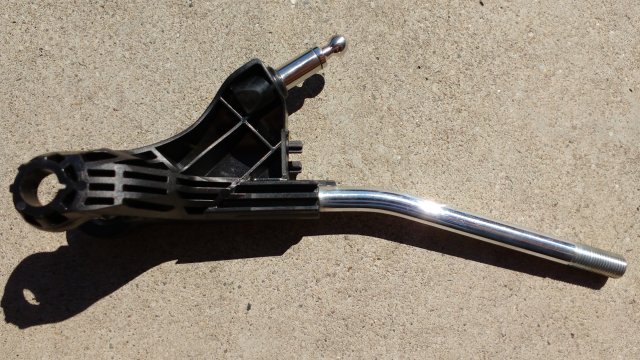
6) abrade, solvent clean and bond spacer to lever. Zip tie to lever if needed to prevent movement during cure.
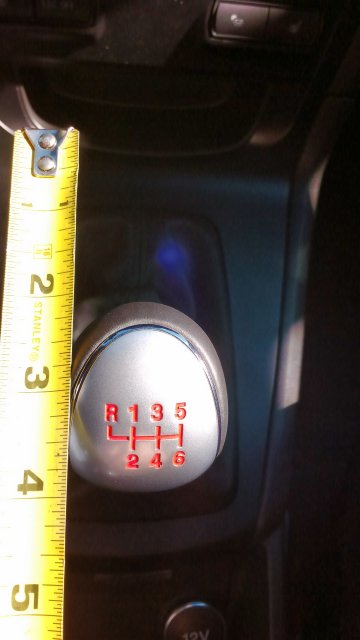
7) reinstall and enjoy your new shorter travel.

 3.2 MB Views: 147
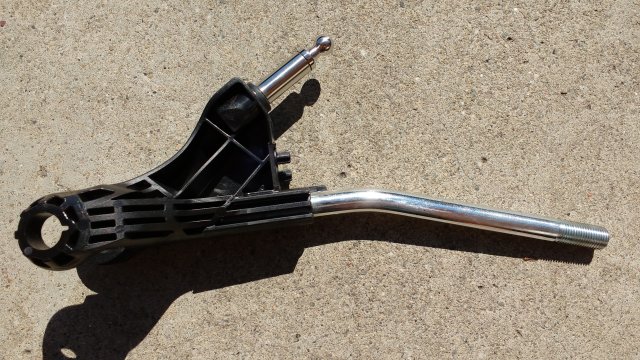 3.9 MB Views: 164
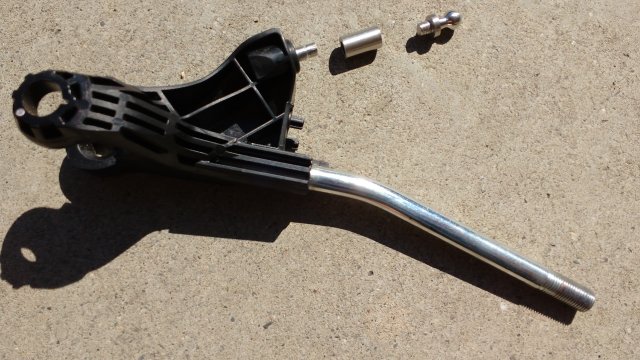
")