Hey everyone,
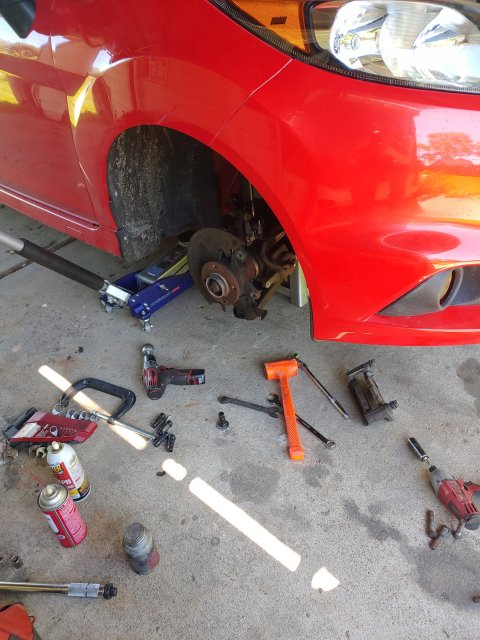
I’ve been putting off installing these spacers for while, not really sure what effort it takes to remove and replace the stock studs. I looked around for information/ tutorials but couldn’t really find any. Does anyone have experience with this who could help or show me to the right place to learn how to do this.
Thanks