Installed the turbo today, and it went very smoothly. From start to finish, it took right around 5 hours.
I let the car sit overnight. I lost maybe 1/2 quart of coolant when disconnecting the coolant lines, and only lost whatever oil was inside the turbo (not really a measurable amount in terms of overall oil level).
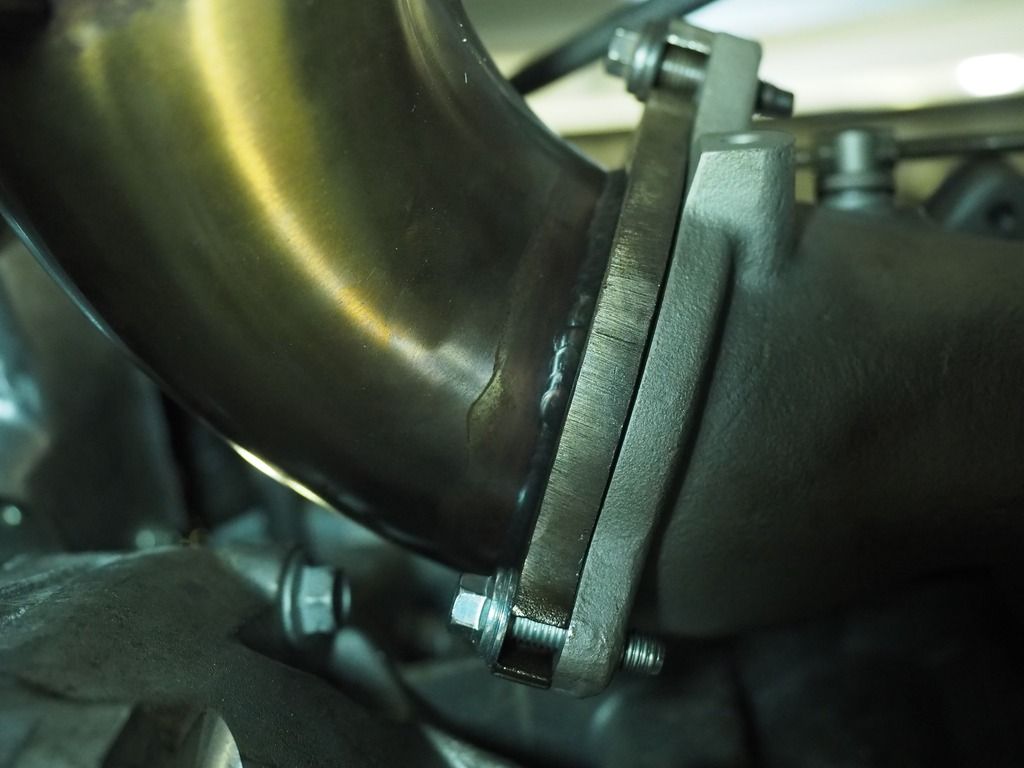
I used SourSkittle's turbo removal DIY as a guide, but I didn't remove the cold side, hot side, then manifold separately. Once everything was unbolted, the entire turbo assembly, still mounted to the manifold, came out the top without issue. I did not have to remove my downpipe from the car, I simply had to unbolt it from the turbo. I didn't even have to loosen it from the cat-back.
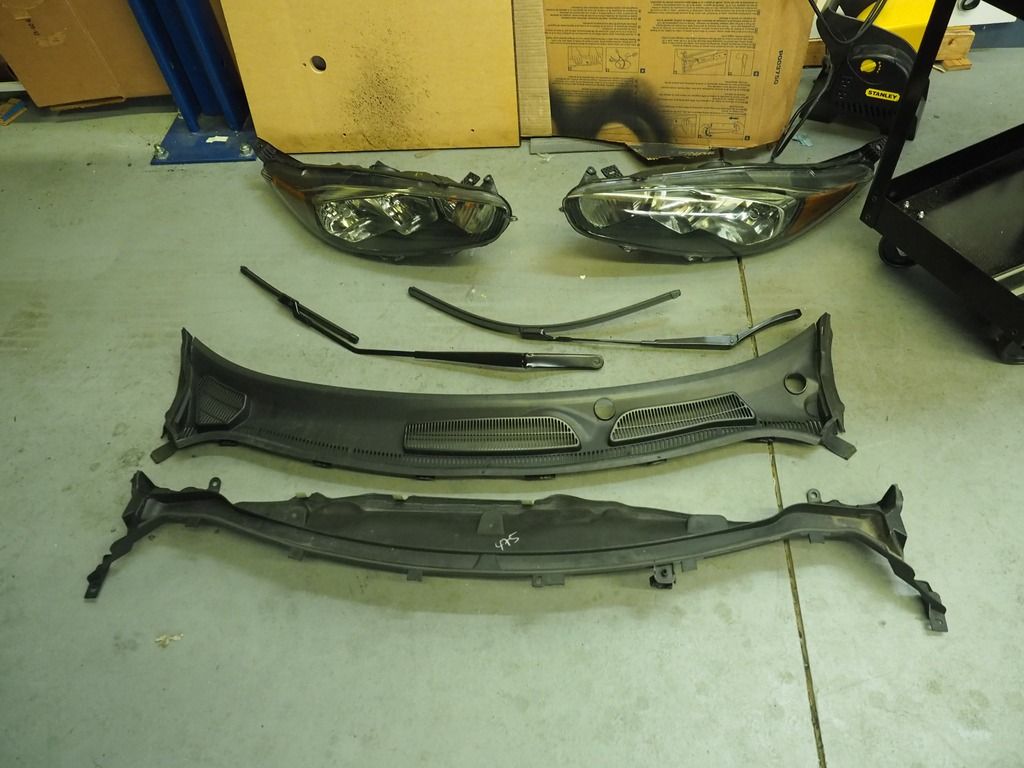
I also used Cobb's intake install guide, as it gives you a pretty good idea of which order to remove your headlights, upper/lower cowl, intake pieces etc. From there, it's basically removing the manifold heat shield, unbolting the downpipe, oil and coolant lines, disconnecting some electrical connections and hot side charge pipe, etc. Pretty easy to figure out once you're at this point.
Thanks to johnnyaf87, here are the gaskets you should replace when doing this install. Luckily, Adam has an option to include these with the purchase of the turbo. I bought them separately, even though Pumaspeed told me they were sending me "all the gaskets I would need", which is good because they didn't send me any.
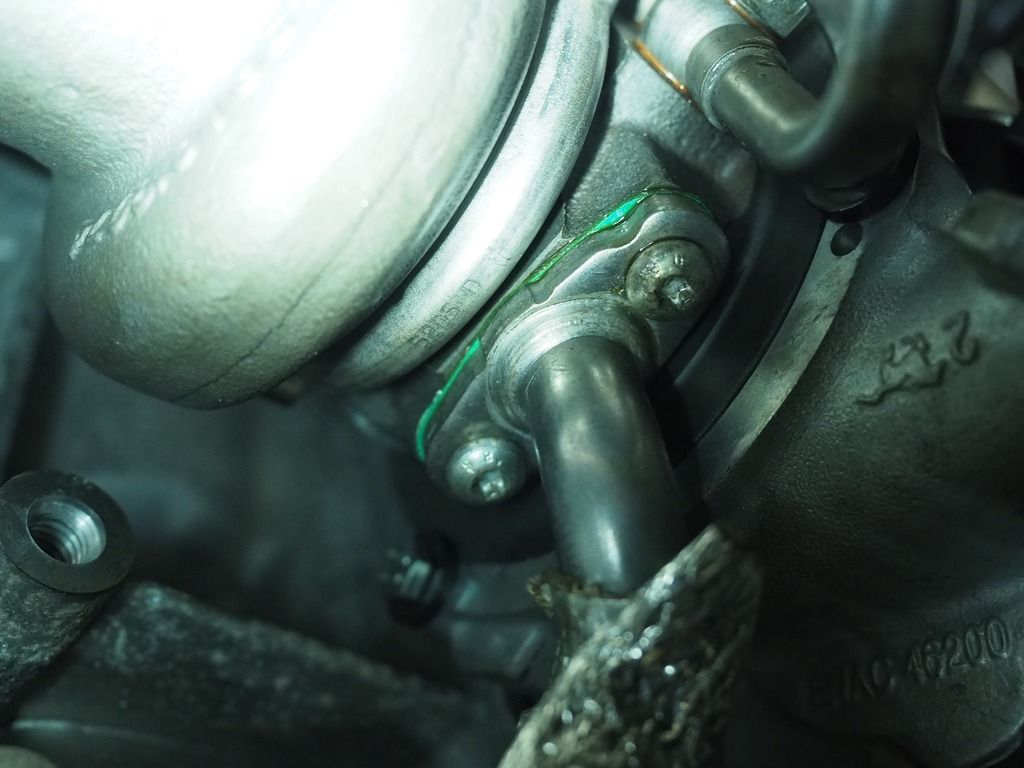
Turbo to manifold gasket
BM5Z-9450-A
Oil feed line gasket
4R8Z-6N652-A
Downpipe to turbo gasket
AM5Z-9450-A
Only hiccup was that I broke one downpipe bolt in my old turbo...there was no saving it (ironically the new turbo had a helicoil in the same hole I broke the bolt off on my stock turbo). It was the last one I took out, and I think the weight of the downpipe pulled on the bolt while I was loosening it...can't hurt to have some extra bolts on hand in advance, as I ultimately had to go to the hardware store to buy an extra. Luckily, no issues removing the manifold bolts. If you have an extra hand, have someone support the downpipe and/or manifold when you loosen the bolts to avoid putting extra stress on the threads.
Link to SourSkittle's turbo removal thread:
http://www.fiestastforum.com/forum/threads/2592-How-To-Remove-your-turbocharger
Cobb Intake Install Guide:
https://cobb.app.box.com/v/701100instructions
Heat shield is the biggest pain in the ass. Mine only had two bolts in since it was already bent from my downpipe install, and I was lucky to get them both back in after wrestling with it for 20 minutes.
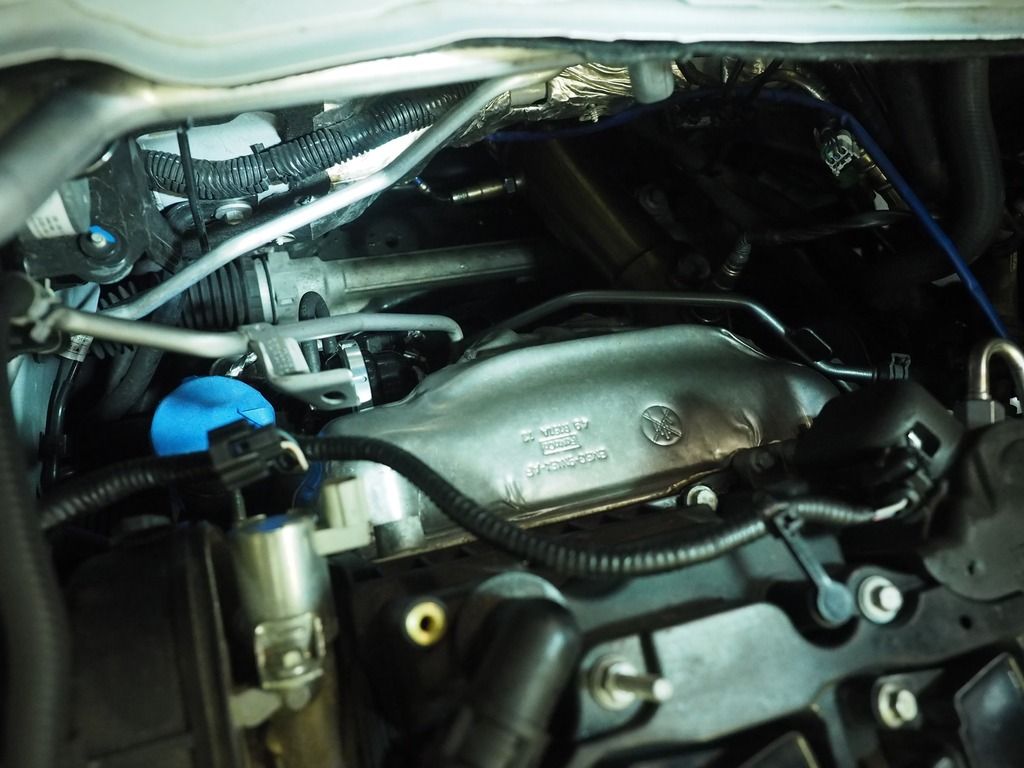
Anyways, on to some pics.
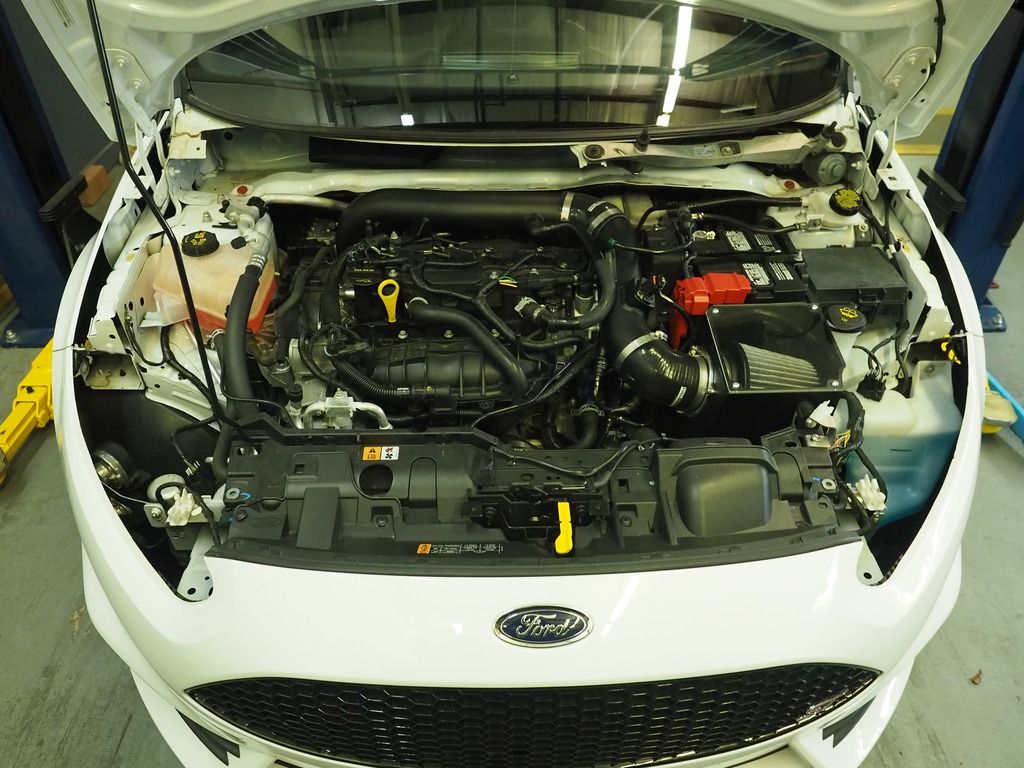
Starting out.
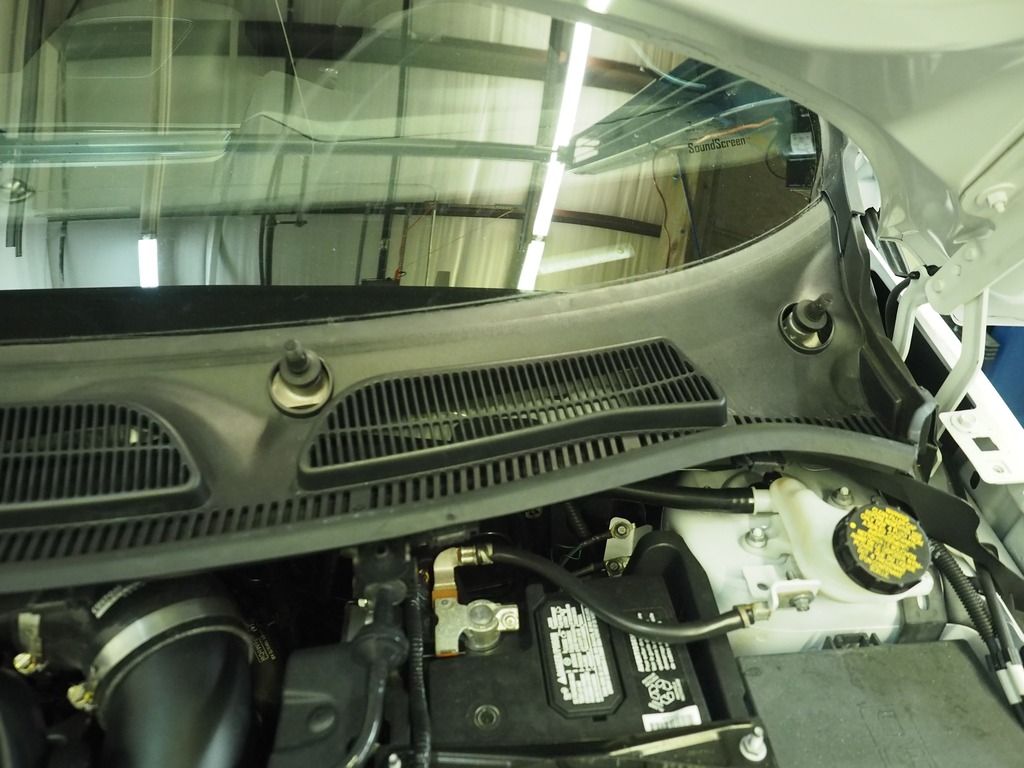
Headlights removed
Followed by wipers and upper/lower cowl

Nemesis.
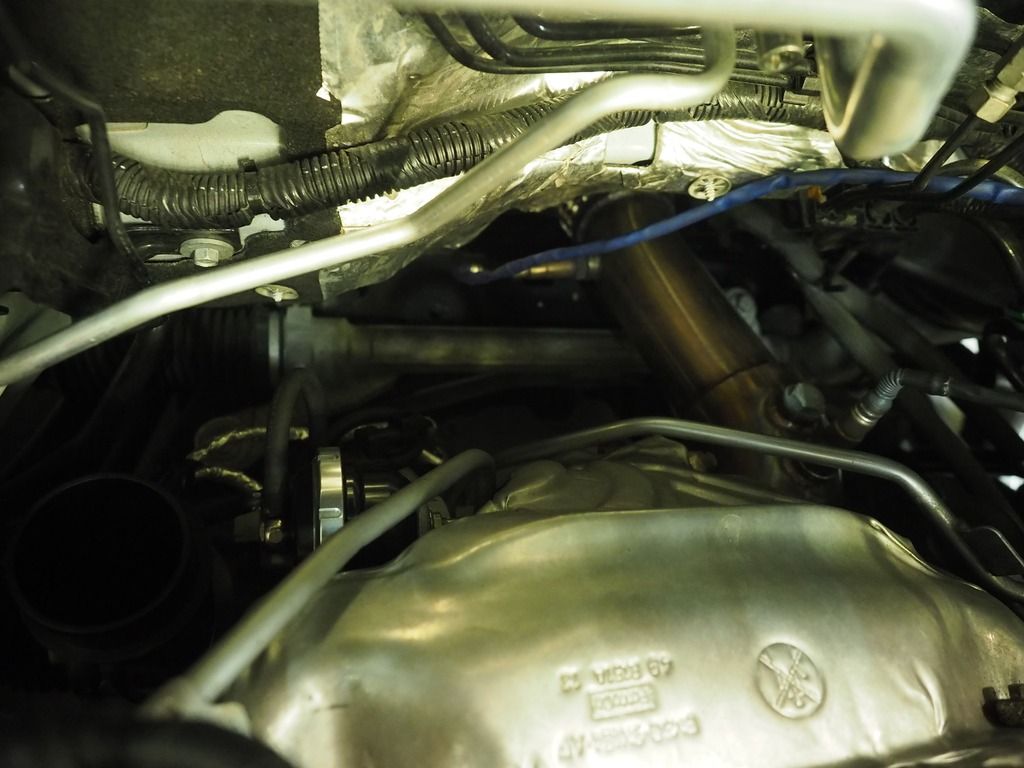
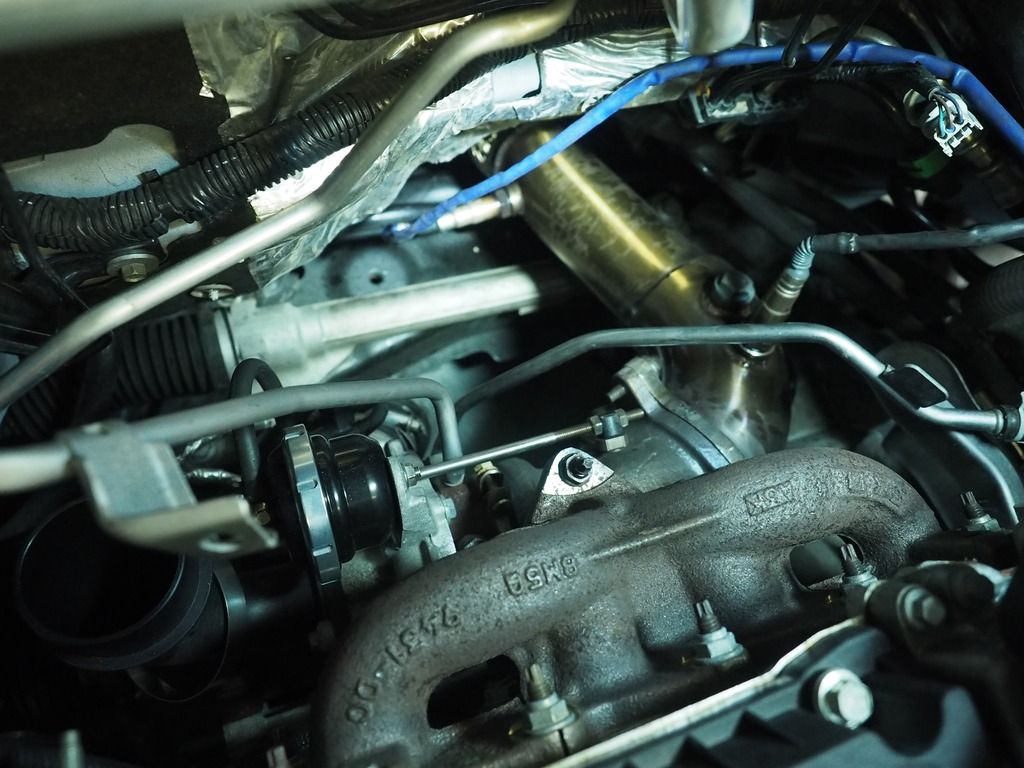
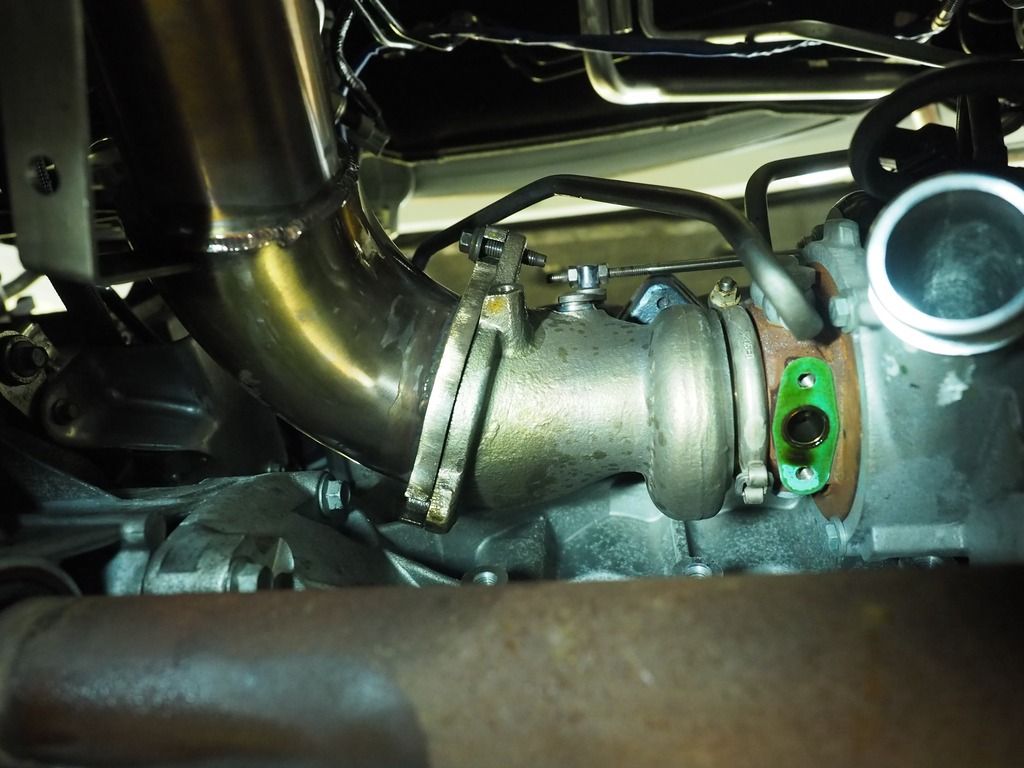
Once that POS is off, this is what you'll see.
My broken downpipe bolt and its replacement.

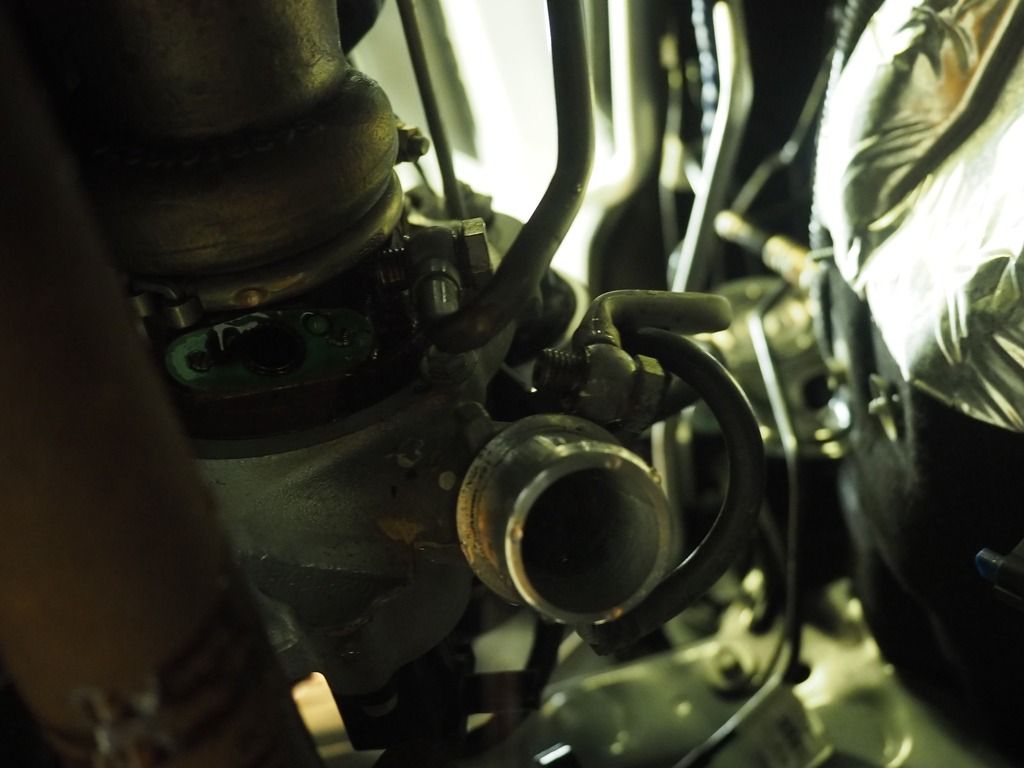
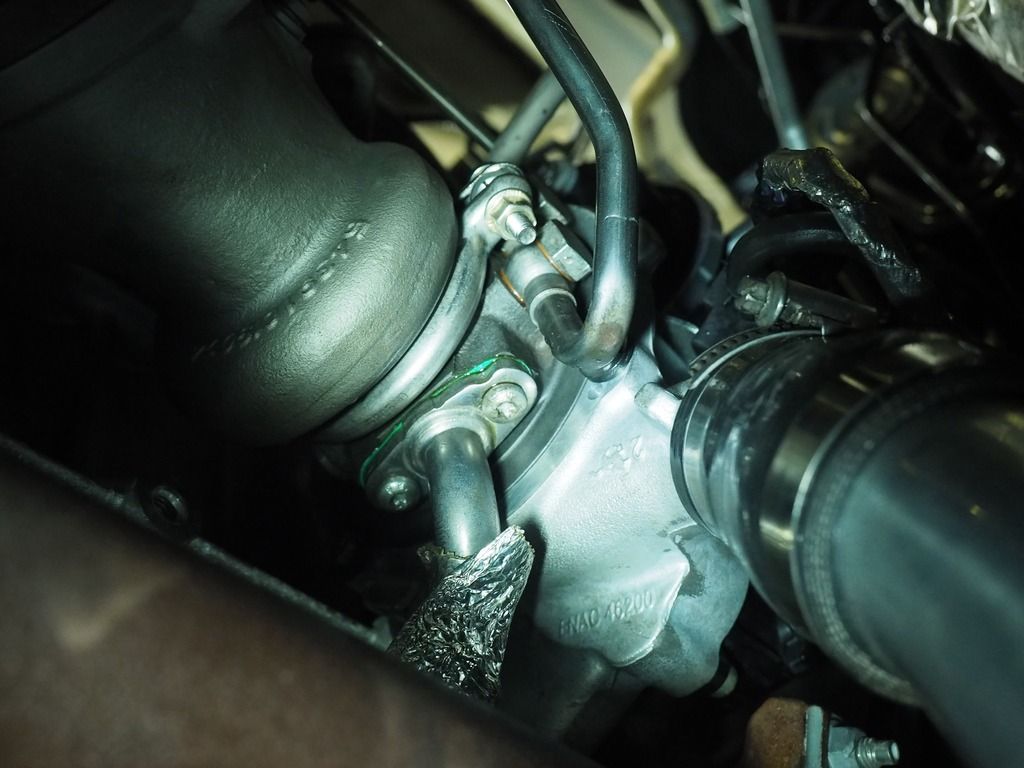
More disassembly in progress...coolant lines are 17mm, oil line is T30 torx.

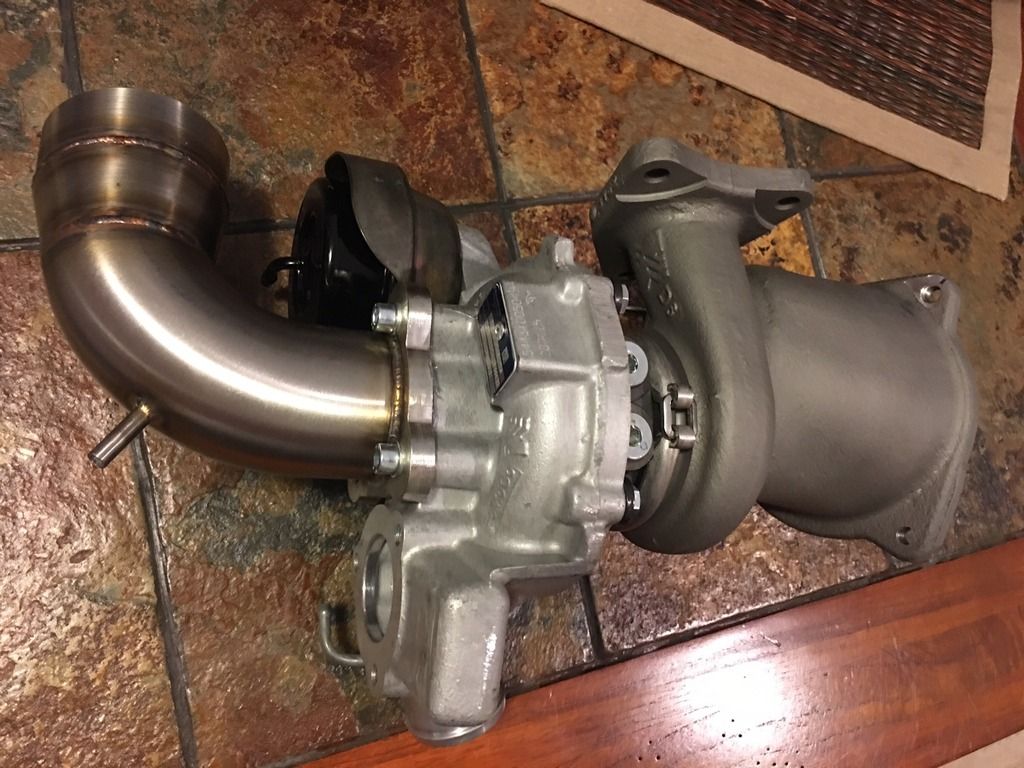
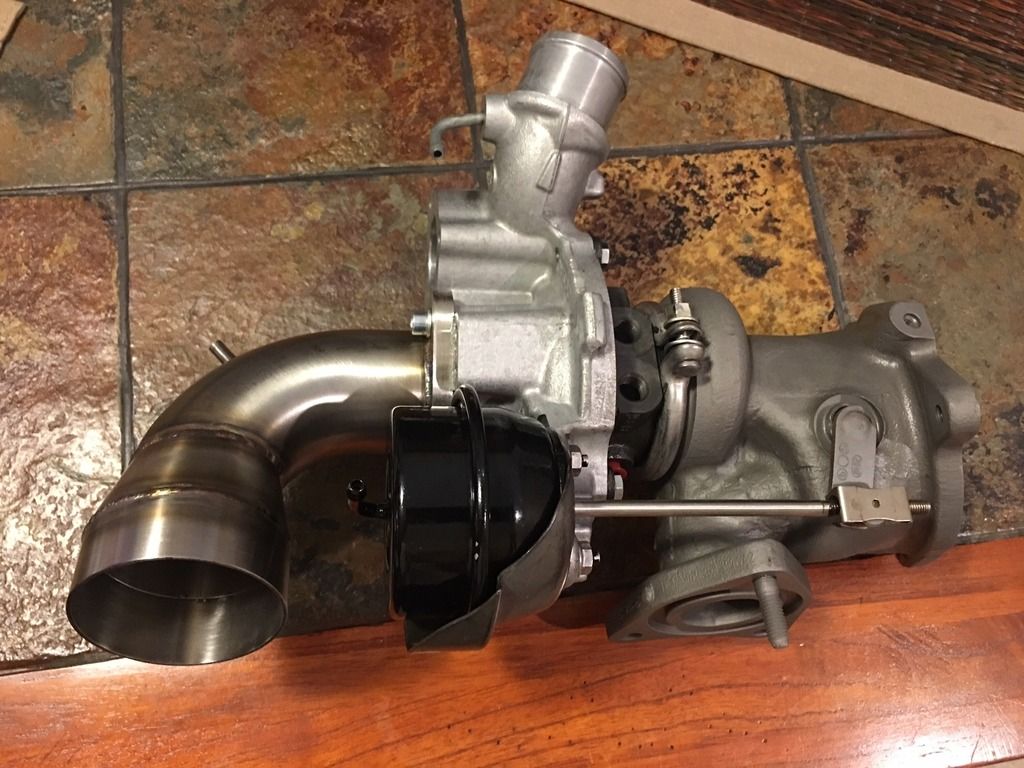
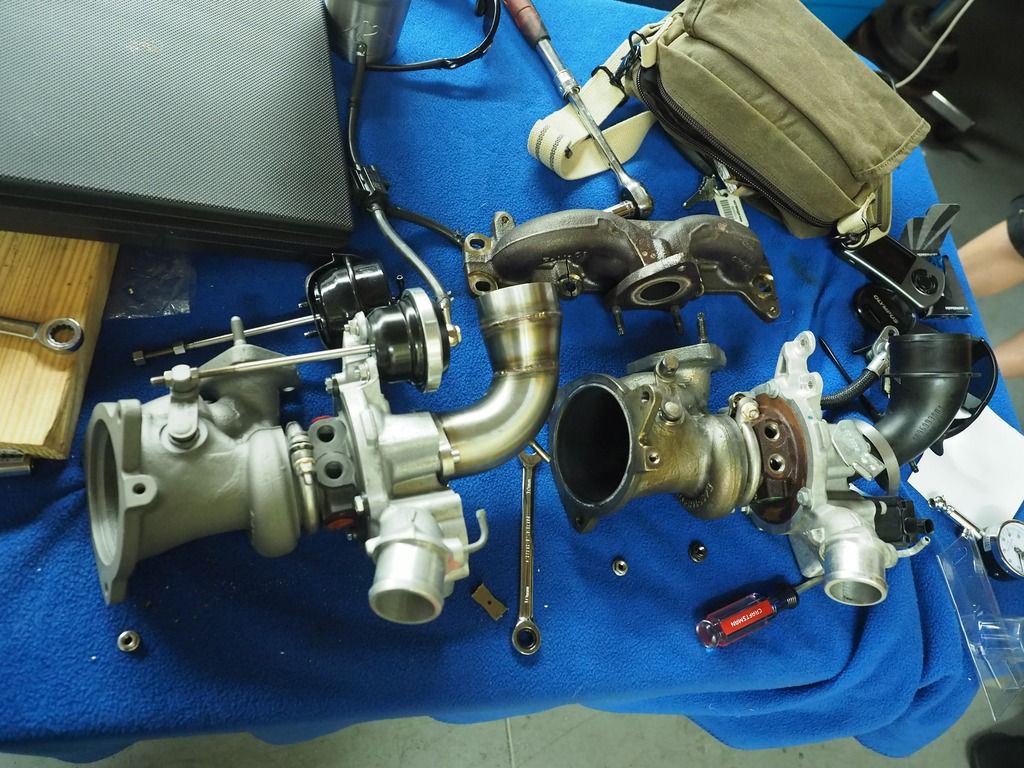
Old vs new

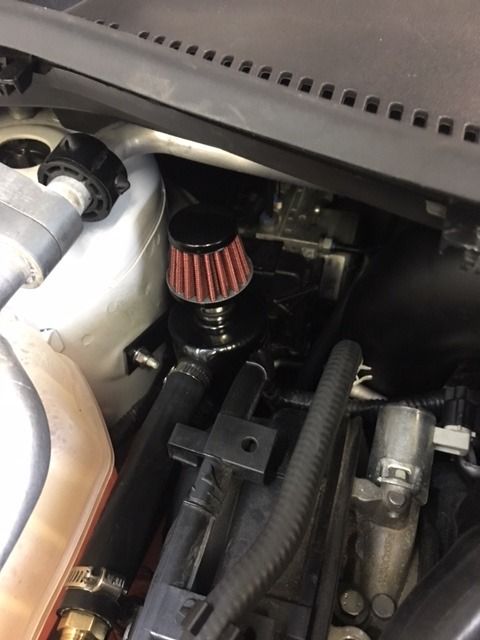
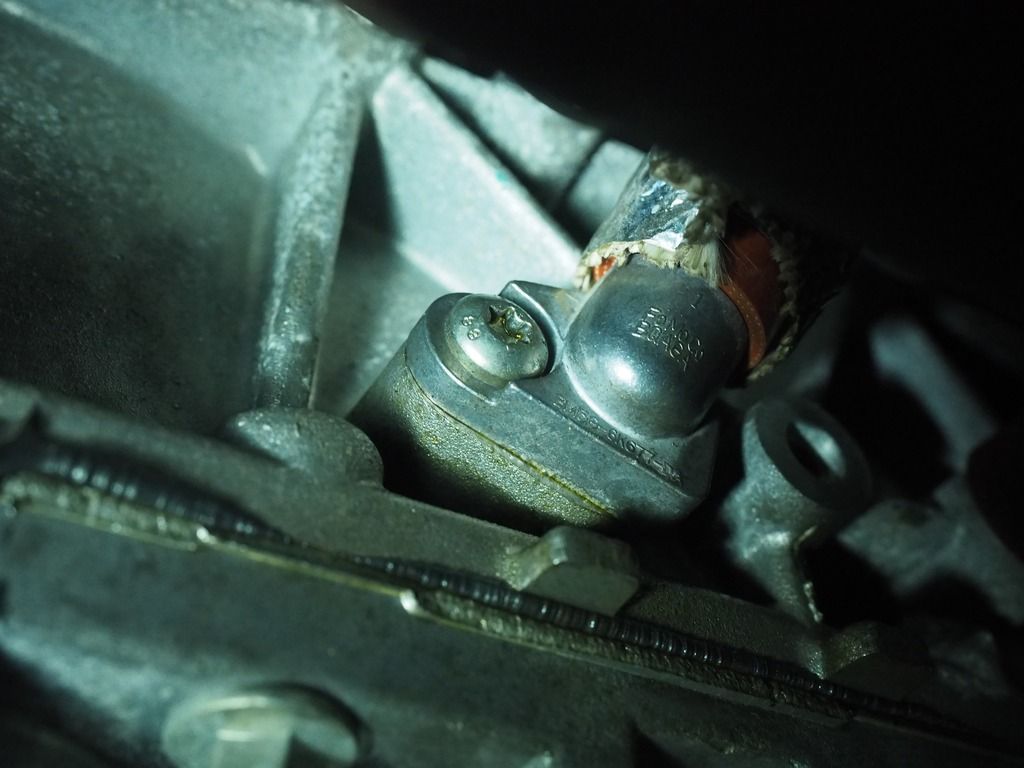
Switching parts over, including my Tune+ wastegate actuator. I was instructed by Adam to use 1 turn of preload with the new turbo, just an FYI for those
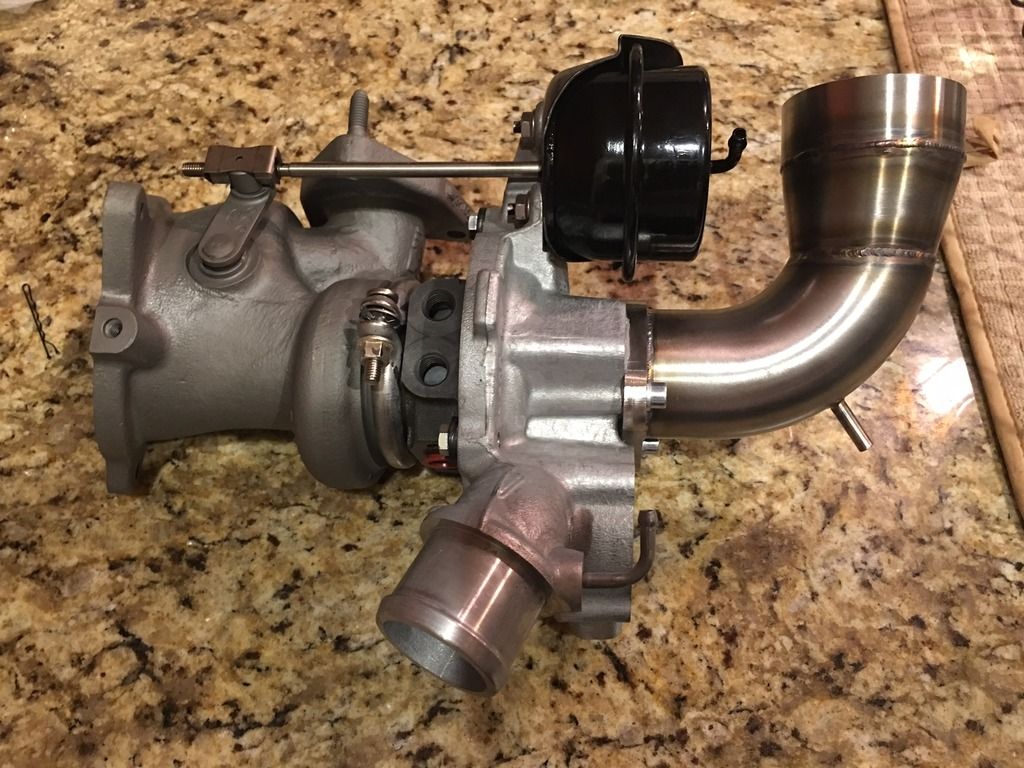
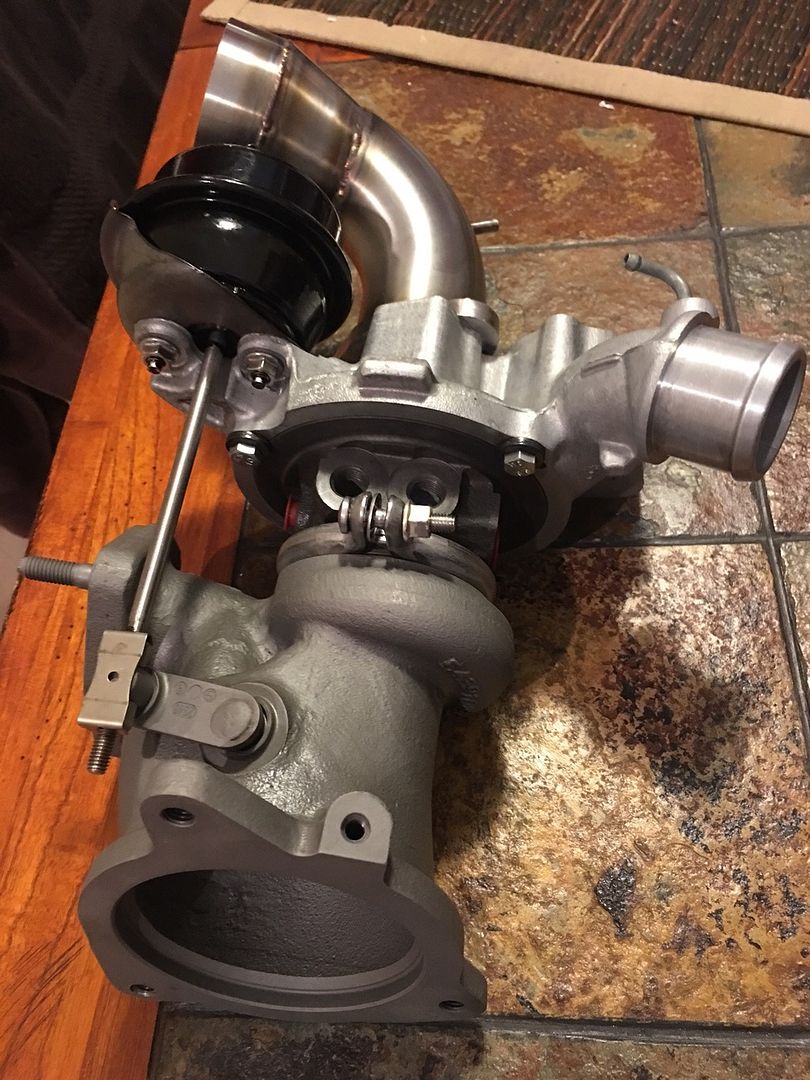
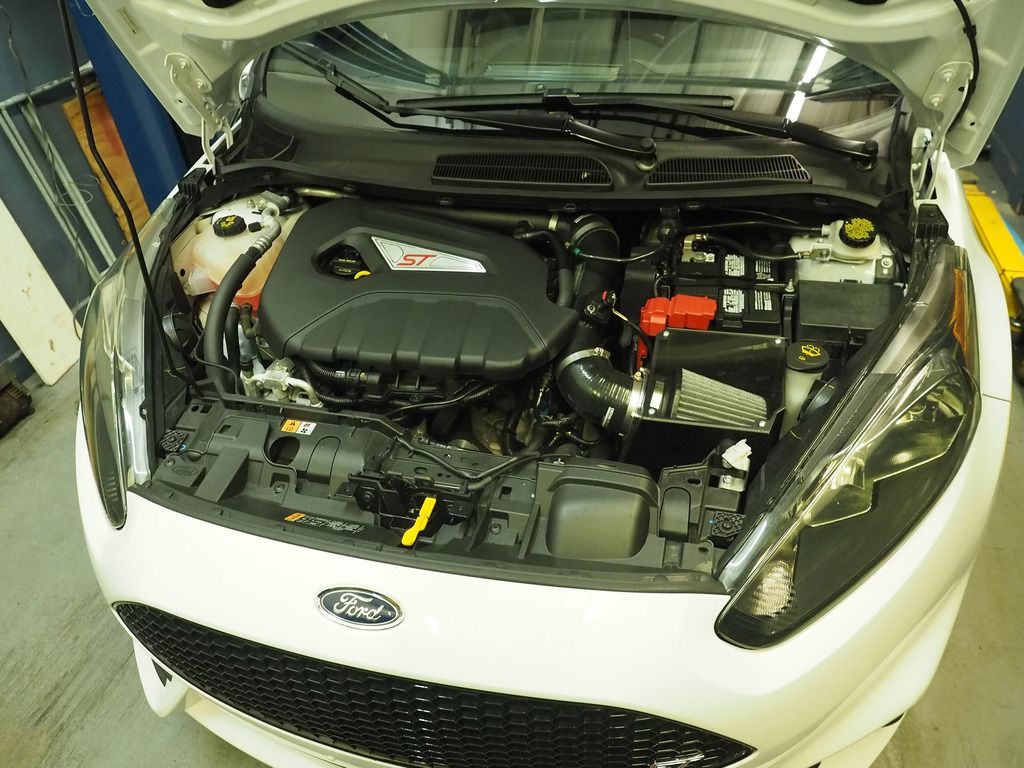
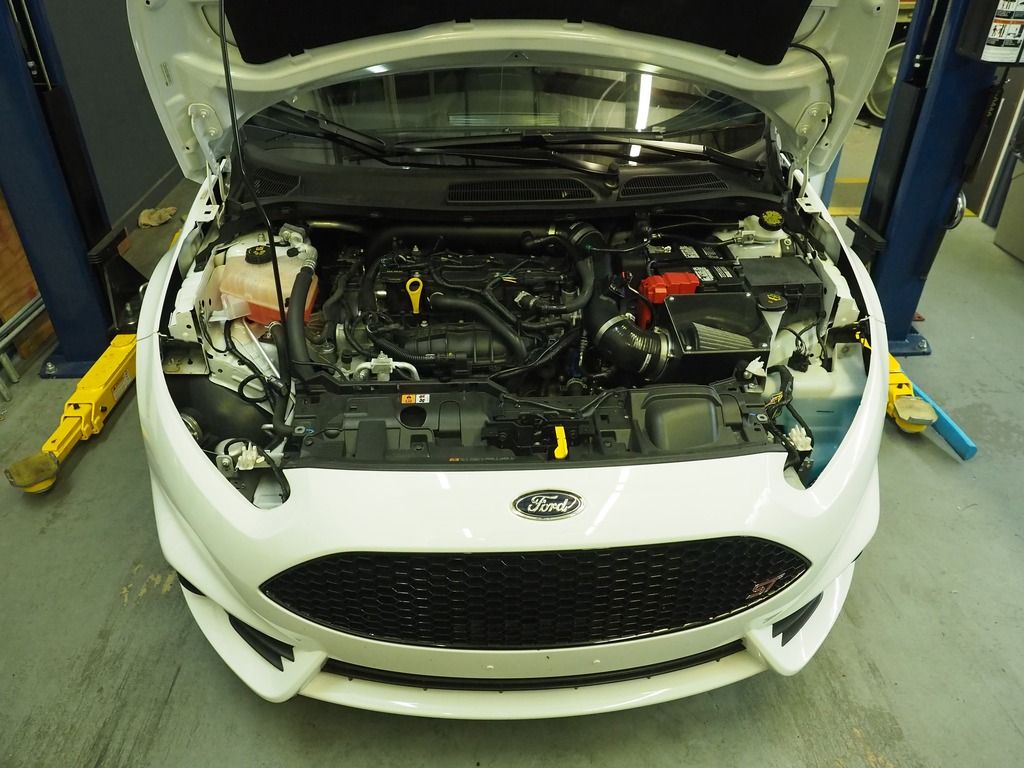
Ready to rock and roll.
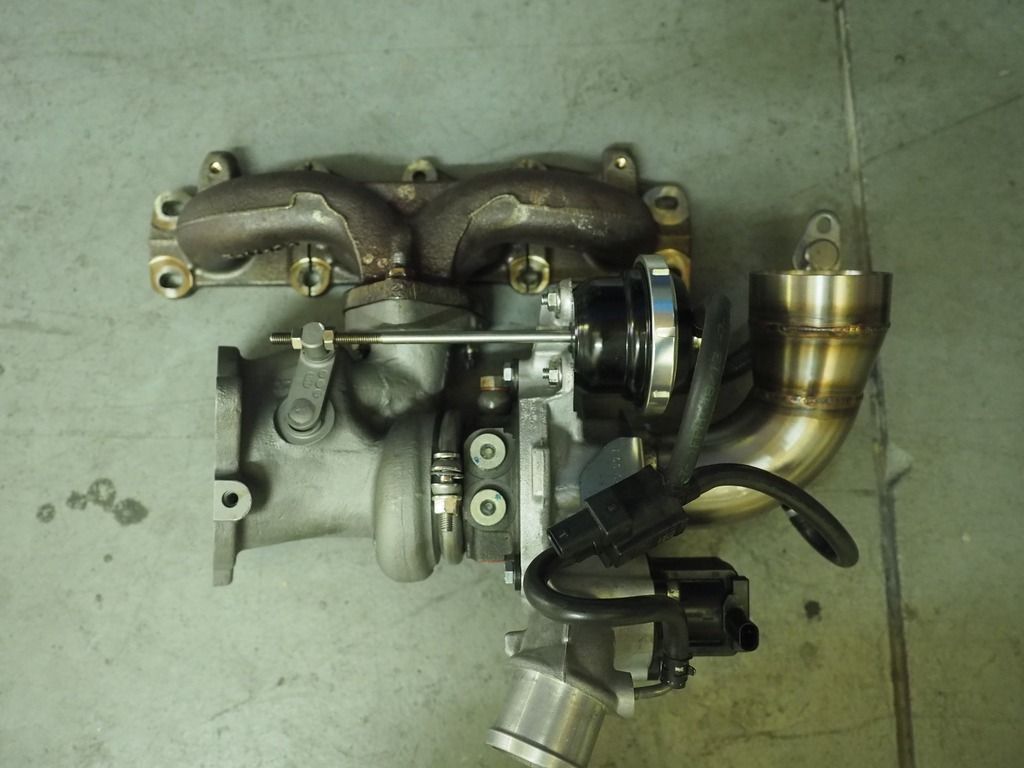
New turbo in, assemble in reverse order. Very straight forward.

5 hours later, all done!

Waiting to get the tune ironed out now, so I can't comment on results just yet. Only seeing ~7.5 psi as it sits...I'm chomping at the bit to see what 25psi feels like!
I hope this helps give you guys an idea as to what you'll encounter. Anyone with basic mechanic skills can install this thing. The only tricky parts are the ones I described - trying not to cross thread the downpipe or manifold bolts, and just being careful with various fittings and connections. Take your time, use common sense, and you'll be fine. Oh, and smoke from the engine bay is normal after the install. A little oil/coolant may have dripped on some exhaust parts, and I sprayed the shit out of my manifold and DP bolts with JB80 penetrating oil, so I had a bit of smoke for awhile. Keep an eye on things and make sure no fittings are leaking, and it wouldn't be a bad idea to check the torque on your downpipe/manifold bolts after a few heat cycles, if you feel like disassembling everything and wrestling the damn heat shield again...with that being said, I'm not messing with it lol. Videos to come as soon as the tune is finalized.