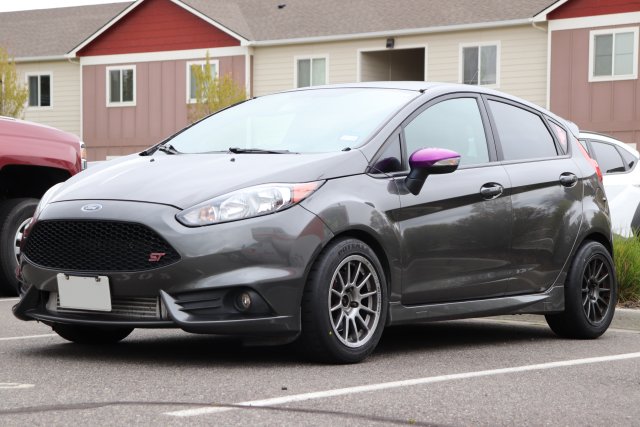
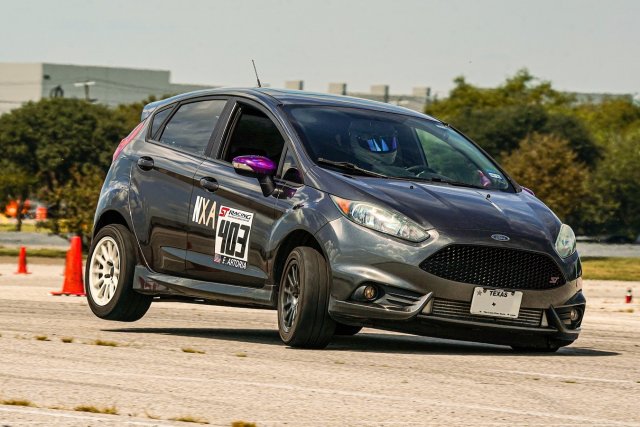
Not going to go over anything too crazy here at the start. I've had the FiST since 2021 and was practically stock when I got it. Current parts list is below in no particular order.
Engine, Turbo & Cooling:
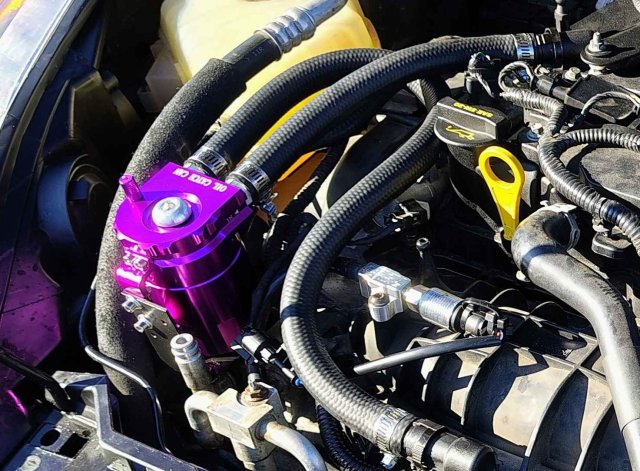
Fueling: (Most of this is new)
Right now I'm tuned with Westley Kimble who is handling revisions on an older tune base updated for the new Nostrum parts.
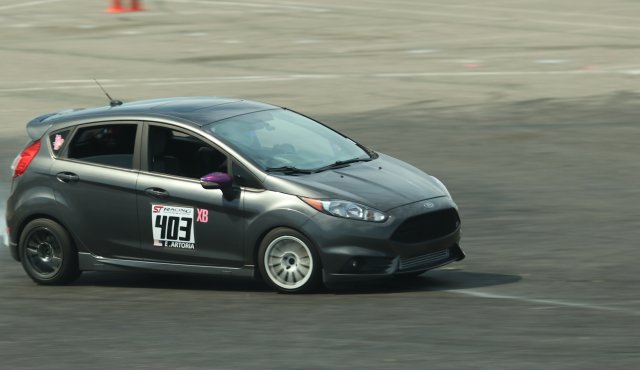
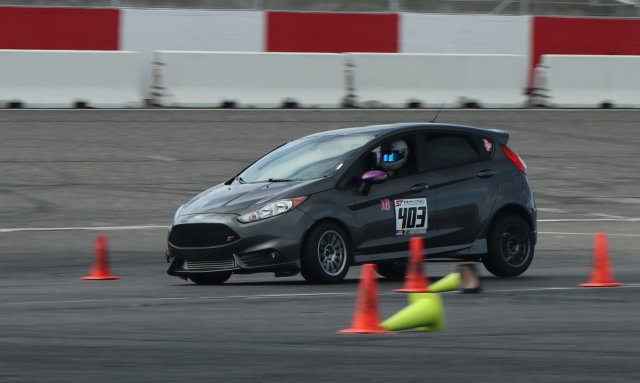
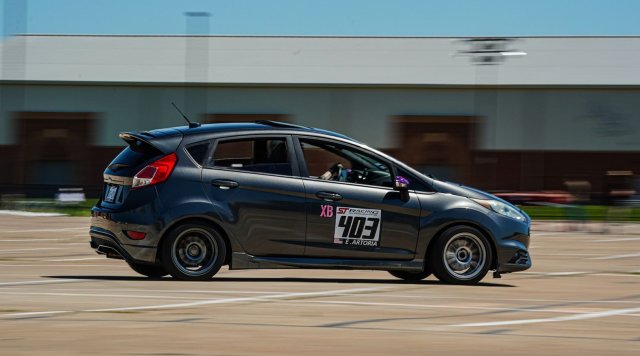
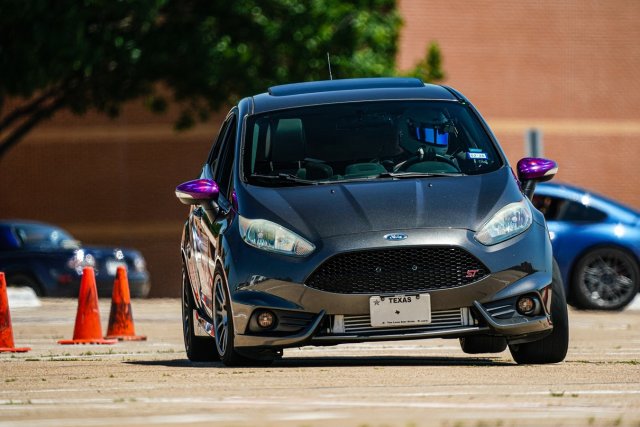
The car does see events with the SCCA and I'll be getting out to do some hillclimb and track days once the car is back up with the new fueling. I've done quite a few events and the car pushes strong getting me wins or podiums in STH, XA and XB as I've moved around.
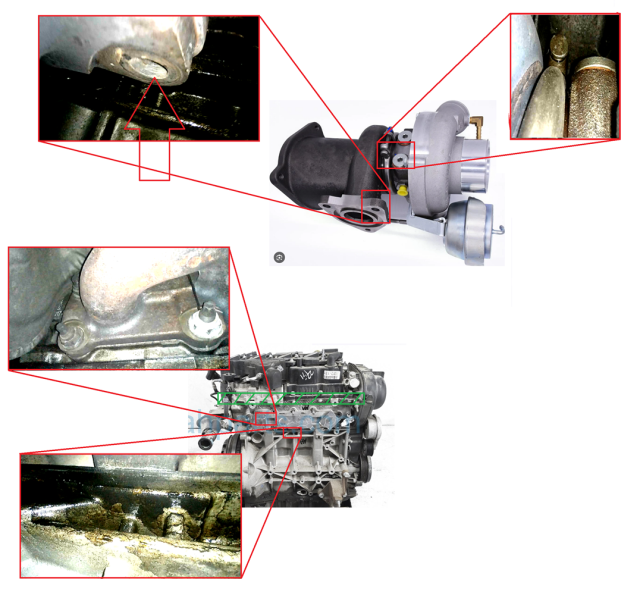
I am on my second engine, first engine failed on the Nostrum HPFP destroying my intake cam, Nostrum did warranty that part which was wonderful and have been pleasant to work with through everything. New engine is from a 2016 Escape.
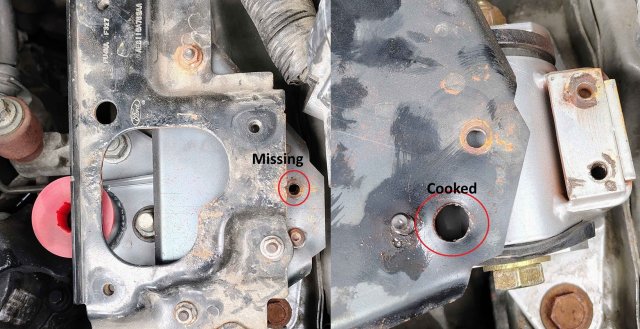
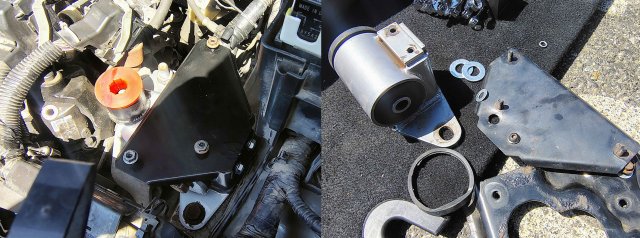
I do most of the work on my car myself. I've have multiple shops in the past work on the car and have caused problems in different spots with breaking things or just not completing them correctly, so outside of very intensive things like engine swaps or working on the transmission like the Diff I'll install them myself. HPFP, Injectors, Exhaust, Cat, S280, Intercooler and creating the bracket for that have been my own work. I've had to get under the car at events to fix things I've broken or lost to keep going before, only down side is I'm a parking lot warrior and don't have a garage.
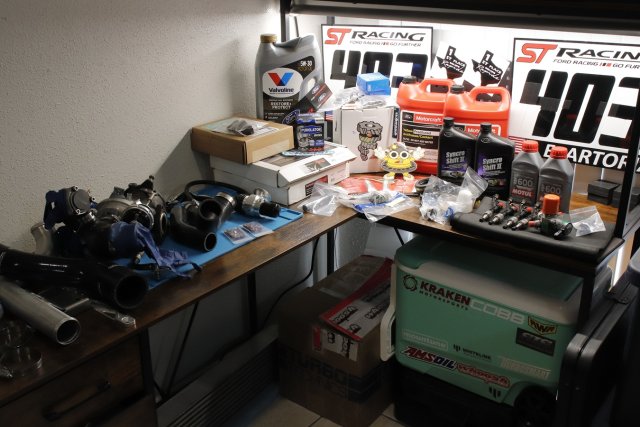
I've recently moved, but my bench looks like a disaster every now and again as I work on the car.


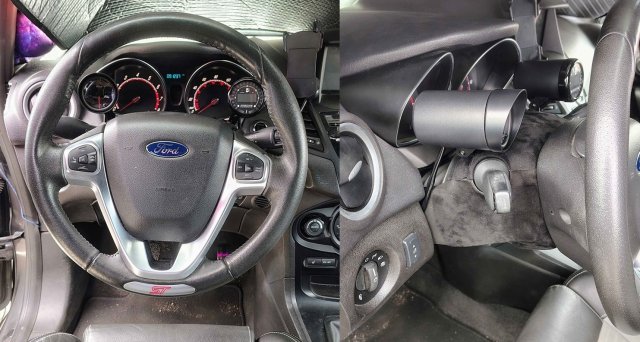
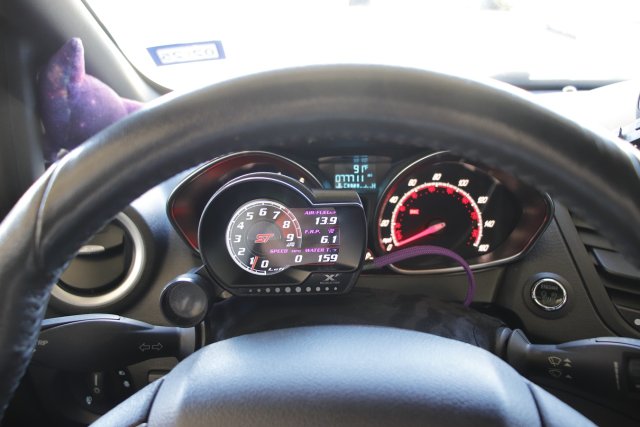
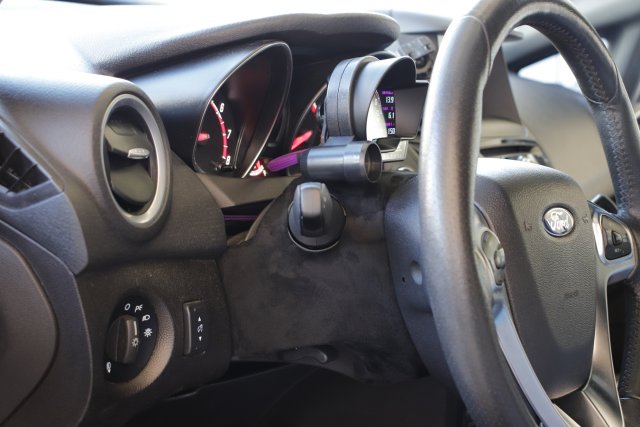
I'll also work on nonsensical projects just for fun, Getting this gauge setup was neat but unfortunately does not provide enough detail for boost readings or other sensors so I've since removed it. But I have kept the suede like cloth on the covers.
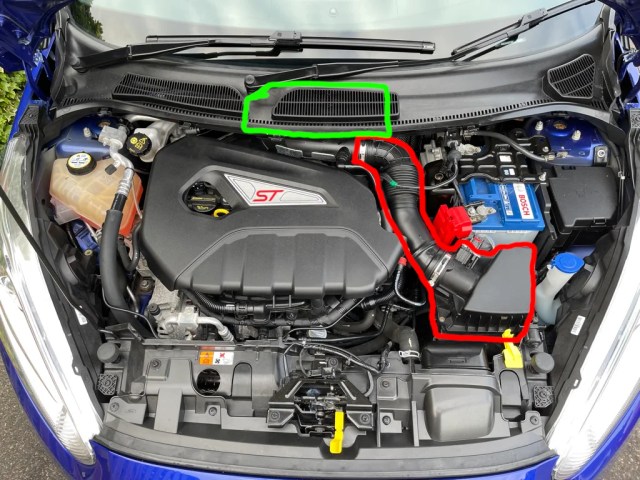
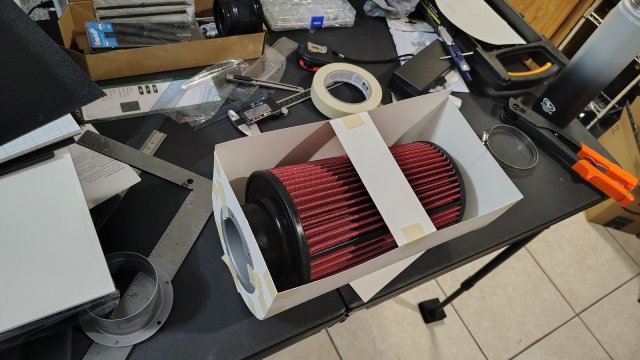
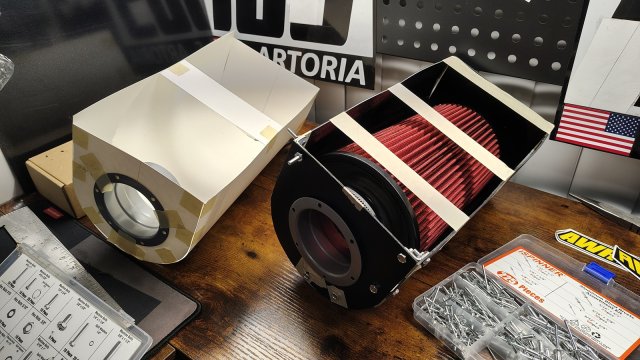
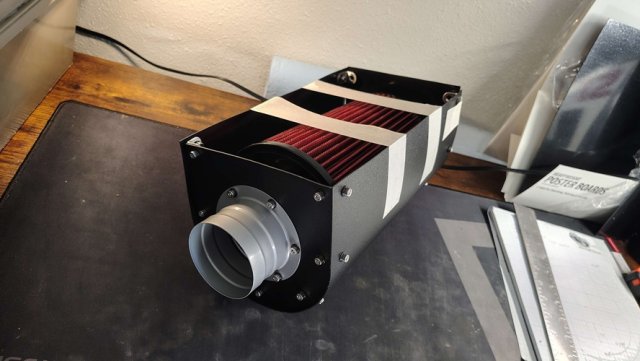
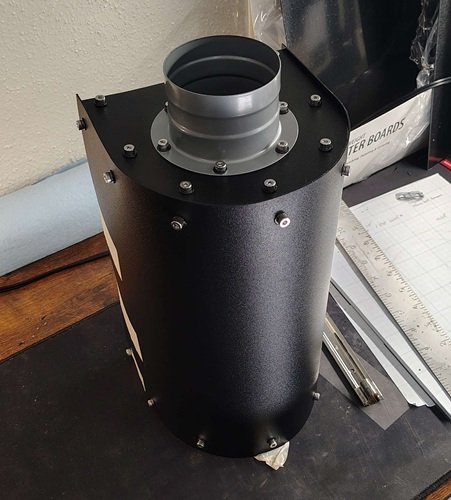
And from time to time I've worked on designing my own parts. The most recent one has been designing a 3 in intake that is placed in the center of the cowls high pressure zone right above the HPFP which in theory should be one of the best locations as it's not restrictive like the 2J and still shortens the intake piping. Still testing this.
I also do videos for autocross that I'll update here.
https://www.youtube.com/@AthenaAutocross/videos
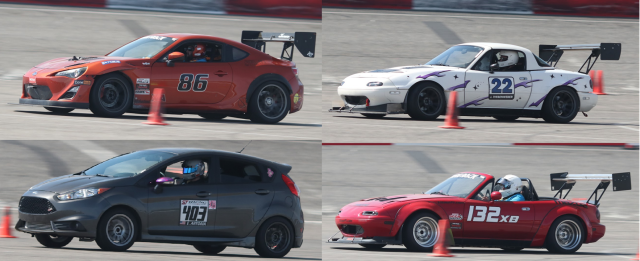
Most recent event was a few months ago where I finished 3rd in XB class and 17th out of 93 overall. (With a major boost leak unfortunately) - I also finished 3rd in my first season out of 150+ drivers who competed.
View: https://www.youtube.com/watch?v=KbjaQWSBzFk
View: https://www.youtube.com/watch?v=SQbBwqN5zX8
That should just about cover everything right now and I'll be update installs, events and questions once in a while.
Engine, Turbo & Cooling:
- Engine, Turbo & Cooling:
- Turbo Technics S280 w/ Turbosmart 14 PSI WG
- Whoosh Crossover and intake
- Shaman Equipment Intercooler (Silicone Intakes)
- TurboXS BOV
- NGK Ruthenium HX 0.028 Gap
- Mountune Triple Core w/ 180F Thermostat
- Dizzy MAP Adapter w/ AEM 3.5 BAR sensor
- Bosch TMAP 4 BAR sensor
- Turbo Technics hot side & Whoosh S bend
- AWR 88A RMM, PMM, TMM
- Cobb 3" Downpipe/cat
- Injen 3" Exhaust (Racing tip option)
- Mfactory Differential
- Whoosh Stage 3 Clutch (Spongebob)
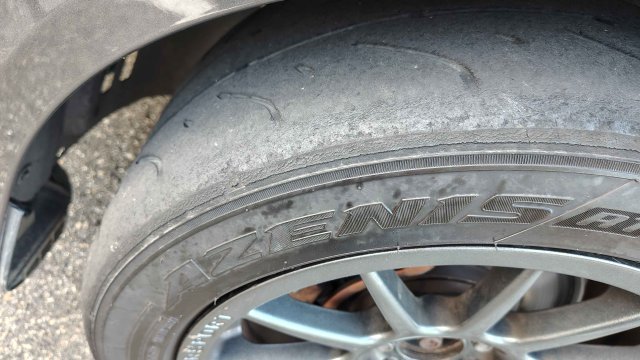
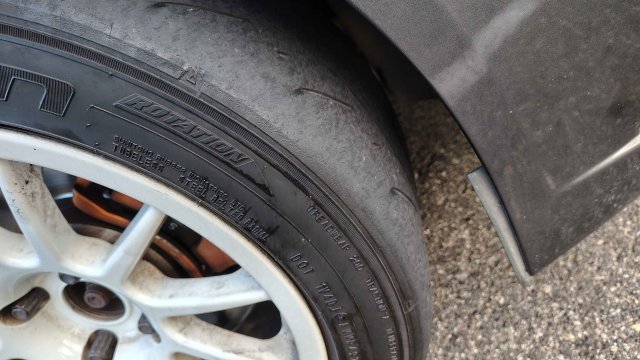
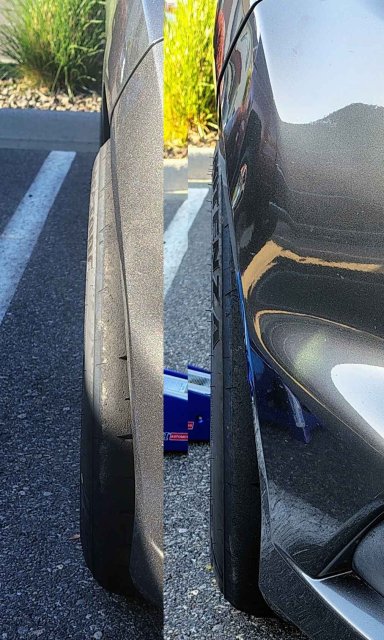
- Team Dynamics Pro 1.2 15x8
- RE71RS 205/50R15
Fueling: (Most of this is new)
- PHUL LSFP
- Nostrum HPFP
- Nostrum 60% Injectors
- Nostrum FRS
- Stock Rotors with Ford S pads
- RBF 600 Fluid
- Stock (Original) suspension with 80k miles
- Whiteline Rear Sway bar
- MOOG Camber Bolts - Max
Right now I'm tuned with Westley Kimble who is handling revisions on an older tune base updated for the new Nostrum parts.
The car does see events with the SCCA and I'll be getting out to do some hillclimb and track days once the car is back up with the new fueling. I've done quite a few events and the car pushes strong getting me wins or podiums in STH, XA and XB as I've moved around.
I am on my second engine, first engine failed on the Nostrum HPFP destroying my intake cam, Nostrum did warranty that part which was wonderful and have been pleasant to work with through everything. New engine is from a 2016 Escape.
I do most of the work on my car myself. I've have multiple shops in the past work on the car and have caused problems in different spots with breaking things or just not completing them correctly, so outside of very intensive things like engine swaps or working on the transmission like the Diff I'll install them myself. HPFP, Injectors, Exhaust, Cat, S280, Intercooler and creating the bracket for that have been my own work. I've had to get under the car at events to fix things I've broken or lost to keep going before, only down side is I'm a parking lot warrior and don't have a garage.
I've recently moved, but my bench looks like a disaster every now and again as I work on the car.
I'll also work on nonsensical projects just for fun, Getting this gauge setup was neat but unfortunately does not provide enough detail for boost readings or other sensors so I've since removed it. But I have kept the suede like cloth on the covers.
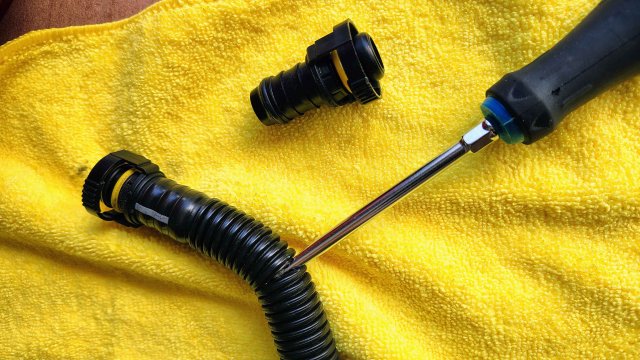
And from time to time I've worked on designing my own parts. The most recent one has been designing a 3 in intake that is placed in the center of the cowls high pressure zone right above the HPFP which in theory should be one of the best locations as it's not restrictive like the 2J and still shortens the intake piping. Still testing this.
I also do videos for autocross that I'll update here.
https://www.youtube.com/@AthenaAutocross/videos
Most recent event was a few months ago where I finished 3rd in XB class and 17th out of 93 overall. (With a major boost leak unfortunately) - I also finished 3rd in my first season out of 150+ drivers who competed.
That should just about cover everything right now and I'll be update installs, events and questions once in a while.
Last edited: