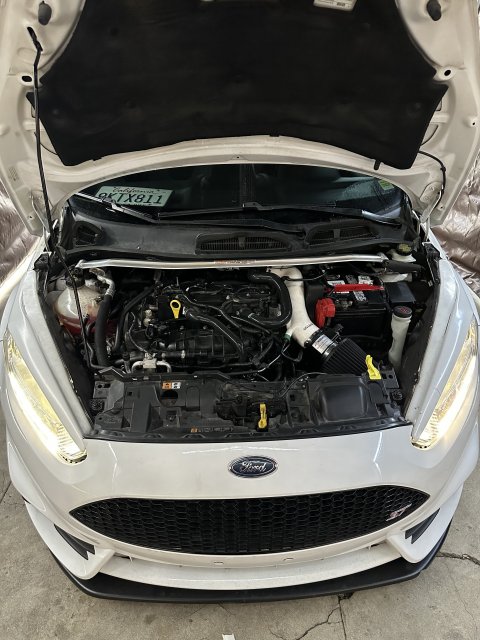
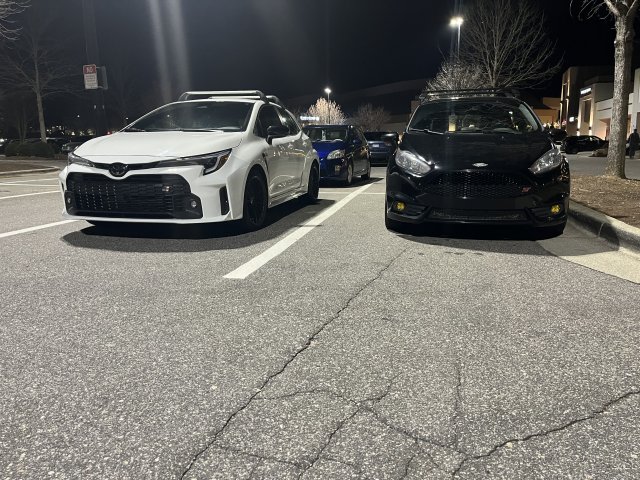
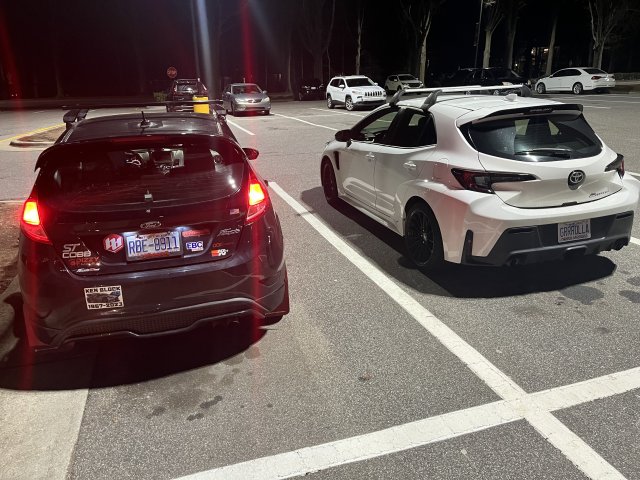
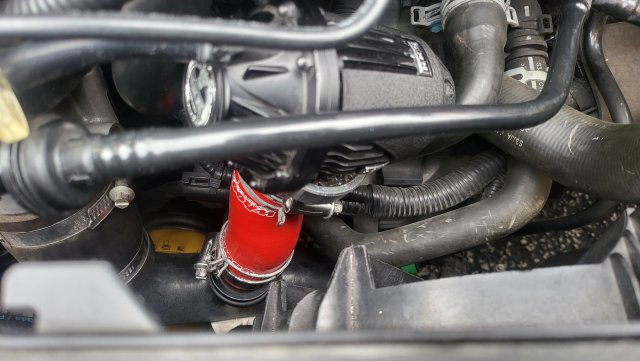
What did you do to your Fiesta ST today ?

M-Sport fan

9000 Post Club
Member ID
#4150
Messages
14,588
Likes
7,108
At first glance, for that front shot, I thought that was one of the TRD(?) version CAMRYS, that's how huge that car appears to me!

Yeah, way way too big a ride for me, and NO THANKS as for that price I will stay with what I have, since they flat out refuse to bring the Yaris version here. [mad] [thumbdown]


FiestaSTdude

1000 Post Club
Premium Account
Member ID
#20044
Messages
1,453
Likes
1,805
At first glance, for that front shot, I thought that was one of the TRD(?) version CAMRYS, that's how huge that car appears to me!

Yeah, way way too big a ride for me, and NO THANKS as for that price I will stay with what I have, since they flat out refuse to bring the Yaris version here. [mad] [thumbdown]
It honestly wasn’t as big as I was expecting, but I totally agree with you on the Yaris being the one I really want. Of course the Yaris would probably suffer from the dealer markup like the Corolla does.


FiestaSTdude

1000 Post Club
Premium Account
Member ID
#20044
Messages
1,453
Likes
1,805
Motorcycle getting new tires, spent the week riding the FiestaST on a bed of road salt.

Rained this morning so spent part of it washing the white carcinogen off.
If you want to undercoat it with something, I just used 3M cavity wax with their wands and it worked really well. The wands make it very easy to get into the pockets in the frame and coat everything thoroughly.
https://www.amazon.com/3M-Cavity-Wa...3YrV2-Ni6Sa9_S5TWoqM0DVw0y9T4n0BoCiywQAvD_BwE


rallytaff

1000 Post Club
Premium Account
Member ID
#1899
Messages
1,383
Likes
925
My uncle who lived in N. Wales used to soak his new exhausts in a mixture of oil and paint before he fitted it. Lasted much longer than a normal exhaust. We're talking about back in the 60's!


pixelzombie

Active member
Member ID
#12526
Messages
579
Likes
391
Symposer port hose done. Always an adventure getting out and back in but the old hose was worn and had a couple cuts/gashes on it so much better, don't hesitate to pick one up on whoosh right now!
I'm not familiar with that. What benefit does it give over the symposer delete kit?


Member ID
#24802
Messages
44
Likes
88
I'm not familiar with that. What benefit does it give over the symposer delete kit?
It Is for my BOV that comes directly off the charge pipe where symposer port is. The hose itself is a direct replacement for the factory hose that the symposer is attached to, or your symposer delete kit which I previously had. It's a much better hose and after ripping mine out a few times it got tore up pretty badly, I was actually venting at really low RPM before this hose.


pixelzombie

Active member
Member ID
#12526
Messages
579
Likes
391
Installed brand new plug and play OEM replacement PB speakers and tweeter
They sound alot better than stock, more clear and have more bass compared to oem
Bought from Crutchfield
Front: PowerBass OE65C-FD
Rear: PowerBass OE652-FD

View attachment 59591
View attachment 59592
thanks for the info, need to put these on my wishlist. How old are the ones on the right and how long did installation take?


TyphoonFiST

9000 Post Club
Premium Account
Member ID
#3304
Messages
11,831
Likes
8,297
Installed brand new plug and play OEM replacement PB speakers and tweeter
They sound alot better than stock, more clear and have more bass compared to oem
Bought from Crutchfield
Front: PowerBass OE65C-FD
Rear: PowerBass OE652-FD

View attachment 59591
View attachment 59592
How was the tweeter install? Alot of them arent PNP and need to be fitted/massaged>


felopr

Senior Member
Member ID
#1762
Messages
821
Likes
374
How was the tweeter install? Alot of them arent PNP and need to be fitted/massaged>
The tweeter its in the socket held by 3 clips, pry loosen the clips while pushing the tweeter out until its out,
The tweeter have some tabs for orientation, notice how they go into the socket
Grab the new tweeter, aling with the orientation on the socket, push in until you hear the click from the clips, done
Check the old tweeter on the backside, one side of the cable socket has like resistor, one side doesnt. While installing the supplied cable socket on the new tweeter, the tweeter cables, one have a resistor on one cable, the other cable doesn't. Align the resistor with the socket like on the old tweeter, push the socket into the cables. Done, plug and play, no splice required


Last edited:
Member ID
#28825
Messages
5
Likes
8
Fixed the hanging side skirts and slapped on those Rally Armor red on black mud flaps. Next will probably be some more red trim in a couple areas then onto a motor mount with the Accessport!


Attachments


Top