
Thanks @D1JL for that, nice to see it more.
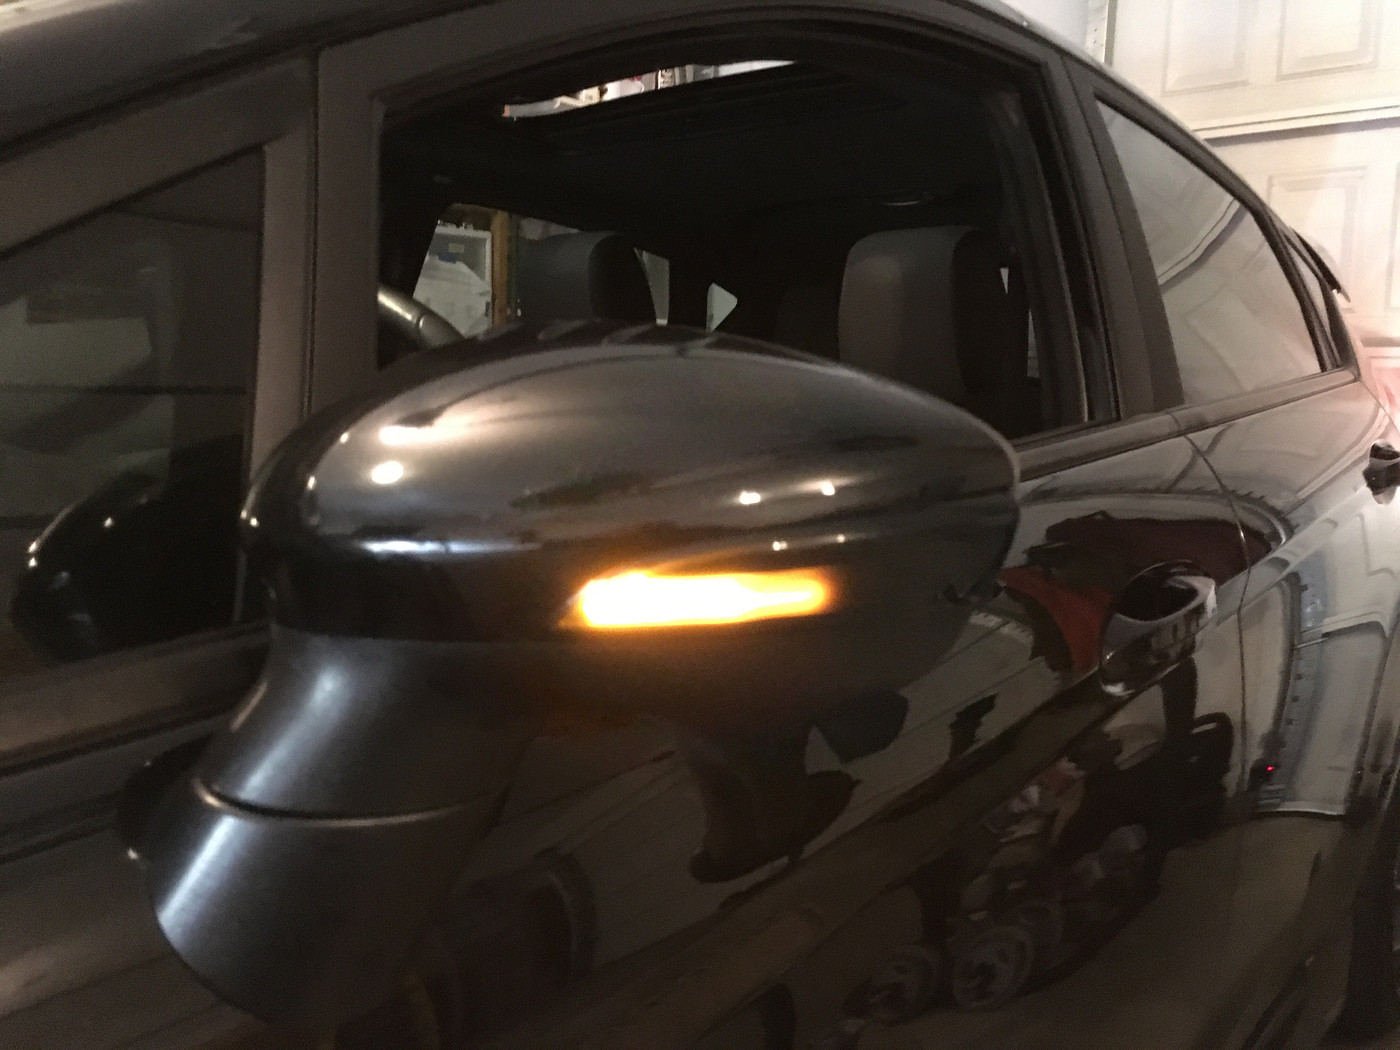
OK I finished my adult responsibilities and ran out and took care of it. 5 minutes per side, I used the little plastic took they included to pry at the top while I used a screwdriver to free the tabs, it came out easily. When reinstalling make sure you line up the three tabs at the bottom before resetting the 3 at the top. Super easy install, looks great! Thanks again to the OP!!!
https://public.fotki.com/greentrees2/actuator-and-maf-mod/1575416152776.html]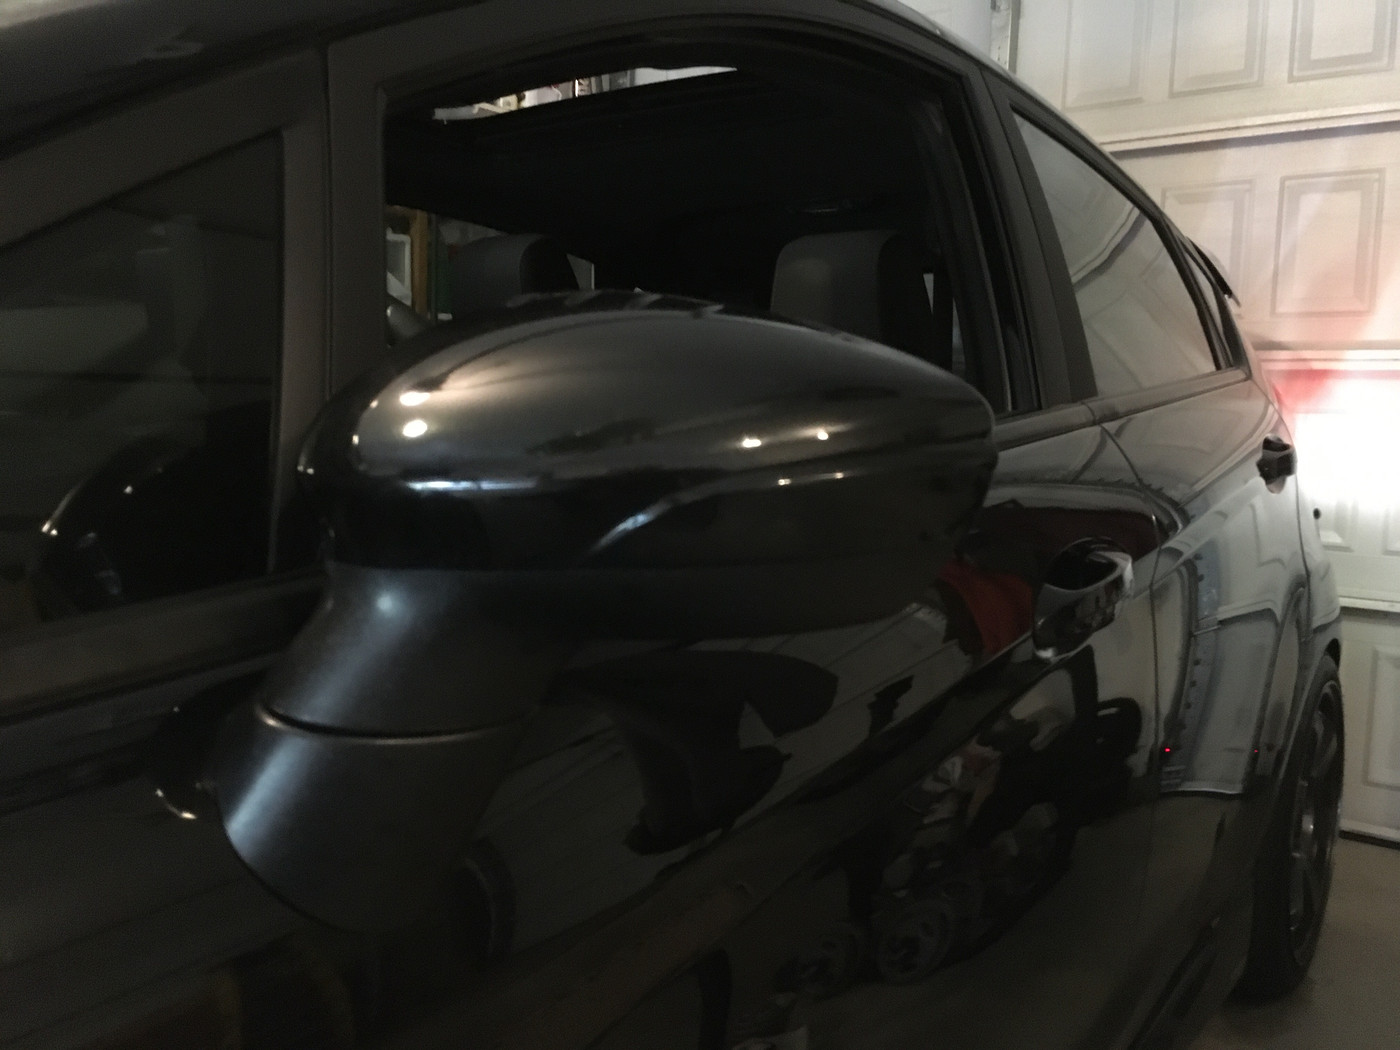 [/URL]
https://public.fotki.com/greentrees2/actuator-and-maf-mod/1575416186303.html]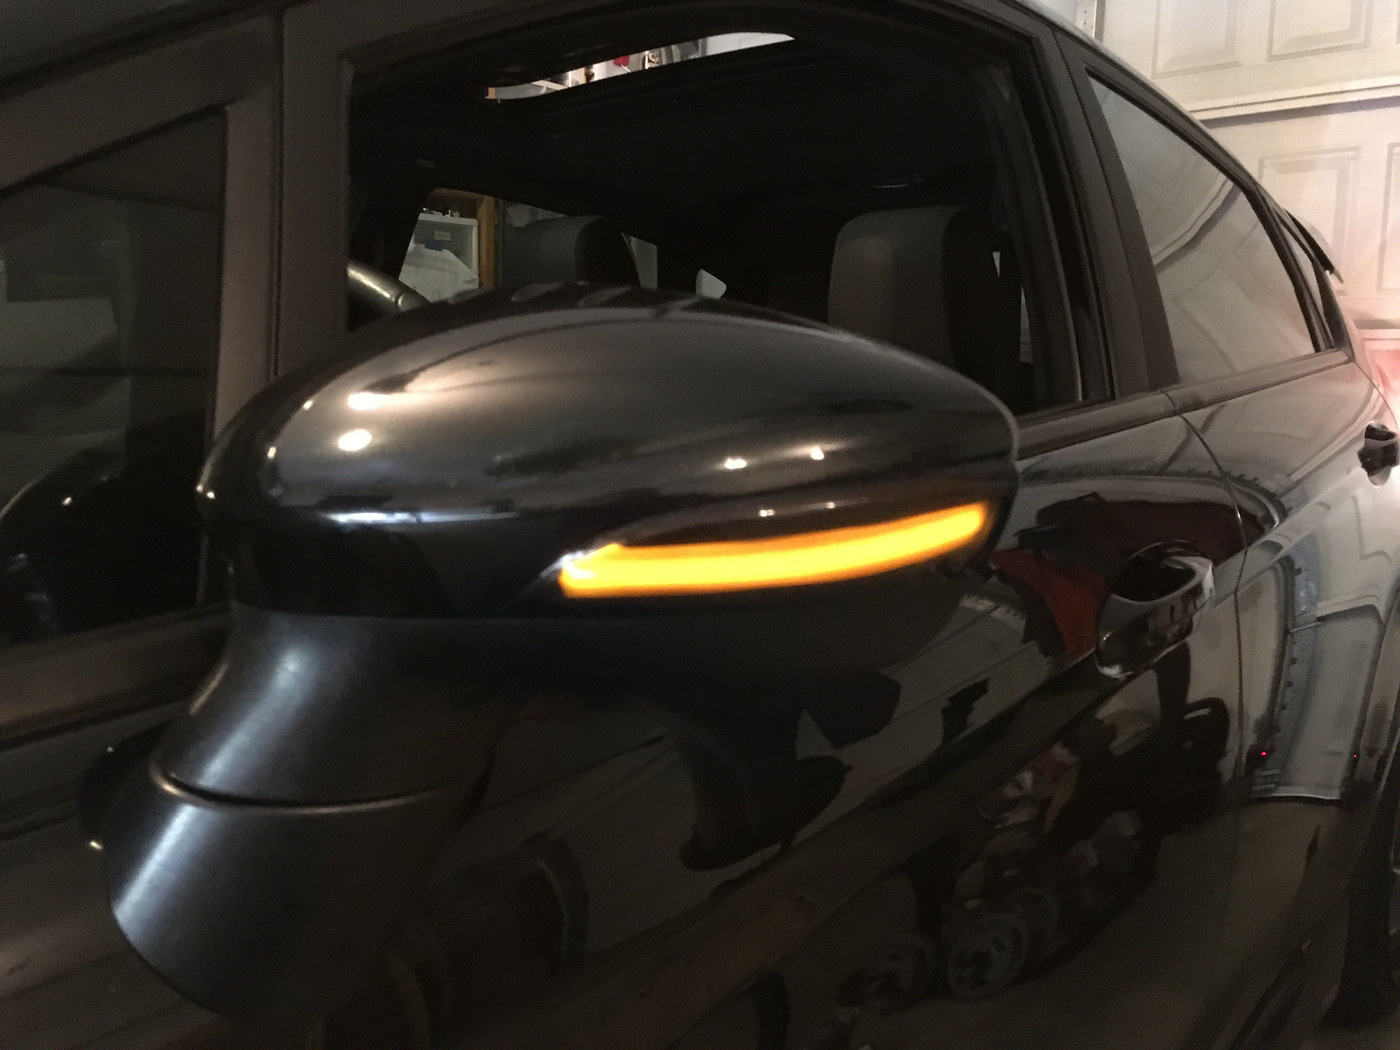 [/URL]
Little video:
<iframe width="720" style="border:0" height="416" border="0" src="https://public.fotki.com/greentrees2/actuator-and-maf-mod/1575416205879.html?iframe=1"></iframe>
OK I finished my adult responsibilities and ran out and took care of it. 5 minutes per side, I used the little plastic took they included to pry at the top while I used a screwdriver to free the tabs, it came out easily. When reinstalling make sure you line up the three tabs at the bottom before resetting the 3 at the top. Super easy install, looks great! Thanks again to the OP!!!
https://public.fotki.com/greentrees2/actuator-and-maf-mod/1575416152776.html]
[/URL]https://public.fotki.com/greentrees2/actuator-and-maf-mod/1575416186303.html]
[/URL]Little video:
<iframe width="720" style="border:0" height="416" border="0" src="https://public.fotki.com/greentrees2/actuator-and-maf-mod/1575416205879.html?iframe=1"></iframe>

