not "today", but the last 3 days.
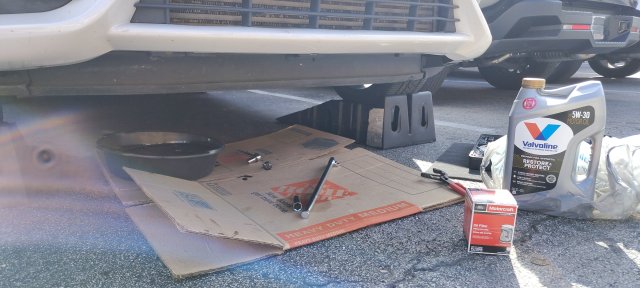
put the old turbo back in. extracted two broken exhaust manifold studs. fixed my exhaust leak. cleaned the valves as best as i could. replaced the idler pulley since it was bad. found glitter in the bottom of all my oil i drained, so maybe the car is cooked. lots of miserable work, many cuts, many curse words. and i'm not even done with this car, which sucks too. i have to replace some broken/bad connectors, do some other maintenance items/big-ish items (namely cam bucket). i will post pictures once i have them from my mom's boyfriend's close friend whose shop my car was at all 3 days. i didn't snap pictures of the boroscope screen from dirty vs clean valves, but i will soon.
my midpipe does not line up with the downpipe very well or at all. i have a whoosh rmm, whoosh v1 catless dp, and whoosh poly exhaust hangers, but i have to put SO much tension/torque on the turbo and the downpipe to get this midpipe on it evenly, and it's a problem. i have no idea why that is. can the rmm let the car sag? do i need to replace motor mounts?

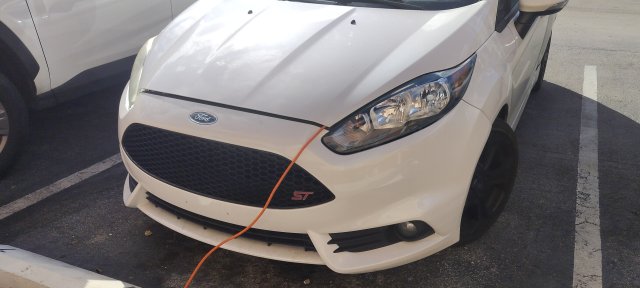
 2018 Fiesta ST possible rally build candidate
 Did you know your Fiesta ST could.....("secret" features thread)

 Which Fiesta ST Intercooler did you choose?
 Which Fiesta ST Exhaust System did you purchase?