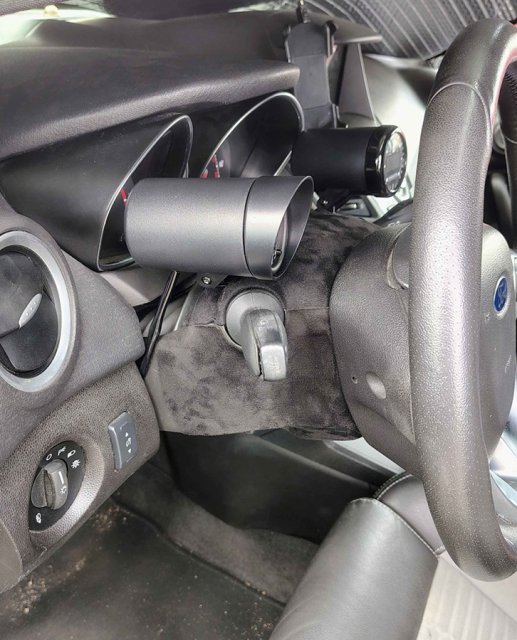
Finally got the backup camera installed. The first time I did it, I accidentally snapped the connector off the RCA cable being too aggressive feeding the wiring through. Thought I'd be able to solder it back together but couldn't make it work, so I just ordered a new one.
I've also made some significant progress on soundproofing the car. The most troublesome spots have very high-quality sound deadening (Resonix CLD) and the other odds and ends have NVX sound deadening. The CLD is like $12.50 per square foot and I couldn't justify the expense of full coverage, but the NVX is $2.50 per square foot so other, less troublesome spots are being treated with that. I've got the two front doors totally treated - the passenger door, however, is inoperable due to my not understanding how the door is assembled and the factory service manual not explaining it, so I'm waiting for some parts to arrive to fix that up. Once I have the passenger door fixed, I will do the rear, then finish pulling the interior and laying the rest of the sound deadening down, followed by some actual sound proofing (Resonix Fiber Mat). The front doors are both done with CLD/NVX, then the factory "soundproofing" foam in the inner door card has been replaced with the Fiber Mat, and there is a very noticeable difference already.
This is another one of those projects that started out small and then kept turning into a "while I'm in there..." project, but the road noise from the trunk/hatch area was getting to the point that I was getting mild headaches on long road trips and I just wanted it over and done with. Rip the whole interior out once and never worry about it again.
I typed all this out before realizing I hadn't taken any photos. Oh well.

 2018 Fiesta ST possible rally build candidate
 Did you know your Fiesta ST could.....("secret" features thread)

 Which Fiesta ST Intercooler did you choose?
 Which Fiesta ST Exhaust System did you purchase?