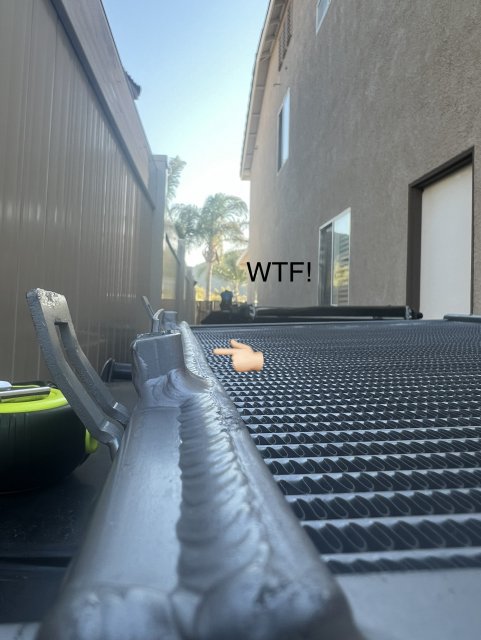
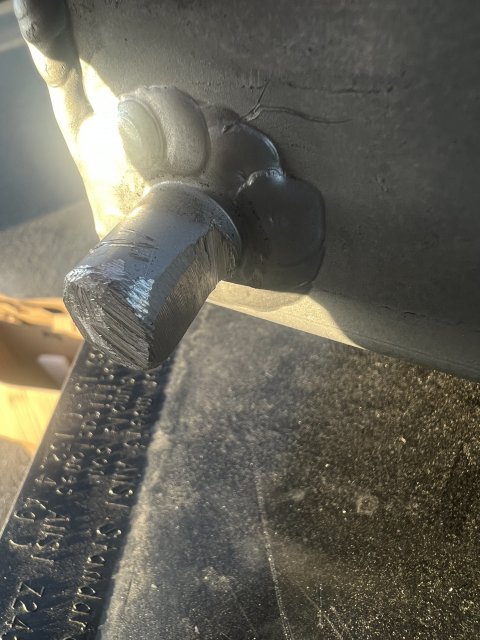
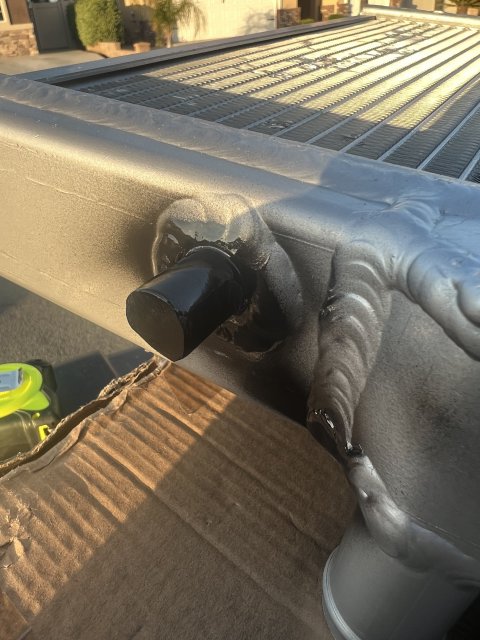
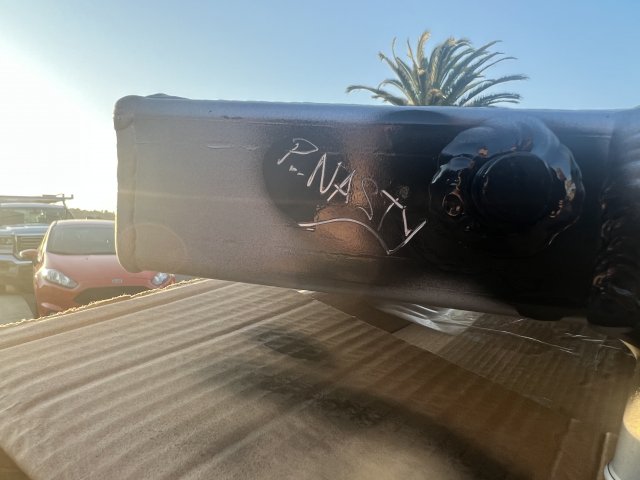
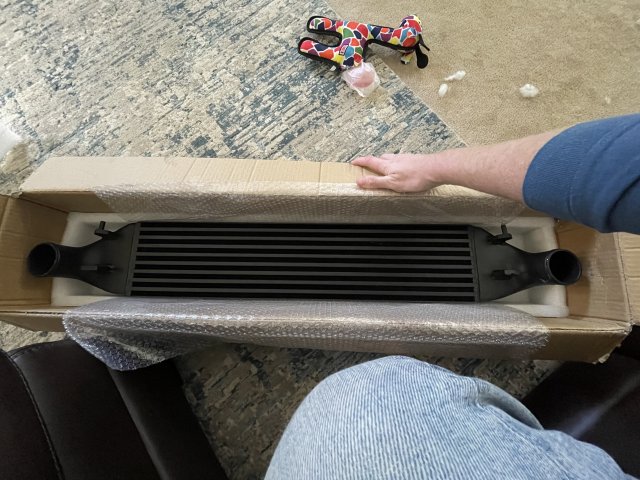
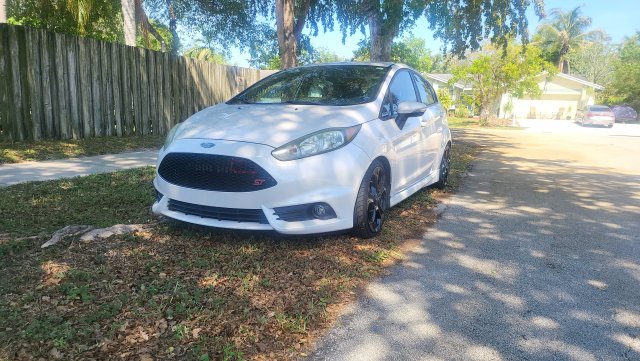
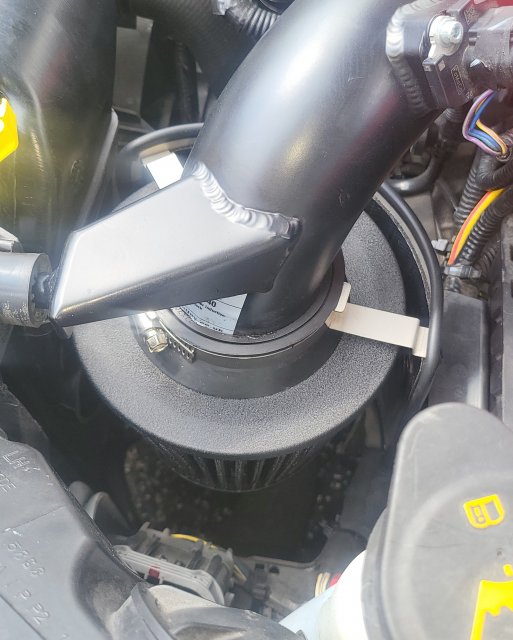
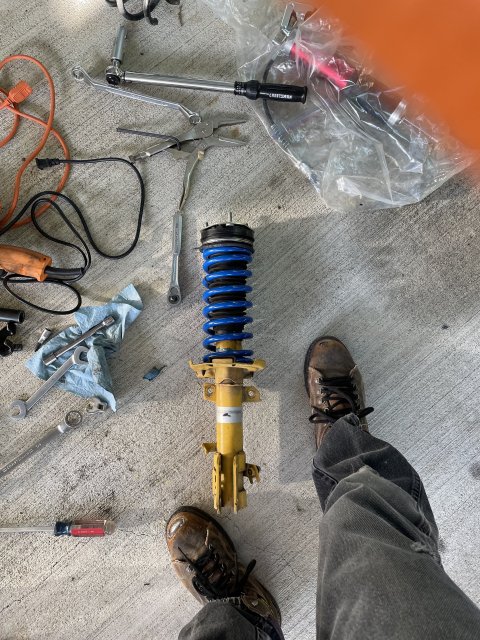
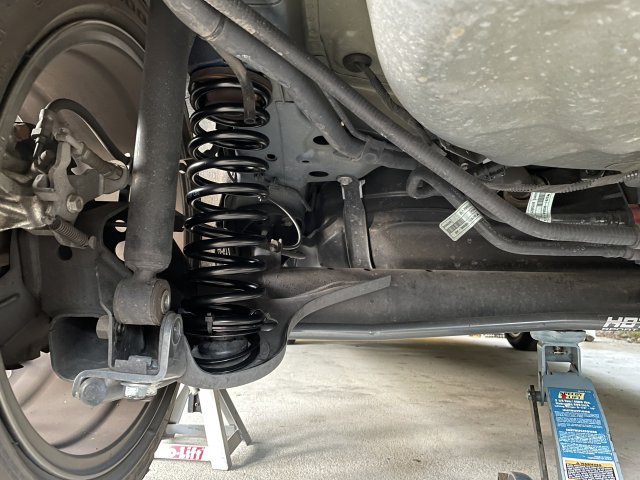
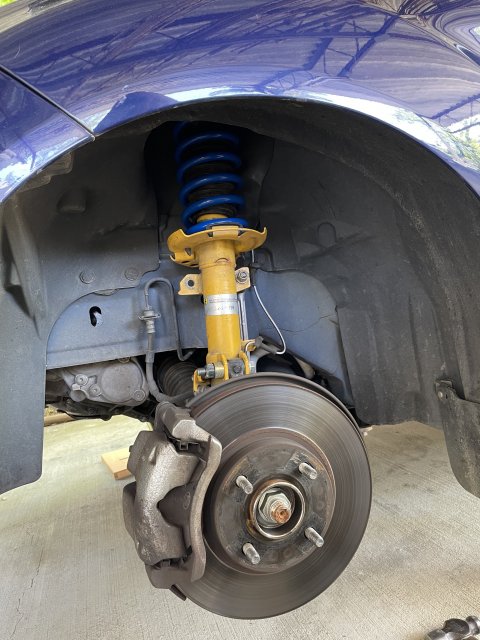
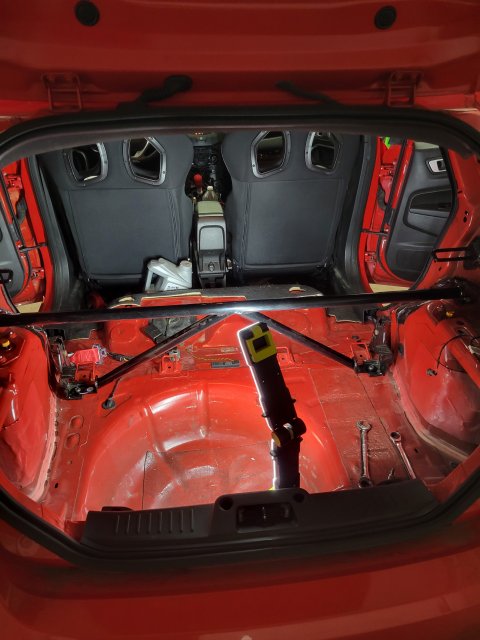
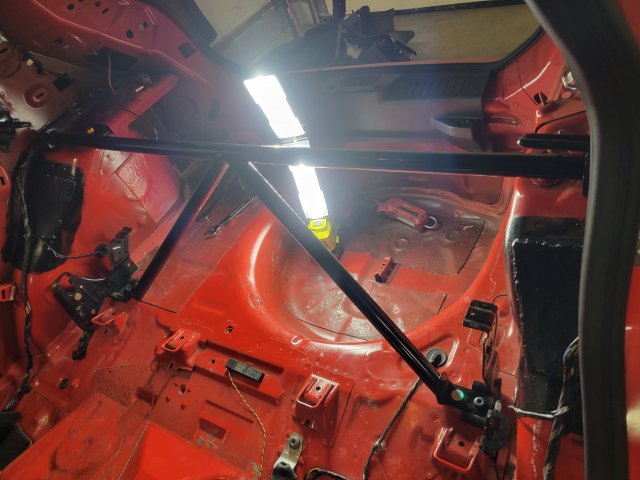
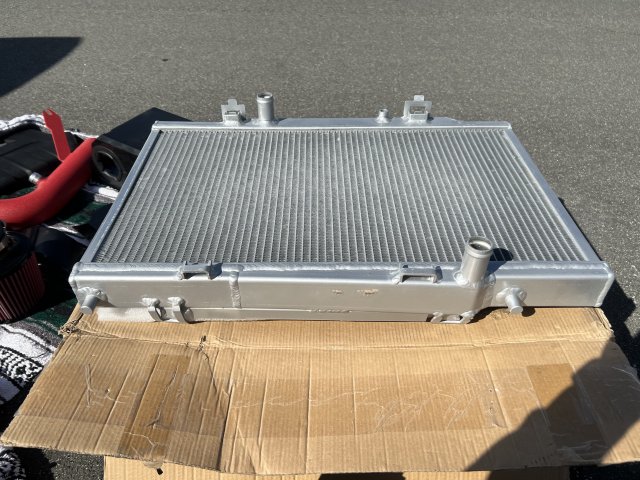
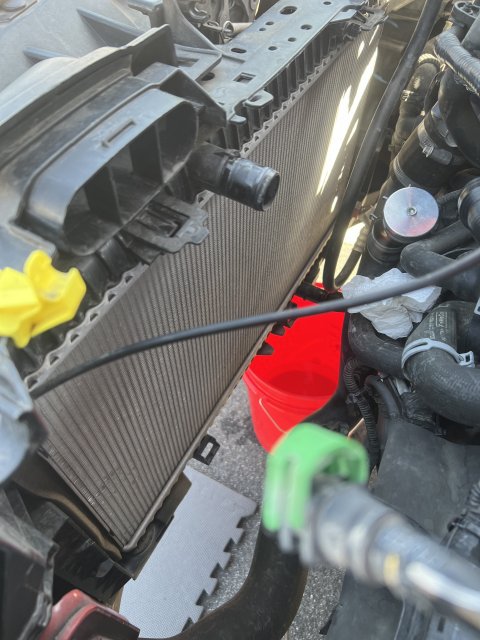
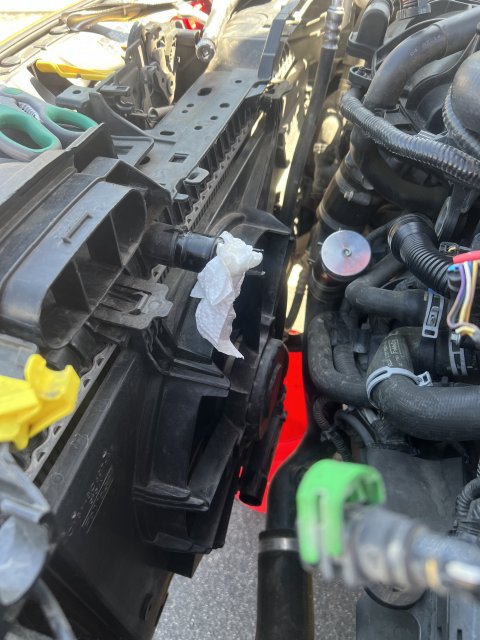
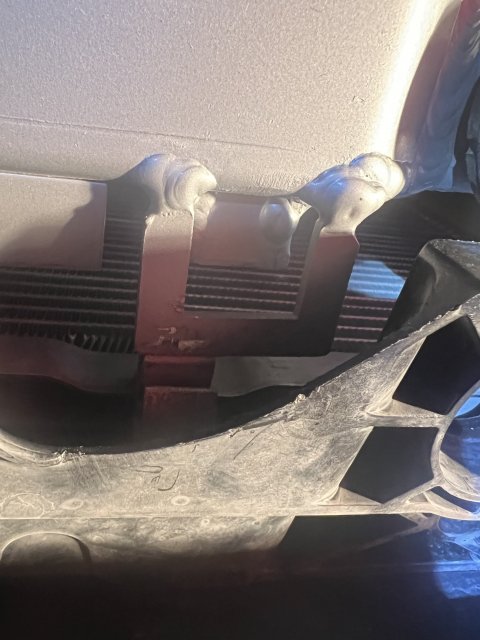
Was flying on a radiator swap. Was feeling good as I was starting to install the new one only a lil after an hour in. Ran into some poor fitment. Bought a “whoosh radiator” second hand on FB. Looks the part but looking at it closer today I noticed the tabs are just wonky. So who knows. I tried everything I could to get it to fit. Hoursssss! Couldn’t get it to swing into the condenser properly, or back into the original mounting points at the bottom. Finally gave up and gunna have to take a grinder to it. That or carefully to the condenser 🥴 If you’ve got insight on whoosh radiator installs LMK please.
Attachments
-
 4.7 MB Views: 24
 -
 1.8 MB Views: 23
 -
 1.5 MB Views: 20
 -
 1.1 MB Views: 26